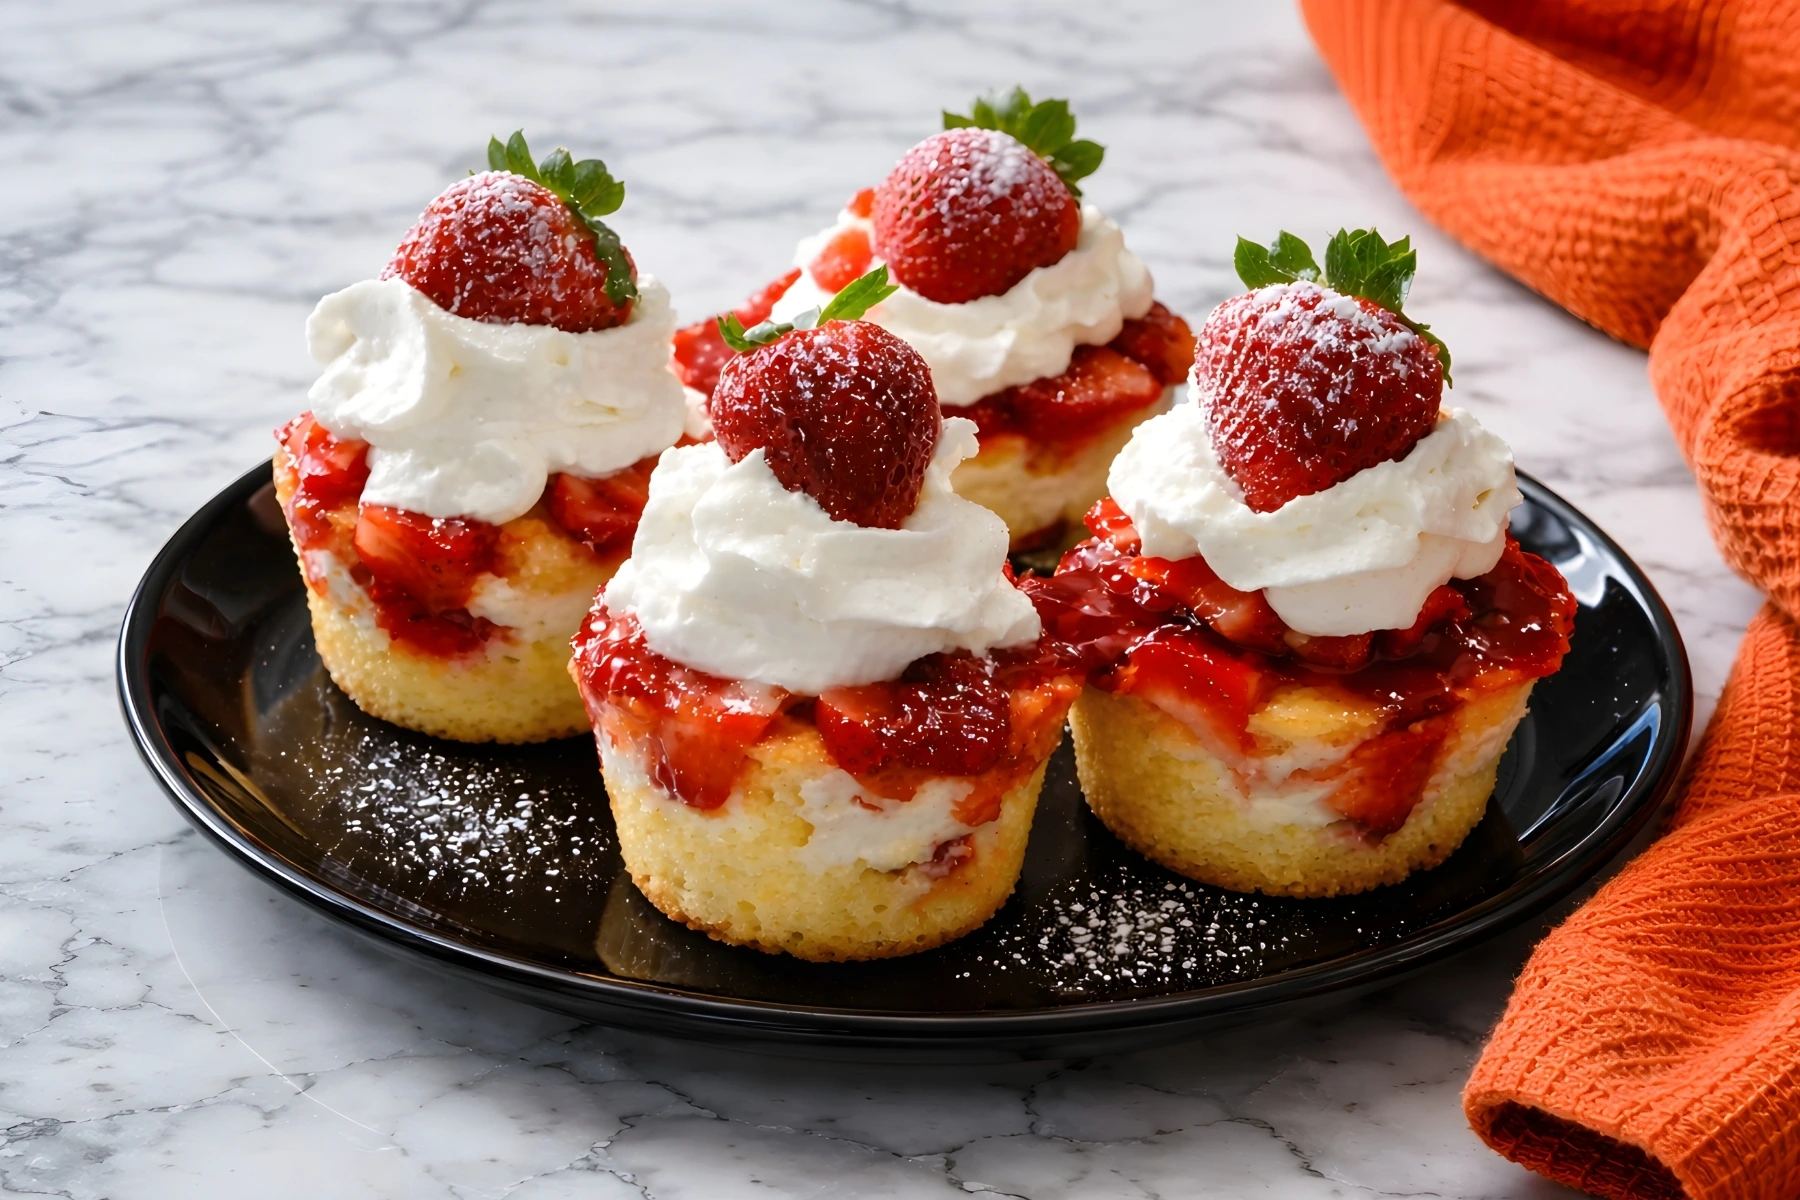
There’s something magical about strawberry season that makes me want to drop everything and head straight to the kitchen. Maybe it’s the sweet aroma of fresh berries or the promise of creating something beautiful without turning on the oven. Either way, these strawberry shortcake cups have become my go-to dessert when I need something impressive but don’t have hours to spend in the kitchen.
I first discovered this recipe during a particularly hectic summer when my kids’ friends were coming over for a last-minute playdate. I needed a dessert that looked fancy enough to impress the other moms but simple enough that I wouldn’t stress out making it. These individual strawberry shortcake cups were the answer to my prayers, and they’ve been a staple in my dessert rotation ever since.
What Makes Strawberry Shortcake Cups So Special

Traditional strawberry shortcake is already amazing, but turning it into individual cups takes it to another level. You get all the delicious layers of berries, cream, and cake in a portable, party-ready format that looks like you spent way more time on it than you actually did.
The best part is that there’s no baking required. Yes, you read that right. This is a completely no-bake dessert that comes together in about 15 minutes. On those hot summer days when the last thing you want to do is heat up your kitchen, these cups are an absolute lifesaver.
I love serving these at barbecues, birthday parties, or even just as a special weekend treat for my family. The kids can help assemble them, which makes it a fun activity we can do together. Plus, everyone gets their own portion, which means no fighting over who got the bigger slice. If you’re looking for more berry dessert inspiration, my strawberry rhubarb crumble is another crowd-pleaser that celebrates summer fruit.
Ingredients You’ll Need for Perfect Strawberry Shortcake Cups
One of the reasons I adore this recipe is how simple the ingredient list is. You probably have most of these items in your kitchen already, and the ones you don’t are easy to grab at any grocery store.
For the Strawberries:
- 2 pounds fresh strawberries
- 1/4 cup granulated sugar
For the Whipped Cream:
- 2 cups heavy whipping cream, very cold
- 1/2 cup powdered sugar
- 1 teaspoon pure vanilla extract
For the Cake Base:
- 1 store-bought angel food cake or pound cake (10-12 ounces)
The beauty of this recipe lies in its flexibility. I’ve made these cups with pound cake, angel food cake, and even store-bought shortcakes. Each version brings something different to the table, and honestly, they’re all delicious.
Choosing the Right Strawberries for Your Shortcake Cups
Not all strawberries are created equal, and picking the right ones can make or break your dessert. During peak strawberry season, which typically runs from April through June depending on where you live, you’ll find the sweetest and most flavorful berries at your local farmers market or grocery store.
Look for strawberries that are bright red all the way through, with no white or green shoulders. The berries should smell sweet and fragrant. If they don’t have much aroma, they probably won’t have much flavor either.
I’ve learned through trial and error that medium-sized strawberries work better than those giant ones you sometimes see at the store. The huge berries might look impressive, but they’re often watery and less sweet. Medium berries pack more flavor and have a better texture when you slice them.
If you can’t find fresh strawberries or they’re out of season, frozen ones work in a pinch. Just make sure to thaw them completely and drain them really well. Nobody wants watery shortcake cups. For another way to enjoy strawberries, try my strawberry mousse cake which has a light, airy texture that’s perfect for warm weather.
The Secret to Making Strawberries Even Better
Here’s a tip that took me years to learn: macerating strawberries transforms them from good to absolutely incredible. When you toss sliced strawberries with sugar and let them sit, something wonderful happens. The sugar draws out the natural juices from the berries, creating this beautiful syrup that’s sweet, fruity, and perfect for soaking into your cake layers.
I usually give my strawberries at least 10 minutes to macerate, but if you have more time, letting them sit for 30 minutes or even an hour makes them even better. The berries soften slightly, and the syrup becomes more concentrated. Just give them a gentle stir every now and then to make sure all the berries are getting coated in that sweet juice.
Sometimes I’ll add a splash of vanilla extract or a squeeze of lemon juice to my strawberries. The vanilla enhances the natural sweetness, while the lemon brightens up the flavor and keeps everything from being too one-dimensional.
Mastering Homemade Whipped Cream
I’ll be honest with you. For years, I used the canned stuff. It was easy, it was quick, and nobody complained. But once I started making my own whipped cream, there was no going back. The difference in taste and texture is night and day.
Making whipped cream from scratch sounds intimidating, but it’s actually one of the easiest things you can do in the kitchen. You just need cold heavy cream, some powdered sugar, vanilla extract, and a mixer.
The key to perfect whipped cream is keeping everything cold. I mean really cold. I put my mixing bowl and beaters in the freezer for about 15 minutes before I start whipping. Some people think I’m crazy, but trust me, it makes a difference. Cold cream whips up faster and holds its shape better.
Start beating the cream on medium speed until it starts to thicken. Then add your powdered sugar and vanilla. I prefer powdered sugar over granulated because it dissolves more easily and doesn’t leave any gritty texture. Continue beating until you get stiff peaks. This means when you lift the beater out of the cream, the peaks stand up straight without flopping over.
Be careful not to overbeat your cream. If you go too far, you’ll end up with butter instead of whipped cream. I learned this the hard way when I got distracted by my phone one day. Now I always keep a close eye on it and stop as soon as I see those stiff peaks forming.
Picking the Perfect Cake for Your Cups
The type of cake you use can really change the character of these strawberry shortcake cups. I’ve experimented with pretty much every option available, and each one has its own charm.
Angel food cake is my lightest option. It’s airy, slightly sweet, and has this wonderful spongy texture that soaks up all that strawberry juice beautifully. It’s also the lowest in calories if that’s something you care about. My only complaint is that it can get a bit soggy if you assemble the cups too far in advance.
Pound cake is richer and denser. It holds up better to the juices and cream, which makes it great if you need to assemble your cups a little ahead of time. The buttery flavor adds another dimension to the dessert that I absolutely love. This is what I use when I’m making these for a party. Speaking of pound cake treats, my chocolate sheet cake uses a similar dense, moist texture that people go crazy for.
Store-bought shortcakes are the most traditional option. They have that biscuit-like texture that’s classic strawberry shortcake. The only downside is they can be harder to find in stores. When I do spot them, I usually buy a few packages to keep in my freezer for whenever the craving strikes.
I’ve even used ladyfingers and vanilla wafers when I was desperate. Both worked surprisingly well, though they gave the dessert a slightly different vibe.
Step-by-Step Guide to Assembling Strawberry Shortcake Cups
Now comes the fun part where everything comes together. This is where you can really get creative and make these cups your own.
Step 1: Prepare Your Strawberries
Wash and hull your strawberries, then slice them about 1/4 inch thick. Toss them with the granulated sugar in a medium bowl and let them sit while you prepare everything else. Give them a stir occasionally to distribute the sugar and juices evenly.
Step 2: Make Your Whipped Cream
Pour your very cold heavy cream into a chilled bowl. Beat on medium speed until it starts to thicken. Add the powdered sugar and vanilla extract, then continue beating until stiff peaks form. This usually takes about 3 to 5 minutes total.
Step 3: Prepare Your Cake
Take your angel food cake or pound cake and crumble it into bite-sized pieces. I like to tear the cake with my hands rather than cutting it with a knife. This creates irregular pieces that layer better and look more rustic and homemade.
Step 4: Choose Your Cups
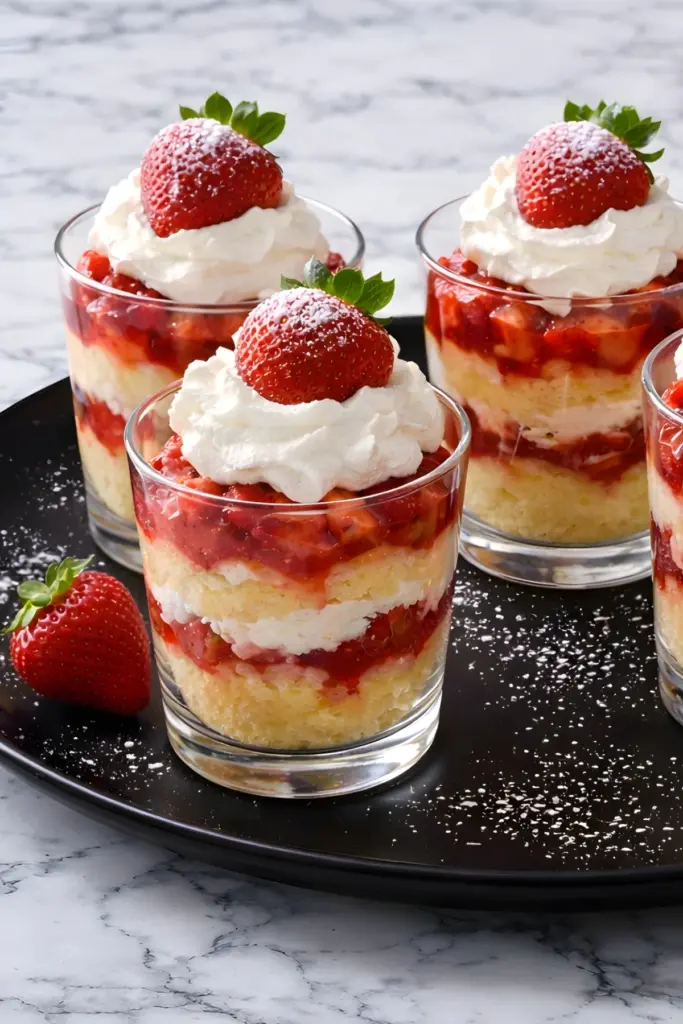
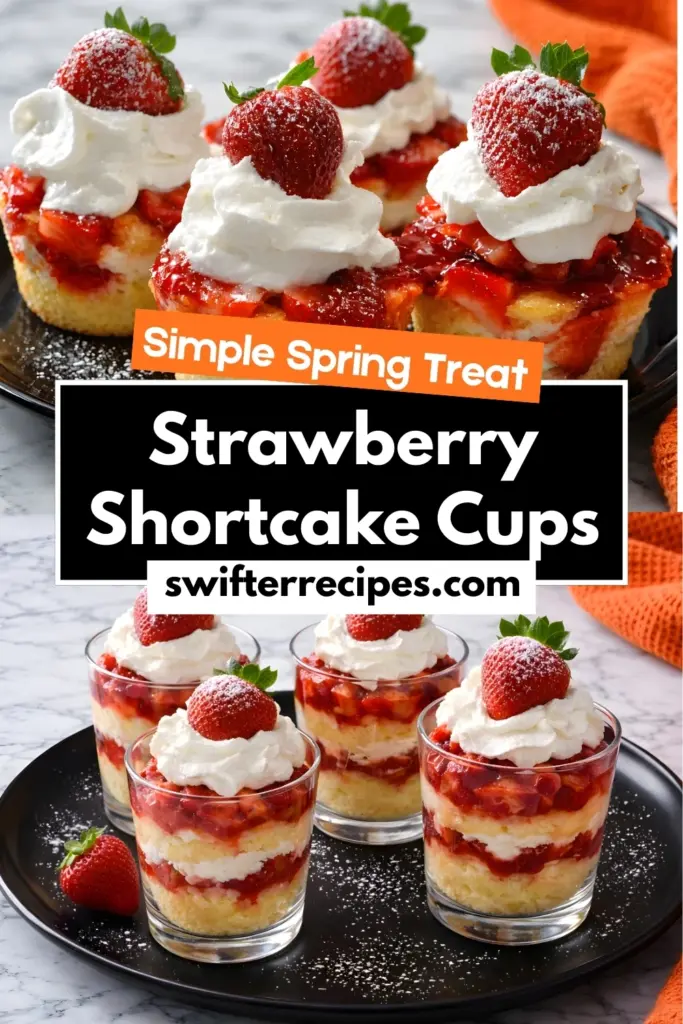
I’ve used everything from mason jars to fancy dessert cups to regular drinking glasses. Clear containers are best because they show off all those beautiful layers. Just make sure whatever you choose is big enough to hold multiple layers.
Step 5: Start Layering
Begin with a layer of crumbled cake at the bottom of each cup. Press it down gently but don’t pack it too tight. You want it to soak up some of that strawberry juice.
Spoon a generous layer of macerated strawberries and their juices over the cake. Don’t be shy with the juice. That’s where so much of the flavor comes from.
Add a big dollop of whipped cream on top of the strawberries. I like to use a spoon for this part, but you can also use a piping bag if you want to get fancy.
Repeat these layers until your cups are full, ending with a swirl of whipped cream on top.
Step 6: Garnish and Serve
Top each cup with a fresh strawberry slice. If you have fresh mint in your garden, a small leaf on top adds a pop of color and a hint of freshness. Some people think garnishing is silly, but I think it makes the dessert feel more special.
Tips and Tricks I’ve Learned Along the Way
After making these strawberry shortcake cups countless times, I’ve picked up a few tricks that make the process even easier and the results even better.
Timing Is Everything
These cups are best assembled no more than an hour before serving. If you put them together too far in advance, the cake gets soggy and the whipped cream can start to weep. That being said, you can prep all your components ahead of time. The strawberries can macerate in the fridge for hours, the whipped cream keeps for a day, and the cake can be crumbled in advance. Then it only takes a few minutes to assemble everything when you’re ready.
Temperature Matters
Keep your whipped cream refrigerated until the last possible moment. If it sits out in a warm room for too long, it can start to deflate and lose its fluffy texture.
Don’t Skip the Sugar
Some people ask if they can leave out the sugar that goes on the strawberries, especially if their berries are already sweet. I always say no. The sugar isn’t just for sweetness. It’s what draws out those juices and creates that syrupy liquid that soaks into the cake. Without it, your cups will be dry and not nearly as delicious.
Layer Thickness
I like to make my strawberry layers a bit thicker than my cake and cream layers. This ensures you get plenty of fruit flavor in every bite. Some people prefer more cake, so feel free to adjust based on your preferences.
Creative Variations to Try
Once you’ve mastered the basic recipe, there are so many ways to mix things up and keep things interesting.
Mixed Berry Shortcake Cups
Instead of using only strawberries, try a combination of strawberries, blueberries, raspberries, and blackberries. Macerate them all together with the sugar for a more complex berry flavor. If you love blueberry desserts as much as I do, check out my blueberry loaf for another way to showcase these little gems.
Chocolate Strawberry Shortcake Cups
Use chocolate pound cake instead of plain, or add some chocolate shavings between the layers. You could even mix a tablespoon of cocoa powder into your whipped cream for a chocolate cream layer. My chocolate covered strawberries are another winning chocolate-strawberry combo that never disappoints.
Lemon Strawberry Shortcake Cups
Add lemon zest to your whipped cream and a squeeze of fresh lemon juice to your strawberries. The citrus brightens everything up and adds a refreshing twist. For more lemon-berry pairings, my lemon blueberry sourdough bread is a delightful breakfast treat.
Boozy Adult Version
For grown-up gatherings, add a tablespoon of Grand Marnier, Chambord, or rum to your strawberries. You can also spike your whipped cream with a little liqueur. Just don’t tell the kids what makes the adult version taste so special.
Healthier Options
Swap the heavy cream for coconut cream if you want a dairy-free version. Use Greek yogurt mixed with a little honey instead of whipped cream for a protein boost. Choose whole grain pound cake or make your own with less sugar.
Common Mistakes to Avoid
I’ve made plenty of mistakes with these cups over the years, so let me help you avoid the same pitfalls.
Overbeating the Cream
This is probably the most common mistake. Watch your whipped cream carefully and stop as soon as you see stiff peaks. If you keep going, you’ll end up with grainy, separated cream that looks more like butter.
Using Warm Ingredients
Everything needs to be cold for these cups to work properly. Warm cream won’t whip correctly, and assembling the cups with warm components will cause everything to get mushy and deflate.
Cutting Strawberries Too Thick
Thick strawberry slices don’t layer well and can be awkward to eat. Stick to slices that are about 1/4 inch thick for the best results.
Not Draining Frozen Strawberries
If you’re using frozen berries, they need to be completely thawed and very well drained. Otherwise, they’ll add too much liquid and make everything watery.
Making These Cups Kid-Friendly
My kids absolutely love helping me make these strawberry shortcake cups. It’s a great way to get them involved in the kitchen without worrying about hot ovens or sharp knives.
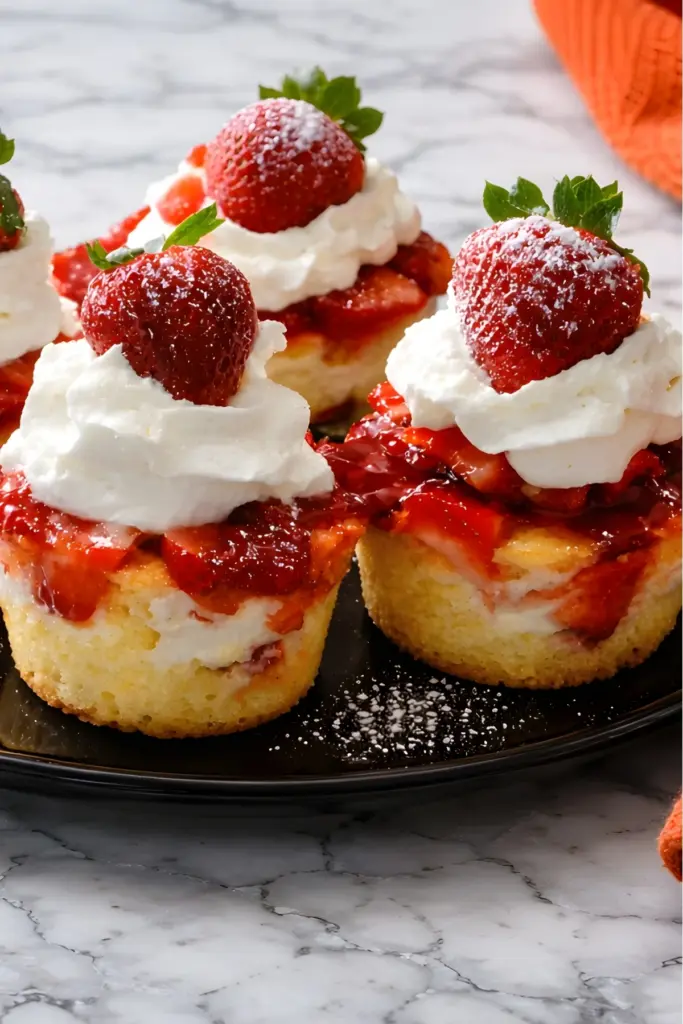
I let them wash the strawberries, which they think is super fun. They also love tearing up the cake into pieces. For some reason, being allowed to make a mess with their hands is the highlight of their day.
The layering part is where they really get excited. I set up an assembly line with all the components, and each kid gets to build their own cup. Sure, their layers might not be as neat as mine, but they’re so proud of what they create.
If your kids are picky eaters, these cups are a great way to get them to try new things. They can control what goes into their cup, which makes them more likely to actually eat it. For more kid-approved treats, my miniature baked cheesecakes are always a hit at birthday parties.
Serving Suggestions and Presentation Ideas
These strawberry shortcake cups are pretty enough to serve as they are, but there are ways to make them even more impressive if you’re entertaining.
For a baby shower or bridal shower, I like to use small mason jars tied with ribbons that match the party colors. You can even attach little spoons to the ribbons so guests have everything they need.
For a Fourth of July party, I add blueberries to create a red, white, and blue theme. It’s festive and patriotic without being over the top.
At birthday parties, I let kids top their own cups with extra whipped cream and sprinkles. It becomes an activity and a dessert in one.
For a more elegant dinner party, I use stemless wine glasses and garnish with mint leaves and a light dusting of powdered sugar. If you’re planning a Valentine’s Day celebration, these pair beautifully with my valentines heart petit fours for an over-the-top romantic dessert spread.
Storing and Make-Ahead Options
While these cups are best fresh, sometimes you need to plan ahead. Here’s what works and what doesn’t.
Components Can Be Prepped in Advance
You can macerate your strawberries up to 6 hours ahead and keep them in the fridge. The whipped cream will hold for about 24 hours in the refrigerator. Just give it a gentle stir before using. The crumbled cake can be stored in an airtight container at room temperature for a day or two.
Assembled Cups Have a Short Life
Once assembled, these cups should be eaten within an hour or two for the best texture. After that, the cake starts to get too soggy and the whipped cream begins to deflate. If you absolutely must make them ahead, assemble them no more than 2 hours before serving and keep them refrigerated.
Freezing Doesn’t Work
I’ve tried freezing assembled cups, and I don’t recommend it. The texture of the whipped cream gets weird, and the strawberries become mushy when thawed.
Why This Recipe Works for Every Occasion
I’ve served these strawberry shortcake cups at so many different events, and they always get rave reviews. Here’s why they work for practically any situation.
For casual family dinners, they’re easy enough that I don’t stress about making them. The kids love them, and they feel like a treat without being too heavy after a big meal.
For potlucks and parties, they’re portable and don’t require any serving utensils. Everyone gets their own portion, and there’s no mess to clean up.
For fancy gatherings, they look impressive and elegant. Nobody needs to know how simple they actually are to make.
For summer picnics, they hold up reasonably well in a cooler with ice packs, as long as you don’t assemble them until right before serving. If you’re planning a big summer gathering, pair these with my watermelon slushie for the ultimate refreshing menu.
Nutritional Information and Dietary Considerations
I’m not one to obsess over calories, but I know some people like to have this information. Each cup contains approximately 280 calories, which isn’t too bad for a dessert that tastes this indulgent.
If you’re watching your sugar intake, you can reduce the amount of sugar you add to the strawberries. Really ripe, sweet berries don’t need as much. You can also use a sugar substitute in the whipped cream if that’s your preference.
For a lighter version, try using half heavy cream and half Greek yogurt for the topping. You’ll still get that creamy texture with less fat and more protein.
These cups are naturally vegetarian, but they’re not vegan due to the dairy in the whipped cream. The dairy-free coconut cream version I mentioned earlier works if you need a vegan option.
FAQs About Strawberry Shortcake Cups
Can I make strawberry shortcake cups ahead of time?
While the individual components can be prepared in advance, I don’t recommend assembling the cups more than 1-2 hours before serving. The cake will become too soggy and the whipped cream may start to deflate. Macerate your strawberries up to 6 hours ahead, make the whipped cream up to 24 hours in advance, and crumble the cake a day or two early. Store each component separately in the refrigerator, then assemble just before serving for the best texture.
What’s the best type of cake to use for strawberry shortcake cups?
Angel food cake is light and airy but gets soggy quickly. Pound cake is denser and holds up better if you need to assemble slightly ahead of time. Traditional shortcakes give you that classic biscuit-like texture. For parties, I usually go with pound cake because it’s the most forgiving and adds a rich, buttery flavor.
Can I use frozen strawberries instead of fresh?
Yes, you can use frozen strawberries. Thaw them completely and drain them very well before macerating with sugar, as frozen berries release more liquid than fresh ones. You may want to reduce the amount of added sugar slightly since frozen berries are often sweeter. Keep in mind that frozen berries will have a softer texture than fresh ones.
How do I prevent my whipped cream from deflating?
Keep everything cold and don’t overbeat. Chill your mixing bowl and beaters in the freezer for 15 minutes before starting. Use very cold heavy cream and beat just until stiff peaks form, then stop immediately. Once whipped, keep the cream refrigerated until you’re ready to assemble your cups.
Final Thoughts on Strawberry Shortcake Cups
After all these years of making this recipe, I still get excited every time strawberry season rolls around. These cups represent everything I love about cooking: simple ingredients, easy techniques, and impressive results.
I love that this recipe brings my family together. Whether we’re assembling the cups side by side in the kitchen or enjoying them together on the back porch, these moments of connection are what cooking is really all about.
The best part is knowing that this recipe is now creating memories in other kitchens too. Every time someone tells me they made these for their family or brought them to a party, I smile knowing that a little piece of my kitchen joy is spreading around.
So grab some strawberries, whip up some cream, and make yourself a batch of these strawberry shortcake cups. They might just become your new favorite dessert too. And if you’re looking to expand your strawberry repertoire even further, don’t miss my strawberry shortcake ice cream for another way to enjoy these classic flavors.
Pin This Recipe for Later
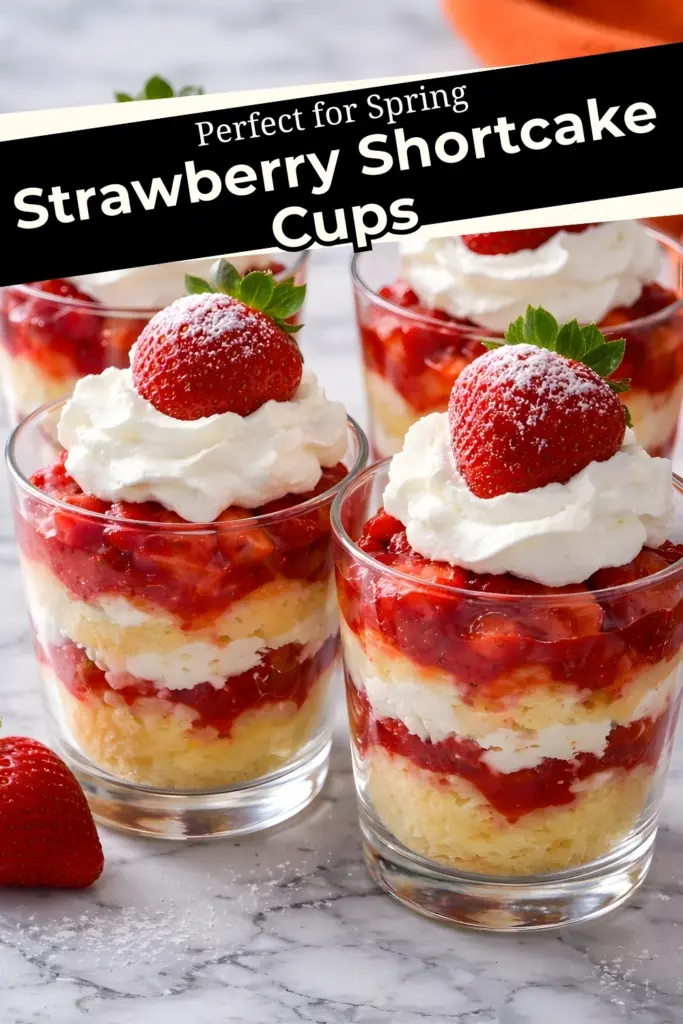
If you loved these strawberry shortcake cups as much as my family does, save this recipe to your Pinterest boards so you can find it whenever that strawberry craving hits. Share it with your friends who are always looking for easy dessert ideas. And if you make these cups, I’d love to hear about it in the comments. Did you try any of the variations? Did your kids help you make them? What did your family think? Let’s keep the conversation going and share our love of simple, delicious desserts that bring people together.
Print
Strawberry Shortcake Cups
- Total Time: 15 minutes
- Yield: 6–8 cups 1x
- Diet: Vegetarian
Description
A no-bake summer dessert featuring juicy strawberries, fluffy whipped cream, and tender cake in easy-to-assemble individual cups.
Ingredients
- 2 pounds fresh strawberries
- 1/4 cup granulated sugar
- 2 cups heavy whipping cream, very cold
- 1/2 cup powdered sugar
- 1 teaspoon pure vanilla extract
- 1 store-bought angel food cake or pound cake (10–12 ounces)
Instructions
- Wash, hull, and slice strawberries about 1/4 inch thick. Toss with granulated sugar in a bowl and let sit to macerate, stirring occasionally.
- Chill mixing bowl and beaters in the freezer for 15 minutes. Beat cold heavy cream until it thickens, then add powdered sugar and vanilla. Continue beating until stiff peaks form.
- Tear cake into bite-sized chunks using your hands for a rustic texture.
- Choose clear cups or jars for layering. Start with cake at the bottom, followed by a layer of strawberries and their juices, then a generous dollop of whipped cream.
- Repeat the layers until the cups are full, ending with whipped cream on top.
- Garnish with a fresh strawberry slice and mint leaf if desired. Serve immediately or within 1–2 hours for best texture.
Notes
To prevent soggy cake, assemble no more than 1–2 hours before serving. All components can be prepared ahead of time and stored separately. Use medium-sized strawberries for best flavor and texture.
- Prep Time: 15 minutes
- Cook Time: 0 minutes
- Category: Dessert
- Method: No-Bake
- Cuisine: American
Nutrition
- Serving Size: 1 cup
- Calories: 280
- Sugar: 20g
- Sodium: 90mg
- Fat: 18g
- Saturated Fat: 11g
- Unsaturated Fat: 6g
- Trans Fat: 0g
- Carbohydrates: 27g
- Fiber: 2g
- Protein: 3g
- Cholesterol: 45mg