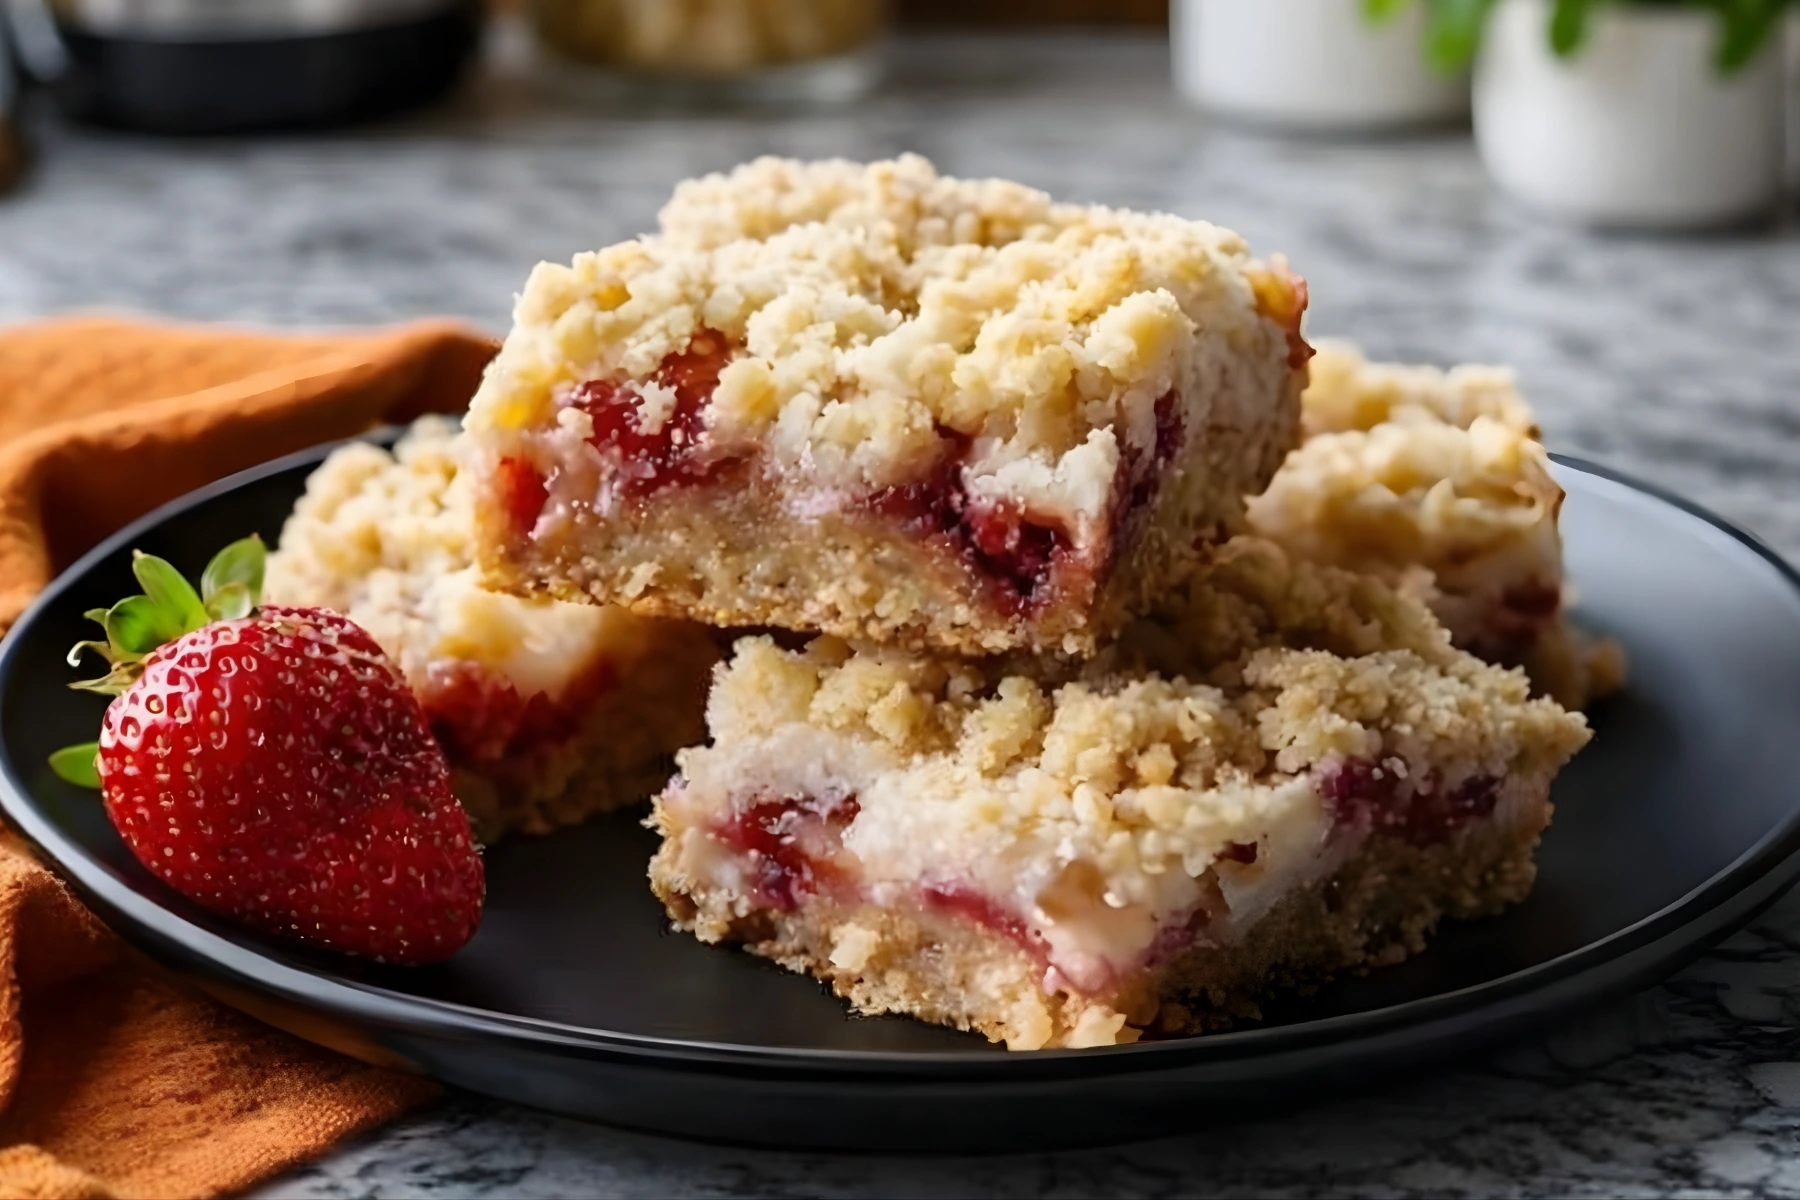
There’s something magical about biting into a dessert that perfectly balances tart and sweet flavors. These lemon strawberry crumb bars do exactly that, and they’ve become one of my go-to recipes when I need something impressive but don’t want to spend hours in the kitchen.
I first made these bars for a family barbecue last summer, and let me tell you, they disappeared faster than I could say “who wants dessert?” The combination of fresh strawberries with bright lemon zest, all tucked between layers of buttery oat crumble, creates something truly special. Whether you’re new to baking or you’ve been doing this for years, this recipe is going to become a favorite in your household.
Why These Strawberry Lemon Bars Are Perfect for Any Occasion

Let me be honest with you. I’m always looking for recipes that taste like I spent all day in the kitchen but actually take less than an hour from start to finish. These lemon strawberry crumb bars check every single box.
They’re ready in just 45 minutes total, which means you can whip them up on a weeknight after dinner or throw them together on a Saturday morning before the kids’ soccer games. The ingredients are straightforward, nothing fancy or hard to find. You probably have most of them in your pantry right now.
What I love most about this recipe is how forgiving it is. Forgot to zest your lemon first? No problem. Your strawberries aren’t perfectly chopped? They’ll still taste amazing. This is the kind of recipe that welcomes you into the kitchen with open arms, not one that makes you feel stressed about every little detail.
The Story Behind My Love for Fruit Crumb Bars
I grew up watching my mom make fruit crisps and crumbles every summer. She’d use whatever fruit was in season, and the house would fill with the most incredible smells. Those memories stuck with me, and when I started my own family, I knew I wanted to create those same moments.
But here’s the thing about traditional crisps. They can get messy, especially when you’re trying to serve them at outdoor gatherings or pack them for picnics. That’s when I discovered the beauty of bar desserts. All the deliciousness of a fruit crisp, but in a portable, easy-to-serve format.
These strawberry lemon crumb bars take everything I loved about my mom’s summer desserts and make them even better. The lemon adds a brightness that cuts through the sweetness perfectly, and the oat crumble gives you that satisfying texture in every bite. If you love this combination, you might also enjoy my strawberry rhubarb crumble recipe, which has a similar buttery topping.
What Makes This Recipe Special
Let’s talk about what sets these bars apart from other fruit desserts you might have tried.
Fresh Strawberries Shine
I use fresh strawberries in this recipe, and trust me when I say it makes all the difference. Frozen strawberries release too much liquid and can make your bars soggy. Fresh berries hold their shape better and give you those gorgeous pockets of jammy fruit throughout.
When you’re shopping for strawberries, look for ones that are bright red, firm, and smell sweet. If they don’t smell like anything in the store, they probably won’t taste like much in your bars either. I also love using fresh strawberries in my strawberry shortcake cups and chocolate covered strawberries for other simple summer treats.
Lemon Brings the Magic
The lemon in this recipe isn’t just there for decoration. Both the juice and the zest work together to brighten up the strawberries and balance out the sweetness from the sugar. Without it, these bars would be good. With it, they’re absolutely incredible.
I always use fresh lemons, never the bottled stuff. The flavor just can’t compare. Plus, zesting a lemon takes maybe thirty seconds, and that tiny bit of effort pays off in a huge way. If you’re a fan of lemon in desserts like I am, you’ll also love my lemon blueberry sourdough bread and sourdough discard blueberry lemon muffins.
The Perfect Crumb Topping
This isn’t your average crumb topping. The combination of flour, oats, butter, and sugar creates something that’s crispy on top but stays a little chewy underneath. It’s substantial enough to hold everything together when you cut the bars, but it still has that melt-in-your-mouth quality that makes you reach for seconds.
The rolled oats add texture and make these bars feel a little more wholesome. I love that I can serve these for dessert without feeling like I’m giving my family pure sugar.
Ingredients You’ll Need
One of my favorite things about this recipe is how simple the ingredient list is. No special trips to fancy grocery stores or hunting down obscure ingredients.
For the Fruit Filling
- Fresh strawberries are the star of the show. You’ll need about 2 cups once they’re chopped. I usually buy a pound and have just enough.
- Lemon juice and zest brighten everything up. One medium lemon will give you what you need for both.
For the Crumb Base and Topping
- All-purpose flour forms the base of your crumble. I’ve tried this with whole wheat flour, and it works, though the texture is a bit denser.
- Rolled oats add that perfect texture. Make sure you use old-fashioned rolled oats, not instant or steel-cut.
- Melted butter binds everything together and gives you that rich, buttery flavor. I use unsalted butter so I can control the salt level, but salted works too.
- Granulated sugar sweetens the crumble. If you want to reduce sugar, you can cut this down by a tablespoon or two without major issues.
Step-by-Step Instructions for Perfect Bars Every Time
I’m going to walk you through this recipe exactly how I make it in my own kitchen. No fancy techniques, just straightforward steps that work.
Getting Started
First things first, preheat your oven to 350°F. I know it’s tempting to skip this step and just turn the oven on when you’re ready to bake, but trust me. A properly preheated oven makes a real difference in how evenly these bars bake.
Line your 8×8 inch baking pan with parchment paper. Leave some overhang on the sides. This is going to be your best friend later when you need to lift the bars out of the pan. I learned this trick years ago, and it’s been a game changer.
Making the Crumb Mixture
In a large bowl, mix together your flour, oats, sugar, and melted butter. I use a fork for this, just stirring until everything looks crumbly and combined. The mixture should look like wet sand. If you grab a handful and squeeze it, it should hold together, but it should also crumble apart easily.
Here’s a tip I wish someone had told me when I first started baking. Make sure your butter is melted but not hot. If it’s too hot, it can start cooking your flour, which changes the texture. I usually melt mine in the microwave in 15-second bursts, stirring in between.
Creating the Base Layer
Take about two-thirds of your crumb mixture and press it firmly into the bottom of your prepared pan. Use your hands or the bottom of a measuring cup to really pack it down. You want a solid, even layer that’s going to support all that delicious fruit.
This base layer gets a head start in the oven. Bake it for 10 minutes. This pre-baking step is crucial because it helps the bottom layer stay crisp even after you add the fruit. Nobody wants soggy bars.
Preparing the Strawberry Filling
While your base is baking, chop up those strawberries. I like mine in roughly half-inch pieces. Some people prefer them smaller, some like bigger chunks. Honestly, it’s up to you and how you like your fruit desserts.
Toss the chopped strawberries with the lemon juice and lemon zest in a bowl. Make sure everything is well coated. The lemon juice starts breaking down the strawberries just a little bit, which creates some natural syrup that helps everything bind together.
If you want to get fancy, you can add a tablespoon of cornstarch to this mixture. It’ll make the filling a little thicker and less likely to make the bars soggy. I don’t always do this, but it’s nice to have that option if you’re making these on a humid day.
Assembling and Baking
Once your base comes out of the oven, spread the strawberry mixture evenly over it. Don’t wait for the base to cool. You want to work quickly here.
Sprinkle the remaining crumb mixture over the top of the strawberries. Don’t pack it down this time. Just let it fall naturally in an even layer. Those loose crumbs are going to get beautifully golden and crispy in the oven.
Back into the oven everything goes for 30 to 35 minutes. You’re looking for the top to turn golden brown and for the fruit to be bubbling around the edges. Your kitchen is going to smell absolutely amazing during this time.
The Hardest Part: Waiting
Here’s where I need you to be strong. Let these bars cool completely in the pan before you try to cut them. I know it’s hard. I know they smell incredible and you just want to dig in. But if you cut them while they’re still warm, they’re going to fall apart.
I usually let mine cool on the counter for about an hour, then pop them in the fridge for another 30 minutes. The cold helps firm everything up and makes cutting clean slices so much easier.
When you’re ready to cut, use the parchment paper overhang to lift the whole thing out of the pan. Set it on a cutting board and use a sharp knife to cut into nine bars. Wipe your knife clean between cuts for the neatest edges.
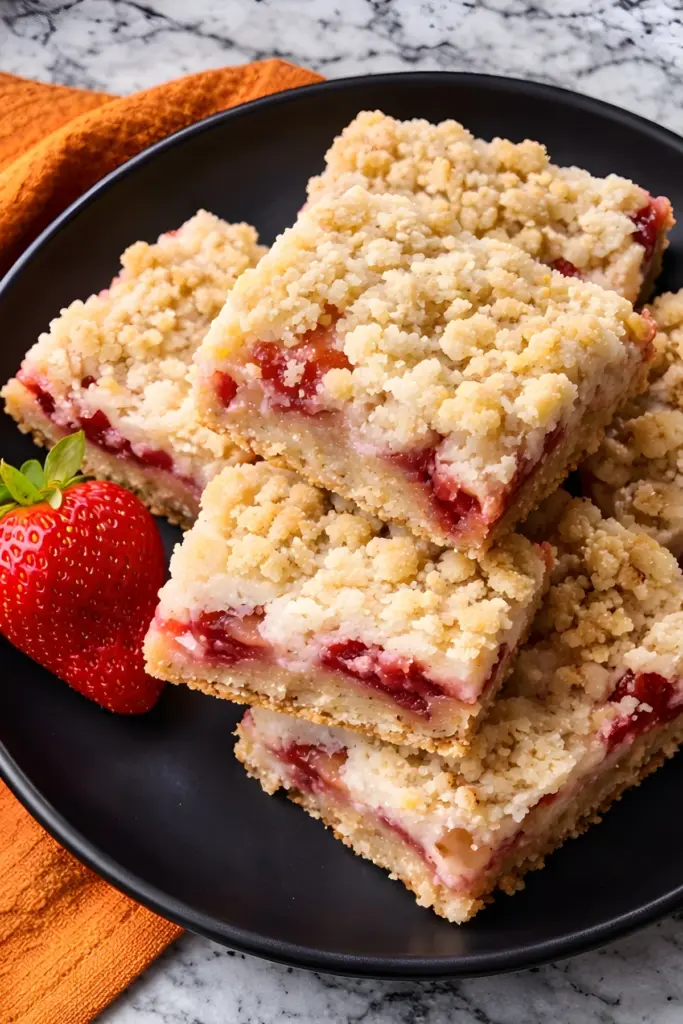
Tips and Tricks for the Best Lemon Strawberry Crumb Bars
I’ve made these bars more times than I can count, and I’ve learned a few things along the way that I want to share with you.
About the Strawberries
Make sure your strawberries are as dry as possible before you chop them. If you wash them, let them dry completely on a kitchen towel. Extra moisture means soggier bars.
You can absolutely use this same recipe with other berries. I’ve done it with raspberries, blueberries, and even a mixed berry combination. Each version is delicious in its own way. My blueberry loaf uses a similar technique if you want to try a different fruit variation.
Getting the Right Texture
If your crumb topping seems too dry and won’t hold together at all, add another tablespoon of melted butter. If it seems too wet and is forming big clumps, add a bit more flour and oats in equal parts.
The oats should be visible in your topping. If they seem to disappear into the mixture, you need more oats.
Baking Considerations
Every oven is different. Mine runs a little hot, so I sometimes need to reduce the temperature by 10 degrees or cover the bars with foil for the last 10 minutes to prevent over-browning.
If the edges of your bars are getting too dark but the center isn’t done yet, that foil trick works great. Just tent it loosely over the top.
Storage and Make-Ahead Options
These bars keep beautifully in an airtight container in the refrigerator for up to five days. The cold actually makes them even better because it firms up the filling.
You can freeze them too. Just wrap individual bars in plastic wrap, then put them all in a freezer bag. They’ll keep for up to three months. Let them thaw in the fridge overnight before serving.
Want to make these ahead for a party? Bake them the day before, let them cool completely, cover the pan tightly with plastic wrap, and refrigerate. Cut them right before serving.
Creative Variations to Try
Once you’ve made the basic recipe a few times and you’re comfortable with it, here are some fun ways to switch things up.
Different Fruit Combinations
Try half strawberries and half rhubarb for a classic combination. The tartness of the rhubarb is amazing with the lemon.
Peaches and strawberries together are incredible in late summer when both are at their peak.
Add a handful of blackberries to your strawberries for extra color and flavor complexity.
Flavor Additions
A quarter teaspoon of vanilla extract in the fruit mixture adds warmth.
Swap half the lemon zest for orange zest for a different citrus profile. I use orange zest in my orange cranberry cookies for a similar bright flavor.
Add a pinch of cinnamon to the crumb mixture for a subtle spice note.
Throw in a handful of white chocolate chips over the fruit layer before adding the top crumble. If you love white chocolate, check out my white chocolate macadamia nut cookies for another treat.
Dietary Modifications
For a gluten-free version, use a 1-to-1 gluten-free baking flour and gluten-free oats. I’ve made these this way for a friend with celiac disease, and they turned out great.
You can use coconut oil instead of butter for a dairy-free option. The flavor will be slightly different, but still delicious.
If you want to reduce the sugar, you can cut it down to 1/3 cup. The bars will be less sweet but still tasty, especially if your strawberries are very ripe and sweet.
Serving Suggestions That Will Impress
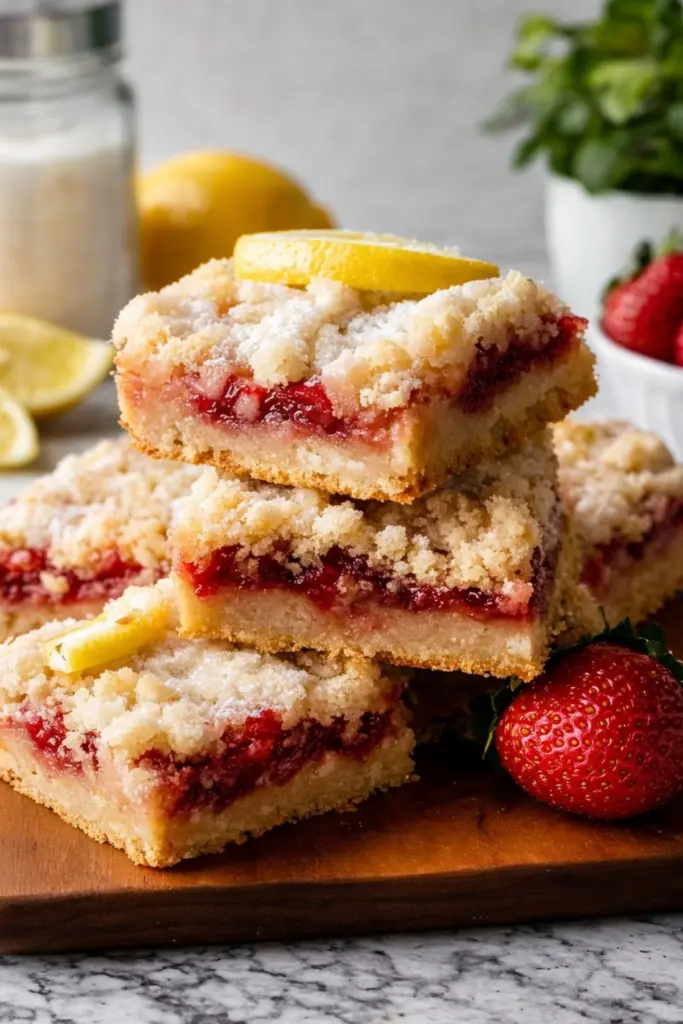
These lemon strawberry crumb bars are wonderful on their own, but here are some ways to take them over the top.
For Dessert
Serve them warm with a scoop of vanilla ice cream melting over the top. The contrast between the cold ice cream and the warm bars is incredible. Speaking of ice cream, my strawberry shortcake ice cream recipe pairs beautifully with these bars.
A dollop of fresh whipped cream and a few extra slices of fresh strawberry on the side make them look bakery-fancy.
Drizzle them with a simple lemon glaze made from powdered sugar and lemon juice for extra lemon flavor.
For Brunch or Snacking
These make an excellent addition to a brunch spread. They’re sweet enough to feel special but not so rich that you can’t enjoy them in the morning.
Pack them in lunchboxes for a special treat. They hold up well and don’t need refrigeration for a few hours.
Bring them to potlucks, bake sales, or book club meetings. They travel beautifully and always get compliments.
FAQs
Can I use frozen strawberries?
I don’t recommend it for this recipe. Frozen strawberries have too much moisture and will make your bars soggy. If you absolutely must use frozen, thaw them completely, drain them very well, and add an extra tablespoon of cornstarch to the fruit mixture.
Why are my bars falling apart when I cut them?
This usually means they weren’t cool enough when you cut them. Make sure they’re completely cooled, and even chilled if possible. Also, check that you pressed the bottom layer firmly enough before baking.
Can I double this recipe?
Absolutely. Use a 9×13 inch pan and keep the baking times the same. You might need an extra 5 minutes in the oven, but start checking at the regular time.
How do I know when they’re done baking?
The top should be golden brown, and you should see the fruit bubbling around the edges. If you insert a toothpick into the crumble part (not the fruit), it should come out clean or with just a few crumbs.
Why This Recipe Works for Busy Families
I’m a mom, I work, and I don’t have time for complicated recipes that require me to be in the kitchen for hours. These bars fit into my real life, and I think they’ll fit into yours too.
The prep is genuinely quick. Ten minutes is not an exaggeration. You’re not making pastry dough or separating eggs or doing anything fussy.
The ingredients are things I keep on hand anyway. Flour, oats, butter, sugar, and lemons are pantry and fridge staples. The only thing I need to specifically buy is fresh strawberries.
These bars are sturdy enough that kids can help make them without creating a disaster. Little ones can press the bottom layer into the pan. Older kids can do most of the recipe themselves with supervision.
They’re portion-controlled. When you cut them into bars, everyone gets their own serving. No fighting over who got more, no messy scooping.
The Science Behind Why These Taste So Good
I’m not a food scientist, but I’ve learned a few things over the years about why certain flavor combinations work so well together.
Strawberries are sweet but can be a little one-dimensional on their own. The lemon adds acidity, which makes your taste buds perk up and notice all the nuances in the strawberry flavor.
The butter in the crumble carries flavor molecules that wouldn’t dissolve in water alone. This means you taste more of the lemon and vanilla notes.
The oats add a toasty, nutty flavor when they bake that complements the fruit beautifully. They also add texture, which keeps your mouth interested bite after bite.
Sugar doesn’t just make things sweet. It also helps with browning and creates that slightly crispy top layer we all love.
Making These Bars Part of Your Traditions
Food has this amazing ability to create memories and mark special occasions. I hope these lemon strawberry crumb bars become part of your family’s story the way they’ve become part of mine.
Maybe you’ll make them every year on the first day of summer. Maybe they’ll become your signature dish for fourth of July gatherings. Maybe they’ll just be what you make on random Tuesday nights when you want something sweet.
However these bars fit into your life, I hope you’ll make them your own. Change the fruit. Adjust the sweetness. Add your own special touches. That’s what cooking is all about. If you enjoy creating sweet treats for special occasions, you might also like my strawberry cheesecake cookies or strawberry mousse cake recipe for other celebrations.
Final Thoughts on This Summer Dessert
If you’ve read this far, thank you. I know I’ve given you a lot of information, probably more than you expected when you clicked on a recipe for fruit bars. But that’s because I really believe in this recipe, and I want you to have success with it.
These lemon strawberry crumb bars are simple, delicious, and reliable. They work for beginners and experienced bakers alike. They’re perfect for feeding a crowd or just treating your family on a regular weeknight.
The combination of tangy lemon, sweet strawberries, and buttery oat crumble is something special. It tastes like summer, like home, like comfort.
So go ahead and make these bars. Take them to your next gathering. Serve them for dessert tonight. Pack them in lunchboxes tomorrow. However you share them, I think you’re going to love them as much as my family and I do.
If you make these lemon strawberry crumb bars, I’d absolutely love to hear about it. Did you change anything? What did your family think? Did you serve them for a special occasion or just because it was Tuesday and you wanted something sweet?
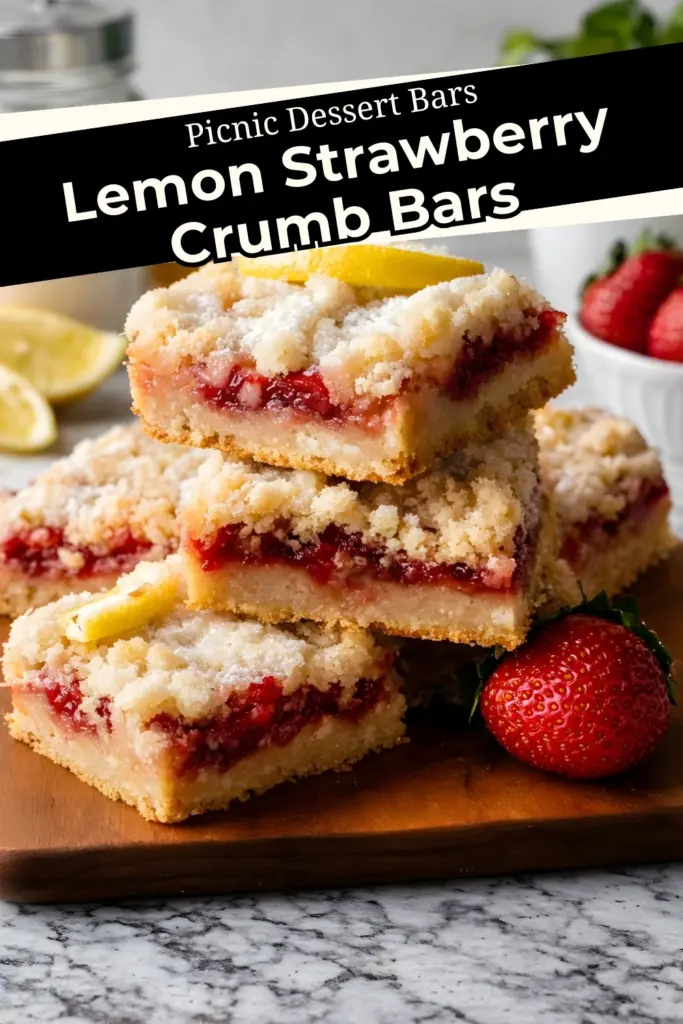
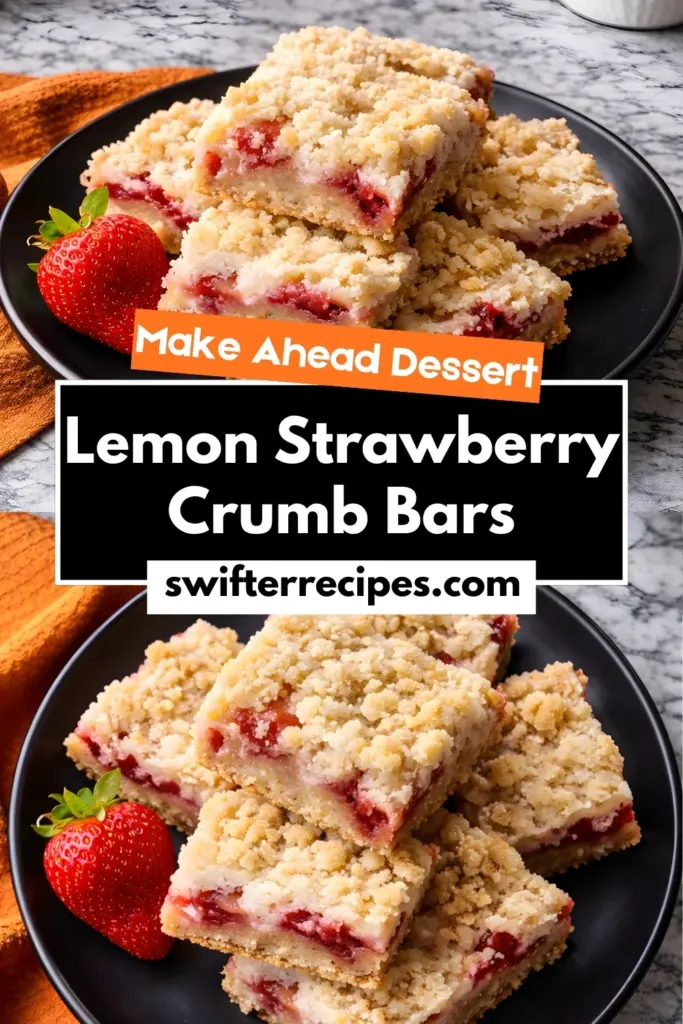
Save this recipe to Pinterest so you can find it again when strawberry season rolls around. Pin it to your dessert board, your summer recipes board, or wherever you keep the recipes you actually want to make. Share it with your friends who love easy, delicious baking just as much as you do.
Happy baking, and I hope these bars bring as much joy to your kitchen as they’ve brought to mine!
Print
Lemon Strawberry Crumb Bars
- Total Time: 45 minutes
- Yield: 9 bars 1x
- Diet: Vegetarian
Description
Buttery oat crumble, sweet strawberries, and bright lemon flavor come together in these quick and easy crumb bars that taste like summer in every bite.
Ingredients
- 2 cups fresh strawberries, chopped
- 1 medium lemon, juiced and zested
- 1 cup all-purpose flour
- 1 cup rolled oats (old-fashioned)
- 1/2 cup granulated sugar
- 1/2 cup unsalted butter, melted
- (Optional) 1 tablespoon cornstarch for thicker filling
Instructions
- Preheat oven to 350°F (175°C). Line an 8×8 inch baking pan with parchment paper, leaving overhang on the sides.
- In a large bowl, mix flour, oats, sugar, and melted butter until crumbly and combined. Mixture should resemble wet sand.
- Press 2/3 of the mixture into the bottom of the pan to form the crust. Bake for 10 minutes.
- While crust is baking, toss chopped strawberries with lemon juice and zest (and cornstarch if using). Stir to coat evenly.
- Spread strawberry mixture over the hot crust. Sprinkle remaining crumb mixture on top without pressing it down.
- Bake for 30–35 minutes, until the top is golden brown and the fruit is bubbling at the edges.
- Cool completely in the pan, then chill for 30 minutes before cutting into bars. Use parchment overhang to lift out easily. Cut into 9 bars and enjoy!
Notes
Let bars cool completely before slicing for clean edges. Store in the refrigerator for up to 5 days or freeze for up to 3 months. Fresh strawberries work best—frozen berries tend to add too much moisture.
- Prep Time: 10 minutes
- Cook Time: 35 minutes
- Category: Dessert
- Method: Baking
- Cuisine: American
Nutrition
- Serving Size: 1 bar
- Calories: 210
- Sugar: 14g
- Sodium: 40mg
- Fat: 10g
- Saturated Fat: 6g
- Unsaturated Fat: 3g
- Trans Fat: 0g
- Carbohydrates: 29g
- Fiber: 2g
- Protein: 2g
- Cholesterol: 20mg