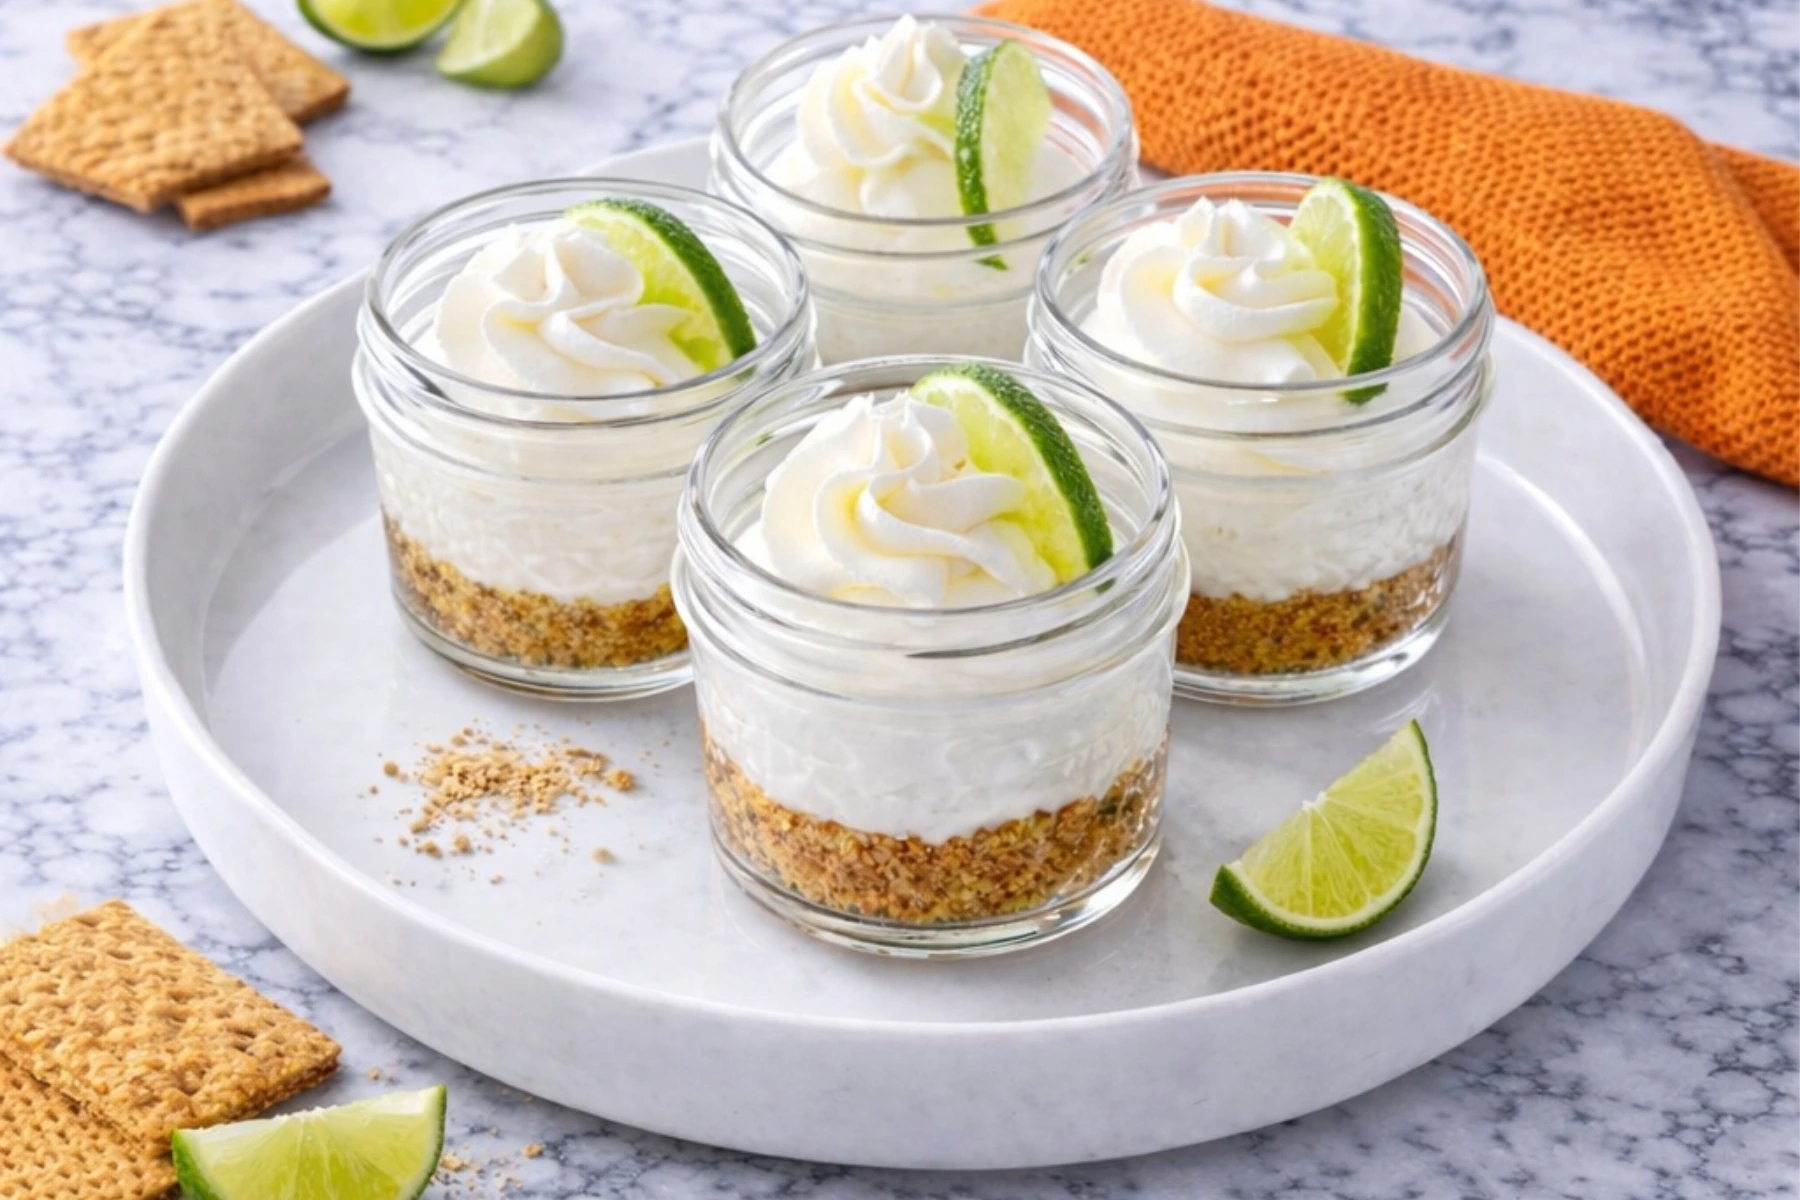
If you are looking for a dessert that is adorable, refreshing, and completely stress-free, these Mini No-Bake Key Lime Pie in a Jar are exactly what you need this summer.
No oven. No fuss. Just pure, creamy, tangy goodness layered right inside a little mason jar.
I made these for the first time on a Tuesday evening when I had zero energy to bake but still wanted something special for my family after dinner. My kids went absolutely wild for them. My husband ate two before I could even grab my camera. And I have been making them on repeat ever since.
That right there tells you everything you need to know.
Whether you are hosting a backyard cookout, planning a birthday spread, or just want a no bake key lime pie treat that feels a little fancy without requiring much effort, this recipe is going to become your new best friend. And if you love easy citrus desserts served in individual portions, you are also going to want to bookmark these No-Bake Lemon Cheesecake Cups for later.
What Makes This No-Bake Key Lime Pie Recipe So Special
Let me be honest with you. I have tried plenty of key lime pie recipes over the years. Some were delicious but required way too many steps. Others were okay but lacked that real, bright lime flavor that makes your taste buds wake up.
This one hits differently.
The filling is rich, creamy, and just the right amount of tangy. The graham cracker crust has this buttery crunch that contrasts beautifully with the smooth filling. And because everything is served in individual mini key lime pie jars, there is no slicing, no messy serving, and honestly no drama. If you are obsessed with individual cup desserts like I am, you will also love these Strawberry Shortcake Cups that are just as easy and crowd-pleasing.
It is the kind of dessert that looks like you spent hours on it but actually comes together in about 20 minutes of hands-on time.

That is a win in my book every single time.
Ingredients You Will Need for These Key Lime Dessert Jars
Before we get into the how, let me walk you through the what. These ingredients are simple, easy to find, and most of them might already be sitting in your kitchen.
For the graham cracker crust:
- 1 cup graham cracker crumbs
- 4 tablespoons unsalted butter, melted
- 3 tablespoons sugar
For the creamy key lime filling:
- 3/4 cup heavy whipping cream
- 1 teaspoon vanilla extract
- 1 can (14 oz) sweetened condensed milk
- 1 package (8 oz) cream cheese, softened
- 3/4 cup key lime juice
To serve:
- 12 mini mason jars
- Freshly whipped cream for garnish
- Halved lime slices for garnish
A quick note on the key lime juice: if you can find actual key limes at your grocery store, squeeze them fresh. The flavor is a little more floral and complex than regular lime juice. That said, bottled key lime juice works perfectly well and saves a ton of time, so do not stress over it.
Also, please make sure your cream cheese is fully softened before you start. This one step makes a huge difference in getting that silky smooth filling without any lumps.
How to Make Mini No-Bake Key Lime Pie in a Jar Step by Step
This easy key lime pie recipe is broken into simple stages. Nothing complicated, I promise.
Step 1: Make the Graham Cracker Crust
Combine the graham cracker crumbs, melted butter, and sugar in a bowl. Stir until everything is evenly coated and the mixture feels like wet sand.
Spoon a heaping tablespoon of the mixture into each of your 12 mini mason jars.
Use the back of a spoon or even a wine cork to pack it down firmly. You want it compact so it holds together when you scoop into the jar later.
Pop the jars in the fridge for at least 10 minutes to set while you work on the filling.
Step 2: Whip the Heavy Cream
In the bowl of your stand mixer fitted with the whisk attachment, whip the heavy whipping cream and vanilla extract together until you get stiff peaks.
This step is important because the whipped cream is what gives the filling that light, airy texture instead of something dense and heavy.
Transfer the whipped cream to a separate bowl and set it aside for now.
Step 3: Beat the Cream Cheese Filling
Switch to the paddle attachment on your stand mixer. Beat the softened cream cheese on medium speed until it is completely smooth.
Slowly add the sweetened condensed milk and beat until everything is combined and silky.
Now fold in your whipped cream and mix until just combined. You want to keep some of that lightness in there.
Step 4: Add the Key Lime Juice
Here comes the magic moment.
With the mixer running on low-medium speed, slowly pour in the key lime juice. Watch the filling transform into this gorgeous, creamy, pale green mixture that smells absolutely incredible.
Beat until smooth and everything is fully incorporated.
Step 5: Fill the Jars
Transfer your filling to a piping bag or a zip-lock bag with the corner snipped off.
Pipe the filling into each jar right on top of the graham cracker crust. Fill each jar a little more than three-quarters of the way full.
This makes for a beautiful presentation and leaves just enough room for your whipped cream topping later.
Step 6: Refrigerate and Set
Cover the jars and refrigerate for at least 2 hours. The filling needs time to firm up and develop all those deep, tangy flavors.
Honestly, if you can make these the night before, please do. They taste even better the next day.
Step 7: Garnish and Serve
Right before serving, top each jar with a swirl of freshly whipped cream and a little half slice of lime.
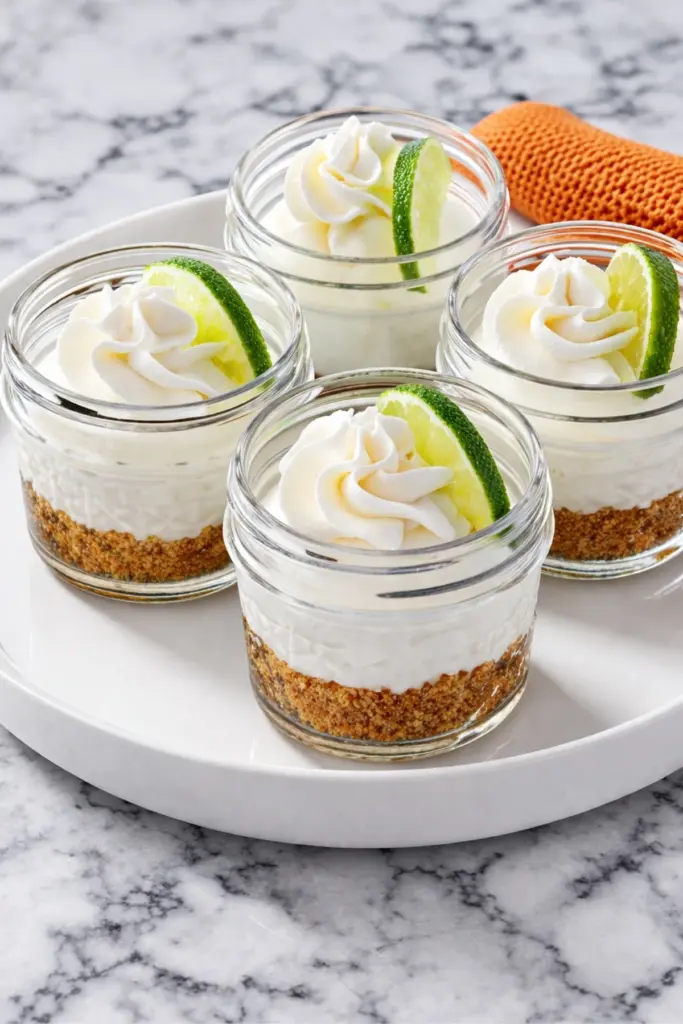
That lime slice sitting on top of the whipped cream is not just for looks. It signals to everyone at the table exactly what flavor adventure they are about to have.
Tips for Making the Best Mason Jar Desserts Every Time
I have made these mason jar desserts enough times now to know where things can go sideways. Here is what I have learned so you do not have to figure it out the hard way.
- Soften your cream cheese completely. I pull mine out of the fridge at least an hour before I start. Cold cream cheese will give you a lumpy filling no matter how long you beat it.
- Pack the crust tightly. A loose crust will just crumble when you dig into the jar. Press it down firmly and give it a good chill before adding the filling.
- Add the lime juice slowly. Pouring it in all at once can make the filling seize up a little. A slow, steady pour while the mixer runs gives you that smooth, creamy texture.
- Use mini mason jars. The 4-ounce size is perfect here. Each jar becomes its own little self-contained portion, which makes serving and storing incredibly easy.
- Make them ahead. These jars hold up beautifully in the fridge for up to three days. That makes them perfect for easy make ahead desserts when you are planning for a party or event.
If you are a fan of individual portion desserts, you will also want to check out these Miniature Baked Cheesecakes for when you want something a little more traditional but still adorably small.
Fun Variations to Try with This Easy Key Lime Pie Recipe
One of my favorite things about this recipe is how flexible it is. Once you have the base down, you can play around with it in so many ways.
Swap the Crust
- Use crushed vanilla wafers instead of graham crackers for a slightly sweeter base.
- Try crushed ginger snap cookies for a spicy, warm contrast to the tart lime filling.
- Coconut macaroon crumbs work beautifully if you want a tropical twist.
If you love a buttery crumb base with a fruity filling, these Lemon Strawberry Crumb Bars use a similar concept and are absolutely worth trying next.
Add Mix-Ins to the Filling
- Stir a tablespoon of lime zest directly into the filling for an extra punch of citrus flavor.
- Add a few drops of green food coloring if you want that classic key lime pie color.
- Fold in a handful of toasted shredded coconut for a little texture and tropical flavor.
Change Up the Toppings
- Crushed graham crackers sprinkled on top of the whipped cream add a nice extra crunch.
- Thin slices of fresh strawberry make for a gorgeous color contrast and a fun flavor pairing.
- A drizzle of honey or raspberry sauce over the whipped cream takes these to a whole new level.
Speaking of fun no-bake summer treats, these Yogurt Strawberry Bark Bites are another quick freezer dessert the whole family will devour.
Do not be afraid to experiment. That is what cooking is all about.
Why These No-Bake Summer Desserts Are Perfect for Entertaining
Here is the thing about no bake summer desserts that I have come to truly appreciate as a busy mom.
When it is hot outside, turning on the oven feels like a punishment. You already worked hard to pull dinner together. The last thing you want to do is stand over a hot stove or wait for something to bake and cool before you can even assemble dessert.
These jars solve all of that.
You can make them days ahead, store them covered in the refrigerator, and pull them straight out when you are ready to serve. No last-minute scrambling. No worrying about keeping something warm. Just grab a jar, add the whipped cream, and you are done. Another no-bake favorite I always come back to for summer gatherings is this Strawberry Cream Cheese Icebox Cake, which is just as make-ahead friendly and just as impressive on a dessert table.
They also travel well. I have wrapped the lids on tight and brought these to potlucks and outdoor parties without any issues. They stack easily in a cooler, they hold their shape, and every single person who sees them immediately wants to know where they came from.
Individual easy individual dessert jars just have that wow factor without the work. That combination is kind of unbeatable.
How to Store These Creamy Key Lime Desserts
Storage is wonderfully simple here.
Keep the filled jars covered in the refrigerator for up to three days. I usually wait to add the whipped cream topping until right before serving so it stays fresh and fluffy.
If you want to make a larger batch, this recipe scales up easily. Just double or triple the ingredients and fill more jars. They are perfect no bake party desserts for a crowd.
I do not recommend freezing these. The cream cheese filling can change texture after freezing and thawing, and the result is not quite as smooth and creamy as the original.
If you love simple, creamy citrus desserts that set up beautifully in the fridge, you might also enjoy this Lemon Posset Recipe which requires zero baking and only a handful of ingredients.
FAQs
Can I use regular limes instead of key limes?
Yes, absolutely. Regular lime juice works fine here. The flavor is slightly less floral but still bright and delicious. You will not be disappointed.
Do I need a stand mixer?
A hand mixer works just as well. You just want enough power to really whip the cream to stiff peaks and beat the cream cheese until smooth.
Can I make these in regular-sized mason jars?
You can, but I love the portion control that comes with the mini jars. If you use larger jars, just know that the serving size will increase and you will get fewer jars out of the recipe.
What if I cannot find mini mason jars?
Small plastic cups, dessert cups, or even short drinking glasses work great as substitutes. The presentation is slightly different but the flavor is identical.
This Is the No-Bake Key Lime Pie You Need This Summer
I genuinely believe that some of the best recipes are the simple ones. The ones that do not require a culinary degree or a long afternoon in the kitchen. The ones that bring your family running to the table and have your guests asking for the recipe before they have even finished their last bite.
These Mini No-Bake Key Lime Pie in a Jar are exactly that kind of recipe.
They are bright, creamy, perfectly tangy, and just the right amount of sweet. They look beautiful on any table. They make people feel special. And they require almost no effort to pull together. If you love easy crowd-pleasing desserts with a creamy filling, you might also want to try this Churro Cheesecake Recipe that is equally simple and always gets rave reviews.
That is everything a great summer dessert should be.
So go grab your mini mason jars and your key lime juice, and let us make something wonderful together. I think you are going to absolutely love these.
If you make this recipe, I would love to see how they turn out. Leave a comment below and let me know what variations you tried or how your family reacted to their first bite.
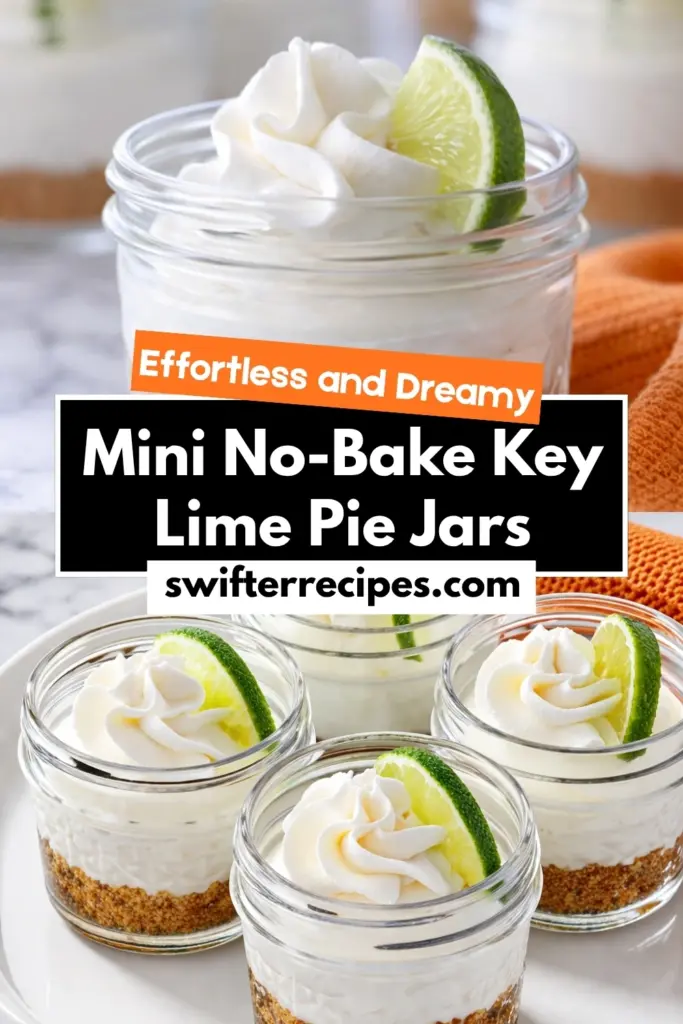
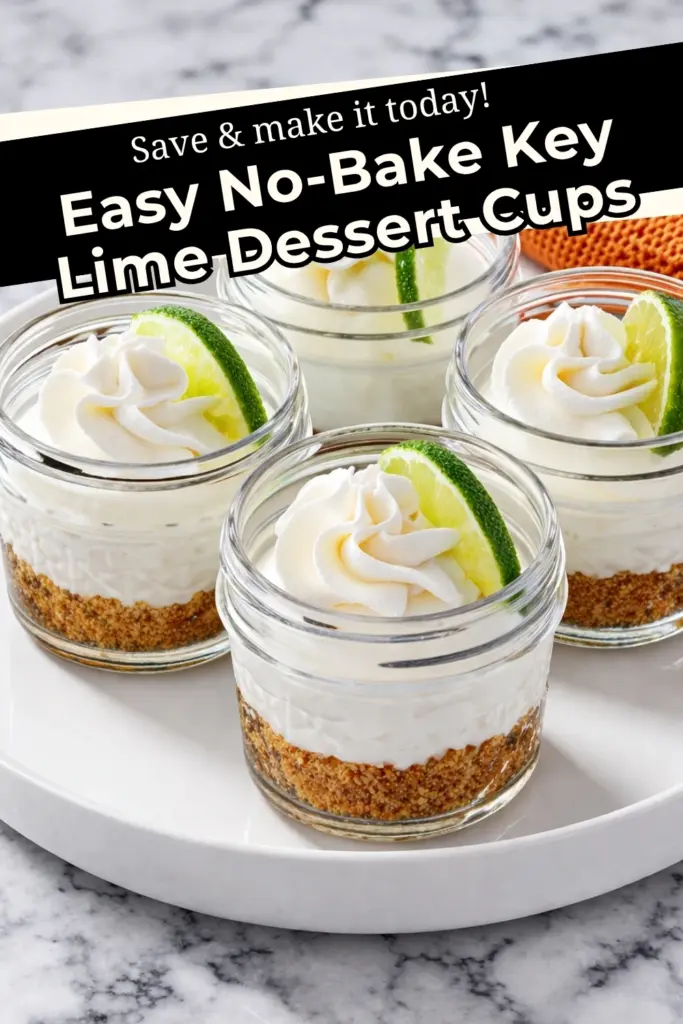
And if you are saving this for later, please pin it to your favorite summer desserts board on Pinterest so you can find it easily when you need it. Sharing really does mean the world to me and helps more people discover recipes that actually work.
Happy no-baking!
Print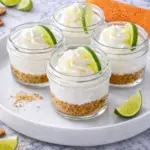
Mini No-Bake Key Lime Pie in a Jar
- Total Time: 2 hours 20 minutes
- Yield: 12 mini jars 1x
- Diet: Vegetarian
Description
These Mini No-Bake Key Lime Pie in a Jar are creamy, tangy, and refreshing with a buttery graham cracker crust. An easy no-bake dessert that looks fancy but comes together in minutes.
Ingredients
- 1 cup graham cracker crumbs
- 4 tablespoons unsalted butter, melted
- 3 tablespoons sugar
- 3/4 cup heavy whipping cream
- 1 teaspoon vanilla extract
- 1 can (14 oz) sweetened condensed milk
- 1 package (8 oz) cream cheese, softened
- 3/4 cup key lime juice
- Fresh whipped cream for garnish
- Lime slices for garnish
- 12 mini mason jars
Instructions
- Combine graham cracker crumbs, melted butter, and sugar until the mixture resembles wet sand.
- Spoon about a tablespoon into each mini mason jar and press firmly to form the crust.
- Refrigerate for at least 10 minutes to set.
- Whip heavy cream and vanilla extract until stiff peaks form, then set aside.
- Beat softened cream cheese until smooth.
- Add sweetened condensed milk and mix until creamy.
- Fold in the whipped cream gently.
- Slowly add key lime juice while mixing until smooth.
- Pipe or spoon filling into jars over the crust.
- Refrigerate for at least 2 hours or overnight.
- Top with whipped cream and lime slices before serving.
Notes
Make sure cream cheese is fully softened for a smooth filling. Fresh key lime juice gives the best flavor, but bottled works fine. These can be made up to 3 days ahead and stored in the fridge.
- Prep Time: 20 minutes
- Cook Time: 0 minutes
- Category: Dessert
- Method: No-Bake
- Cuisine: American
Nutrition
- Serving Size: 1 jar
- Calories: 320
- Sugar: 22g
- Sodium: 180mg
- Fat: 20g
- Saturated Fat: 12g
- Unsaturated Fat: 6g
- Trans Fat: 0g
- Carbohydrates: 30g
- Fiber: 1g
- Protein: 5g
- Cholesterol: 65mg