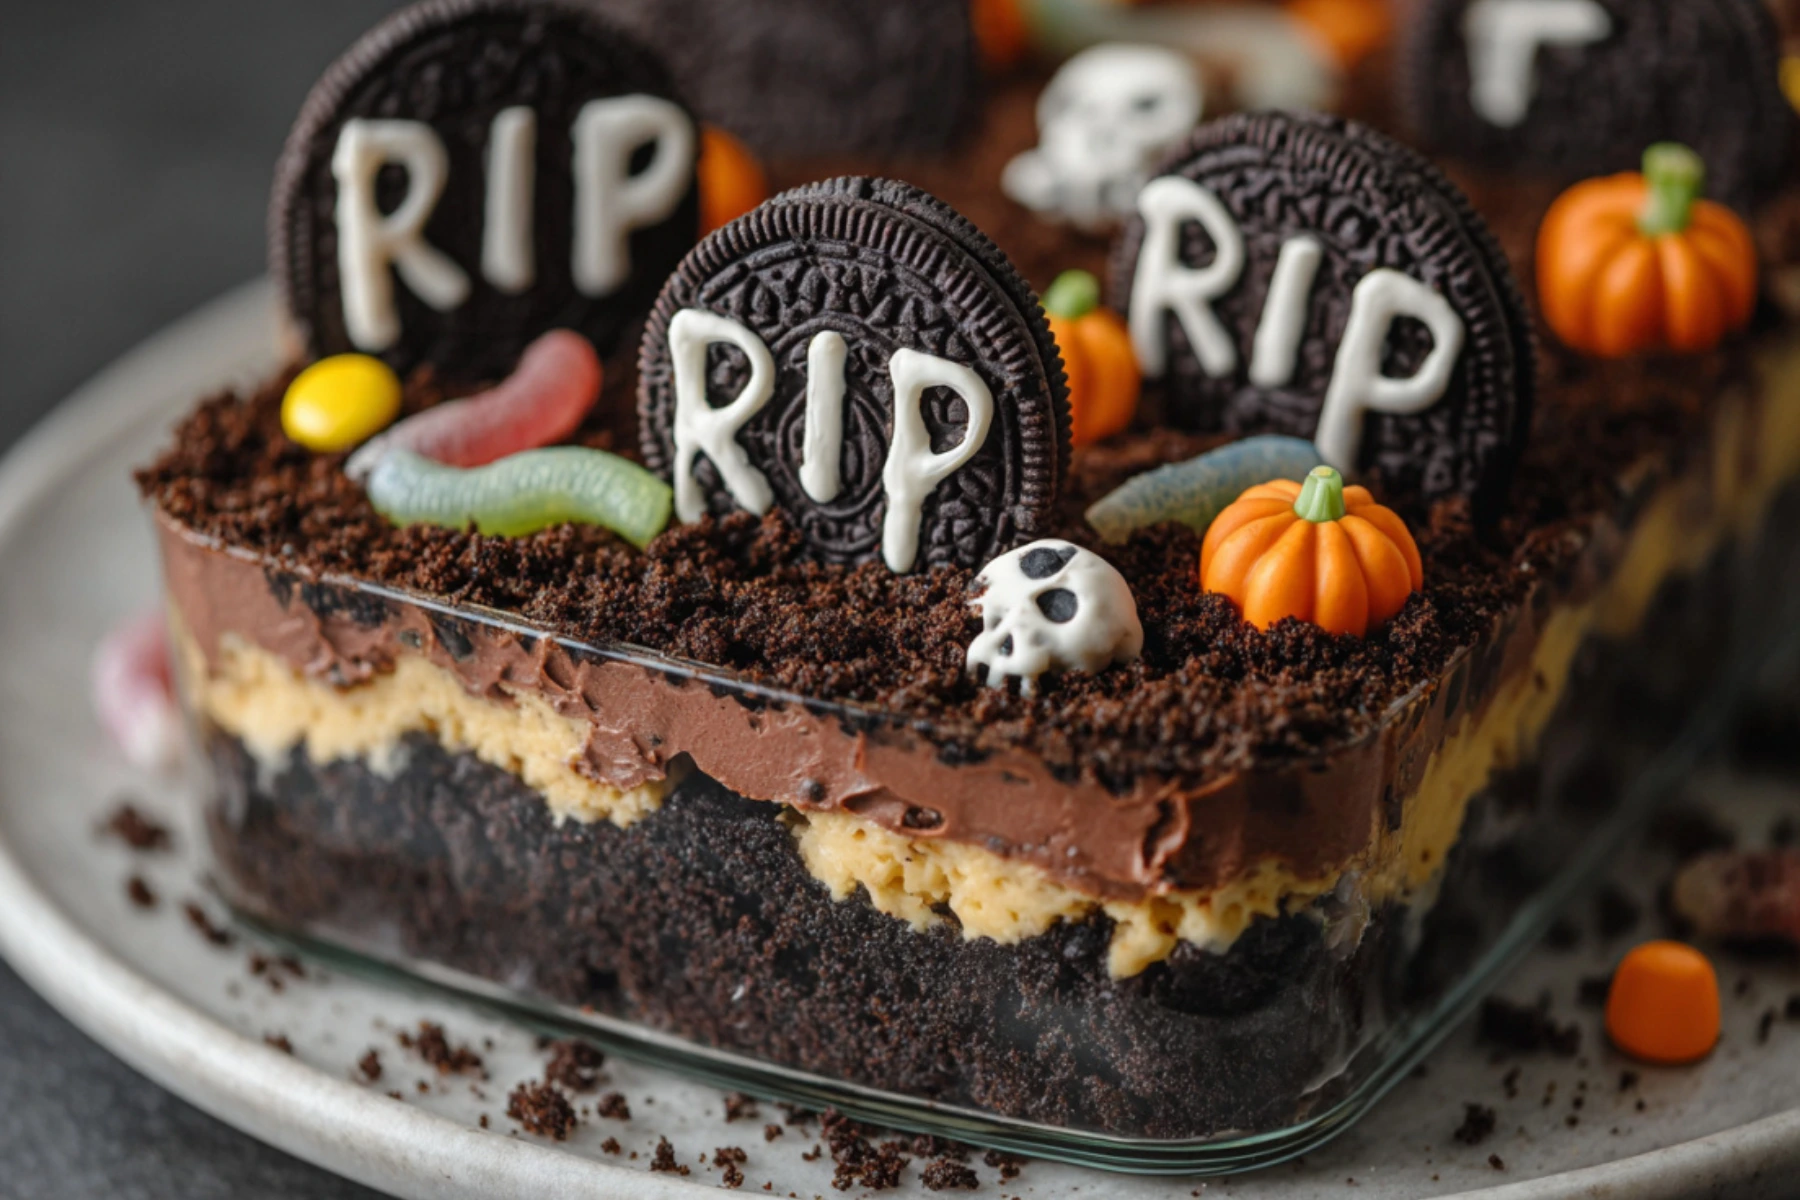
Halloween is one of my favorite times of the year there’s something so magical about the crisp fall air, the colorful leaves, and, of course, all the fun treats. One dessert that always stands out during this spooky season is a Graveyard Chocolate Cake. It’s the perfect dessert to bring a little creepy fun to the table, but it’s still super easy to make and family-friendly.
Whether you’re an experienced baker or just getting started, this cake is a fun project that everyone will love. I’m going to share my personal recipe with you, along with some practical tips and ideas for making it your own.
Let’s dive into how to create the ultimate Graveyard Chocolate Cake that will have your guests exclaiming, “This is so cool!” and asking for seconds.
Why Make a Graveyard Chocolate Cake?
First off, why should you consider making a Graveyard Chocolate Cake? Well, for starters, it’s a fun and creative way to celebrate Halloween. This cake allows you to get really artistic with decorations whether you prefer a spooky vibe or something a little more lighthearted and playful. It’s also a great dessert for parties, gatherings, or even just as a treat for your kids.
The best part is that it’s incredibly simple to put together. You don’t have to be a professional baker to make it look amazing. This cake is all about the decorations, so it’s perfect for every skill level. Plus, it’s a great way to get the kids involved in the kitchen and have some Halloween fun together.
Ingredients You’ll Need for Your Graveyard Chocolate Cake
You can make this Graveyard Chocolate Cake from scratch, or you can take a shortcut and use boxed cake mix (I won’t judge!). The key to making it delicious is in the frosting and the decorations.
For the Cake:
- 1 box of chocolate cake mix (or your favorite homemade chocolate cake recipe)
- Eggs, oil, and water (as specified on the cake mix box)
For the Frosting:
- 1/2 cup of unsalted butter (softened)
- 1/4 cup cocoa powder
- 3 cups powdered sugar
- 2-4 tablespoons of milk (you may need to adjust the amount for the right consistency)
- 1 teaspoon vanilla extract
For the Decorations:
- 1-2 packs of chocolate cookies (Oreos work great!)
- 1 pack of candy bones (available at most stores during Halloween)
- 1 pack of gummy worms (optional, but adds to the fun!)
- Plastic spiders (optional but adds extra creepiness)
- Small candy pumpkins (optional)
- Piping gel or edible markers (if you want to add “RIP” or spooky messages to the tombstones)
How to Make Your Graveyard Chocolate Cake
Now let’s get down to the fun part making the cake. Follow these simple steps to create your spooky masterpiece.
Step 1: Bake the Cake
First, preheat your oven according to the instructions on the cake mix box (usually 350°F or 175°C). Prepare the cake mix as directed, adding eggs, oil, and water.
I love using a 9×13-inch baking pan because it gives you plenty of room to decorate, but feel free to use whatever shape you prefer. Pour the batter into the pan and bake it until a toothpick comes out clean. This usually takes about 30-35 minutes, depending on your oven.
Once the cake is done, let it cool completely. This is an essential step because you don’t want to melt your frosting when you spread it on the warm cake.
Step 2: Make the Frosting
While the cake cools, make your frosting. In a mixing bowl, cream together the softened butter and cocoa powder. Add in the powdered sugar, about a cup at a time, alternating with the milk. Keep mixing until you have a smooth, creamy frosting.
Stir in the vanilla extract. If the frosting is too thick, add a little more milk to get a spreadable consistency. You want it thick enough to hold the crumbs from the cookie topping, but not so thick that it’s hard to spread.
Step 3: Frost the Cake
Once your cake is cool, spread the frosting evenly over the top. I like to use an offset spatula to create a nice, smooth layer. Don’t worry about making it perfect—it doesn’t need to be smooth and pristine since we’re going to cover it with crumbs!
Step 4: Create the Graveyard Dirt
This is where the magic happens. Grab your chocolate cookies (I prefer Oreos for their taste and texture) and crush them into fine crumbs. You can place the cookies in a plastic ziplock bag and crush them with a rolling pin, or you can use a food processor if you have one.
Once your crumbs are ready, sprinkle them generously over the frosted cake. The crushed cookies will resemble dirt, and it gives the cake that perfect graveyard look.
Step 5: Add the Tombstones and Decorations
Now comes the fun part decorating! Break some of the cookies in half to create “tombstones.” Stick them into the cake at angles, and if you like, use piping gel or edible markers to write “RIP” on the tombstones. You can also add candy bones, plastic spiders, gummy worms, or even small candy pumpkins around the cake to give it that Halloween vibe.
Step 6: Final Touches
- Position gummy worms crawling out of the “dirt.”
- Add candy or toy decorations for extra creep factor.
- Want to explore more fun Halloween treats? Check out these Halloween Sausage Mummy Wraps or Witches Brew Chex Mix!

Tips and Variations for Your Graveyard Chocolate Cake
One of the best things about this cake is how customizable it is. Here are a few ideas to make it your own:
- Use Different Cake Flavors: If you’re not a fan of chocolate, try using a different flavor, such as vanilla, red velvet, or even pumpkin spice for a fall twist.
- Make It a Gluten-Free Graveyard: You can easily make this cake gluten-free by swapping the cake mix for a gluten-free version and using gluten-free cookies.
- Switch Up the Decorations: If you’re not into the “creepy” Halloween vibe, you can decorate the cake with cute Halloween characters like ghosts, witches, or pumpkins.
- Add a Layer of Filling: For a more indulgent cake, you can add a layer of chocolate ganache or even a simple jam filling between the cake layers.
Looking for more fun fall recipes? Try Orange Sugar Cookie Pumpkins or these delicious Miniature Baked Cheesecakes!
Why You’ll Love This Graveyard Chocolate Cake
- It’s Fun and Easy: You don’t need to be a professional baker to pull off this spooky treat. The decorations are what make it shine, and they’re simple to do!
- It’s Kid-Friendly: Get your kids involved in the kitchen. They’ll love helping with the frosting, cookie crushing, and decoration.
- It’s Customizable: There’s room to get creative! You can tweak the cake and frosting flavors, or change up the decorations to fit your theme.
- It’s a Showstopper: Everyone will be impressed by how fun and unique this cake is. It’s a great way to add some spooky flair to your Halloween celebrations.
Share Your Graveyard Cake on Pinterest!
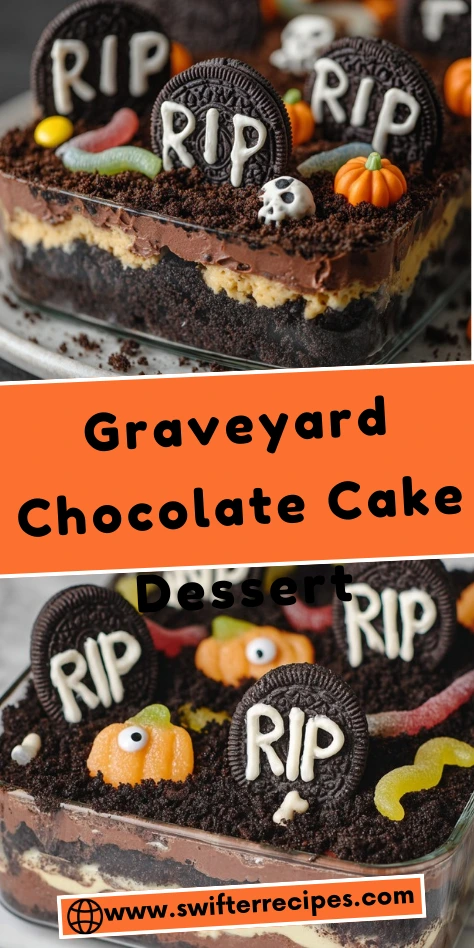
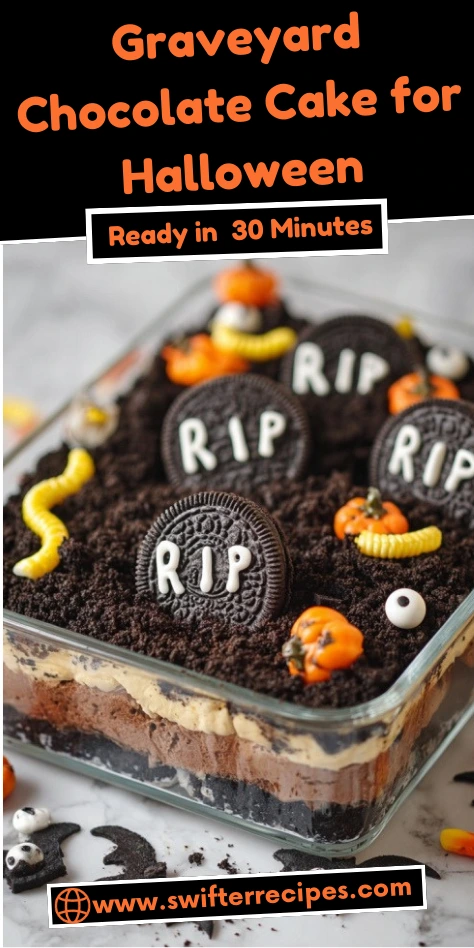
I’d love to see how your Graveyard Chocolate Cake turns out! If you try this recipe, make sure to snap a photo and share it on Pinterest. Tag me or use the hashtag #GraveyardChocolateCake so I can check out your spooky creations. Happy baking, and I hope your Halloween is filled with treats, not tricks!
Want to add more creepy desserts? Try the No-Bake Orange Creamsicle Cheesecake or the fun Cookie Monster Ice Cream for your next Halloween bash!
Print
How to Make a Spooky Graveyard Chocolate Cake: A Family-Friendly Halloween Delight
- Total Time: 50 minutes
- Yield: 12 servings 1x
Description
A spooky and fun chocolate cake with a graveyard theme, perfect for Halloween parties or family fun. It’s easy to make and fully customizable with Halloween-themed decorations!
Ingredients
- 1 box of chocolate cake mix (or your favorite homemade chocolate cake recipe)
- Eggs, oil, and water (as specified on the cake mix box)
- 1/2 cup unsalted butter (softened)
- 1/4 cup cocoa powder
- 3 cups powdered sugar
- 2–4 tablespoons of milk (adjust for consistency)
- 1 teaspoon vanilla extract
- 1–2 packs of chocolate cookies (Oreos work great!)
- 1 pack of candy bones
- 1 pack of gummy worms (optional)
- Plastic spiders (optional)
- Small candy pumpkins (optional)
- Piping gel or edible markers (optional for ‘RIP’ tombstone messages)
Instructions
- Preheat the oven according to the instructions on the cake mix box (usually 350°F or 175°C).
- Prepare the cake mix as directed, adding eggs, oil, and water. Bake in a 9×13-inch pan.
- Let the cake cool completely before frosting.
- Make the frosting: Cream together the softened butter and cocoa powder, then add powdered sugar and milk until smooth. Stir in vanilla extract.
- Spread the frosting evenly over the cooled cake.
- Crush the cookies into crumbs and sprinkle them generously over the frosted cake to create a ‘dirt’ effect.
- Decorate with cookies to create ‘tombstones,’ and add candy bones, gummy worms, and other fun Halloween decorations.
- Optionally, use piping gel or edible markers to write ‘RIP’ on the tombstones.
Notes
This cake is fun to customize! You can switch up the cake flavor, make it gluten-free, or use different Halloween decorations based on your preference.
- Prep Time: 15 minutes
- Cook Time: 30-35 minutes
- Category: Dessert
- Method: Baked
- Cuisine: American
Nutrition
- Serving Size: 1 slice
- Calories: 450
- Sugar: 40g
- Sodium: 150mg
- Fat: 25g
- Saturated Fat: 10g
- Unsaturated Fat: 12g
- Trans Fat: 0g
- Carbohydrates: 60g
- Fiber: 3g
- Protein: 4g
- Cholesterol: 30mg