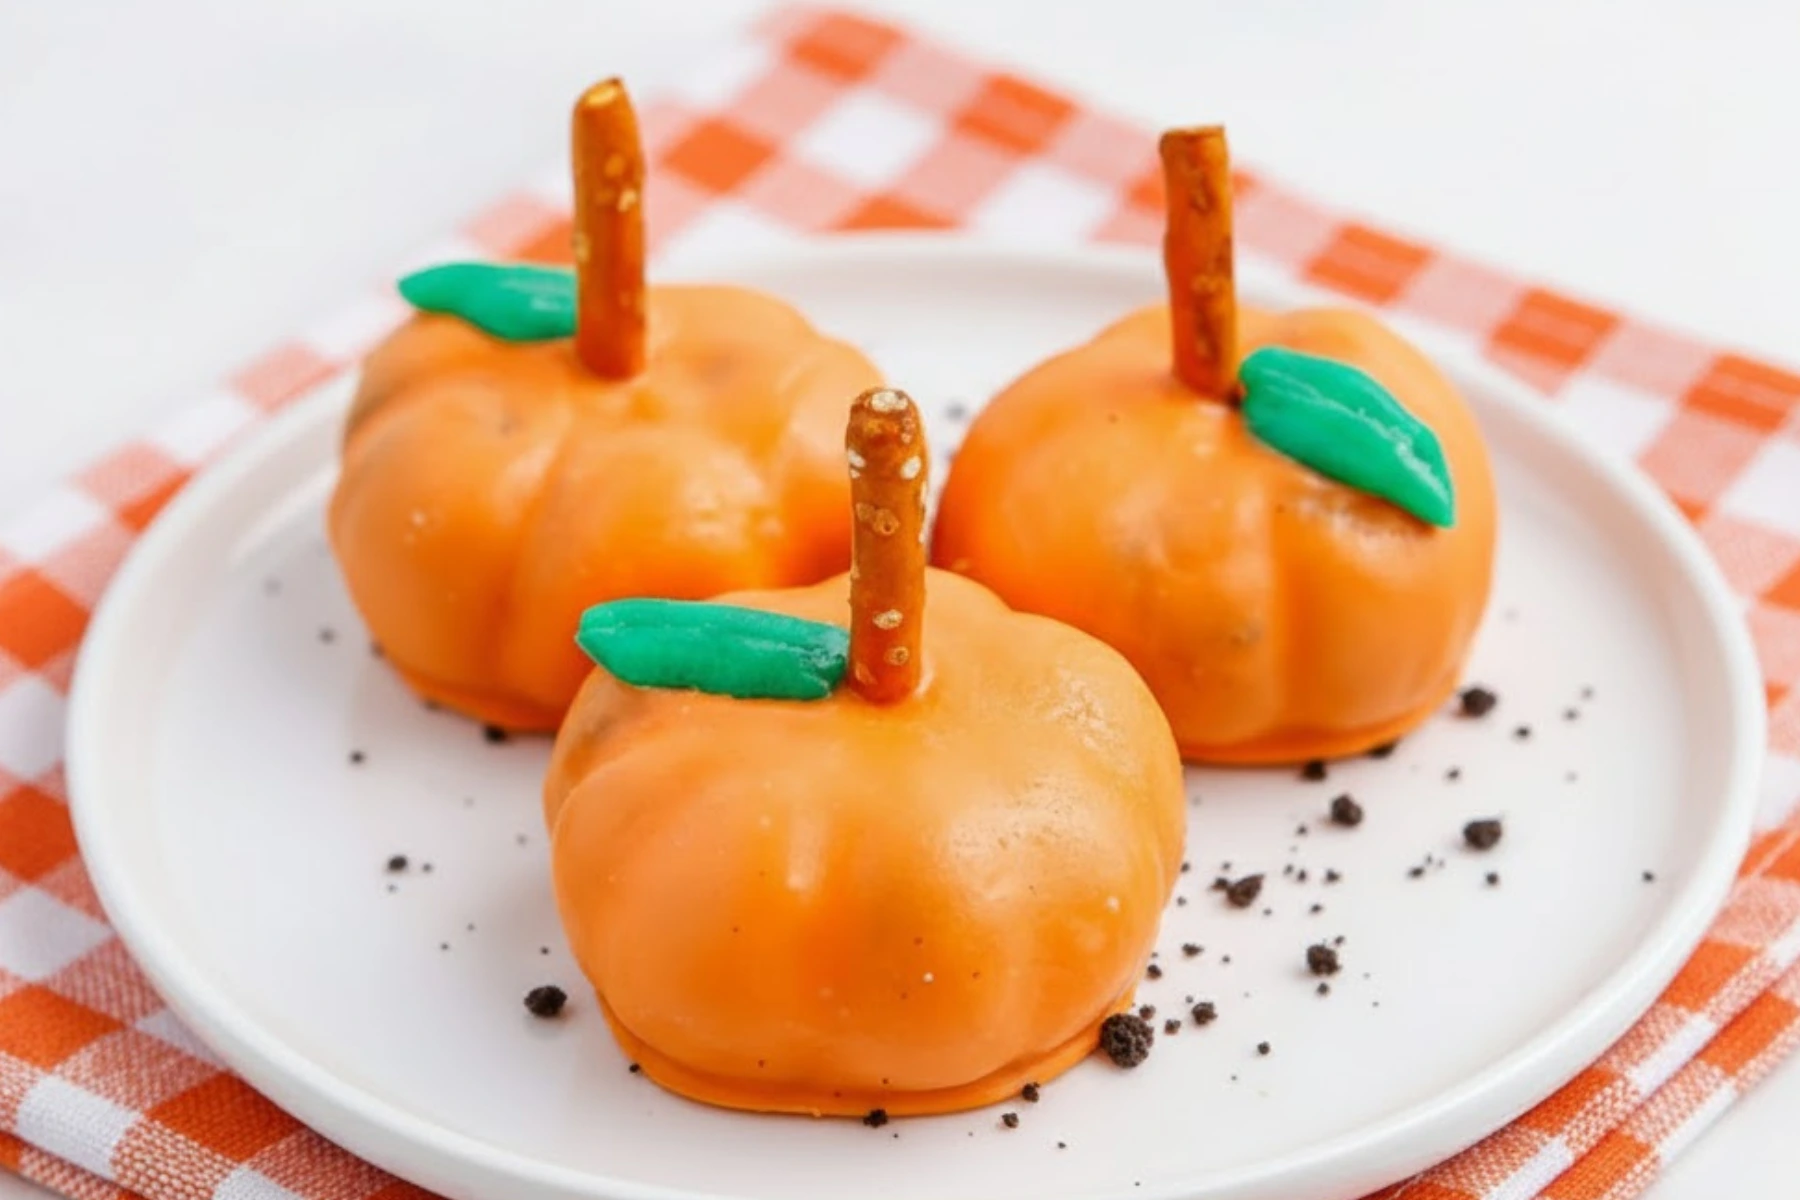
If you’re anything like me, fall is the season where your kitchen starts to smell like cinnamon, chocolate, and comfort. Between school activities, family gatherings, and Thanksgiving planning, I’m always on the lookout for quick and easy recipes that still look impressive. That’s exactly how Pumpkin Oreo Balls earned a spot in my fall dessert lineup.
These little no-bake chocolate truffles are shaped like mini pumpkins, dipped in bright orange candy, and topped with a pretzel stick stem. They’re adorable, simple, and everyone from toddlers to grandparents loves them.
If you’re already planning your Thanksgiving dessert spread, pair these with Thanksgiving Rice Krispies Treats or Pumpkin Pretzels for a colorful dessert table that kids can’t resist.
The best part? You only need five ingredients, no oven, and about an hour of your time. Perfect for busy moms who want something festive without spending the entire day in the kitchen.
Let’s dive in and make some Pumpkin Oreo Balls together.
What Are Pumpkin Oreo Balls?

If you’ve ever made Oreo truffles before, this recipe will feel familiar — but with a seasonal twist. Pumpkin Oreo Balls don’t actually contain pumpkin puree. Instead, they’re made with crushed Oreos and cream cheese, rolled into truffles, and dipped in orange candy melts to look like mini pumpkins.
They’re soft, chocolatey, creamy, and slightly crunchy on the outside that perfect bite-sized dessert you can’t stop at just one.
If you love no-bake treats like these, you might also enjoy my Oreo Turkey Cookies another fun Thanksgiving favorite that doubles as a kid’s craft project.
Why You’ll Love Making Pumpkin Oreo Balls
I’m a big believer that recipes should fit your life not the other way around. This one is perfect because it’s:
- No-bake: No oven, no fuss. Just mix, roll, and chill.
- Kid-friendly: Little hands love rolling the dough and dipping in chocolate.
- Perfect for parties: They look fancy on a tray but are secretly easy.
- Budget-friendly: Five simple ingredients you probably already have.
- Customizable: Change the candy color or topping for any season.
If you’re planning a fall baking weekend, try adding Delicious Pumpkin Cupcakes or Pumpkin Swirl Coffee Cake to your menu — they’re the perfect match for these truffles.
Ingredients You’ll Need for Pumpkin Oreo Balls
You only need a handful of ingredients and you can find them all at your local grocery store.
- 8 ounces cream cheese, softened
- 34 Oreo cookies
- 12 ounces orange candy melts
- 17 pretzel sticks
- 8 watermelon Airheads (optional, for the leaves)
That’s it. Simple and straightforward.
If you’re already stocking up on fall baking supplies, this is a good time to grab a few cans of pumpkin too — you’ll want them for Classic Pumpkin Bread or Glazed Pumpkin Donuts.
Step-by-Step Instructions: How to Make Pumpkin Oreo Balls
1. Prepare Your Baking Sheet
Line a rimmed baking sheet with parchment paper so your truffles don’t stick later.
2. Crush the Oreos
Use a food processor to grind the Oreos into fine crumbs. Don’t worry about separating the filling — keep it all in.
If you don’t have a food processor, place the cookies in a sturdy zip-top bag and crush them with a rolling pin or even a can of soup. It takes a bit longer, but it works just as well.
3. Mix in the Cream Cheese
In a large bowl, combine the crushed Oreos with the softened cream cheese. Stir until smooth and fully blended.
Avoid mixing in the food processor here — it can make the mixture too runny. Use a silicone spatula or even your hands if needed.
4. Shape the Truffles
Use a small cookie scoop or tablespoon to form even-sized balls. Roll each one gently in your hands and place them on the prepared baking sheet.
Freeze for at least 20 minutes to help them firm up.
5. Create the Pumpkin Shape
After the first chill, use a toothpick to gently press small lines around each truffle — like the ridges of a pumpkin.
Then pop them back in the freezer for another 10 minutes.
6. Cut Out Candy Leaves
While your truffles chill, cut small leaf shapes from the Airheads candy using clean kitchen scissors. These will go on top as decorations.
7. Melt the Orange Candy Coating
In a heatproof bowl, microwave the orange candy melts at half power, stirring every 30 seconds until smooth. Follow the package instructions for best results.
If your candy coating is too thick, add a teaspoon of coconut oil or shortening to thin it out.
8. Dip the Truffles
Using a fork, dip each chilled truffle into the melted orange candy. Let the excess drip off before placing them back on the parchment paper.
9. Add Stems and Leaves
While the coating is still soft, press half a pretzel stick into the top for the stem. Then gently press on a candy leaf.
If it doesn’t stick, dab a little melted candy on the back like edible glue.
10. Chill Again and Serve
Refrigerate the finished truffles for at least 15 minutes so the coating sets completely.
Now you’re ready to serve them or pack them up for a party tray. They’ll keep in the fridge for about a week, though they rarely last that long at my house.
For another crowd-pleaser that’s just as easy, try Kisses Acorn Treats — they make adorable companions to your pumpkin balls on any fall dessert tray.
Tips for Making Perfect Pumpkin Oreo Balls
Through a little trial and error, I’ve found some tricks that make this recipe even easier.
- Use room-temperature cream cheese so it mixes evenly.
- Crush Oreos finely for smooth texture.
- Don’t skip chilling it keeps truffles firm during dipping.
- Work in batches if your kitchen is warm.
- Use a fork for dipping to let excess candy drip off.
- Try seasonal coatings Candy Corn Cupcakes are great color inspiration.
Variations and Fun Twists on Pumpkin Oreo Balls
Once you’ve made this recipe once, it’s easy to switch it up for different flavors or holidays.
Pumpkin Spice Oreo Balls
Use the seasonal Pumpkin Spice Oreos (when you can find them!) and add a pinch of cinnamon for extra fall flavor. Pair them with a slice of Pumpkin Spice Bundt Cake for a full pumpkin dessert spread.
Chocolate Pumpkin Balls
Use regular Oreos but dip them in milk or dark chocolate candy melts instead of orange. Add an orange drizzle for contrast.
Halloween Oreo Balls
Use Halloween Oreos with orange filling and top with candy eyeballs for a spooky, kid-approved twist. If you’re going for a full Halloween dessert bar, add Spooky Halloween Oreo Bark or Mummy Peanut Butter Cookies.
White Chocolate Pumpkins
If you’re not a fan of candy melts, use white chocolate chips and add a few drops of orange gel food coloring.
Making Pumpkin Oreo Balls Without a Food Processor
No food processor? No problem.
Here’s how to make this recipe with just a zip-top bag and a little muscle.
- Place Oreos in a strong gallon-sized zip-top bag.
- Crush them with a rolling pin or can.
- Pour crumbs into a bowl.
- Add softened cream cheese and mix with a spoon or mixer.
- Continue with the rest of the recipe as usual.
This method takes more time but gives the same result — just like my old-fashioned Pumpkin Banana Bread, sometimes the simple way is the most satisfying.
How to Store and Serve Pumpkin Oreo Balls
You can make these ahead of time, which is a lifesaver during the holidays.
- Refrigerator: Up to 7 days in an airtight container.
- Freezer: Up to 2 months. Thaw in the fridge overnight.
- Serving: Keep chilled until ready to serve.
They look beautiful next to Pumpkin Chipotle Chili or Maple Glazed Salmon and Green Beans if you’re serving a full fall dinner.
Why Pumpkin Oreo Balls Are Perfect for Thanksgiving and Fall Parties
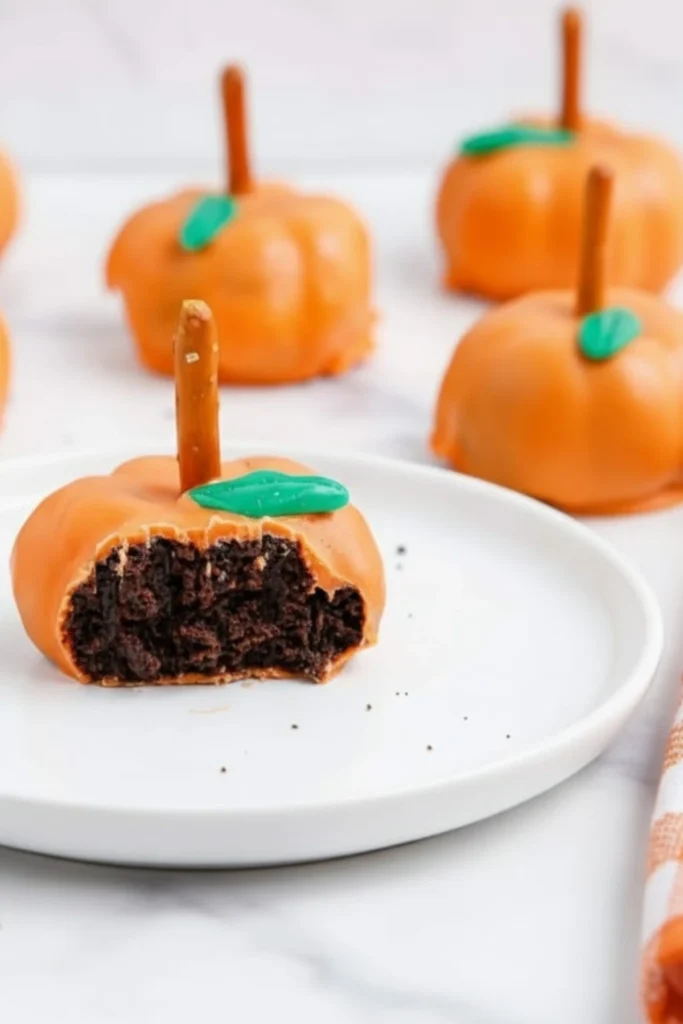
When life gets busy, it’s easy to feel overwhelmed during the holidays. Between cooking, decorating, and keeping kids entertained, who has time for complicated desserts?
That’s where Pumpkin Oreo Balls save the day. They’re festive enough for Thanksgiving but simple enough for a weekday treat.
The bright orange color pops next to pies and cookies, and the bite-sized shape makes them ideal for buffets. For a full fall spread, serve alongside Pumpkin Mac and Cheese with Bacon or Butterscotch Pumpkin Cheerio Bars.
Kids love helping make them, and that’s what turns this recipe from a task into a memory.
A Few Words From My Kitchen
I still remember the first time I made Pumpkin Oreo Balls. It was a chilly October evening, and my daughter wanted to help me bake “something orange.” We didn’t have pumpkin puree, but we had Oreos and that’s how this little tradition started.
Now every fall, we make a batch together. It’s become one of those small but meaningful traditions that make the season feel special.
If you love those cozy kitchen moments, you’ll also enjoy baking Mini Pumpkin Loaves or Pumpkin Cream Cheese Muffins with your family both smell like autumn happiness.
FAQs About Pumpkin Oreo Balls
How long do Pumpkin Oreo Balls last in the fridge?
Pumpkin Oreo Balls will stay fresh for about one week in the refrigerator if stored in an airtight container. I like to layer them with parchment paper so they don’t stick together.
If you’re making them for a Thanksgiving or fall party, you can easily prepare them a few days ahead — just keep them chilled until serving time.
Can you freeze Pumpkin Oreo Balls?
Yes, absolutely. These freeze beautifully for up to two months.
To freeze, place them in a single layer on a baking sheet first. Once solid, transfer to a freezer-safe container or bag. Thaw in the fridge overnight before serving.
I’ve found they taste just as good after freezing — especially if you let them come to a cool room temperature for a few minutes before eating.
Do I need a food processor to make Pumpkin Oreo Balls?
Nope! If you don’t have one, don’t stress.
You can crush your Oreos inside a zip-top bag with a rolling pin or even a can. Then mix in the softened cream cheese by hand or with an electric hand mixer. It might take a few extra minutes, but it works perfectly.
I’ve done it this way plenty of times when my food processor was already in the dishwasher.
Final Thoughts: Bring Joy Back to Your Kitchen with Pumpkin Oreo Balls
Cooking doesn’t have to be perfect. It’s about sharing something sweet with the people you love. Pumpkin Oreo Balls are one of those desserts that bring joy to both the maker and the eater.
So next time you’re planning your Thanksgiving or fall party menu, give these a try. Then head over and browse more seasonal treats like Pumpkin Spice Muffin Tops or Pumpkin Streusel Bread to keep the pumpkin magic going.
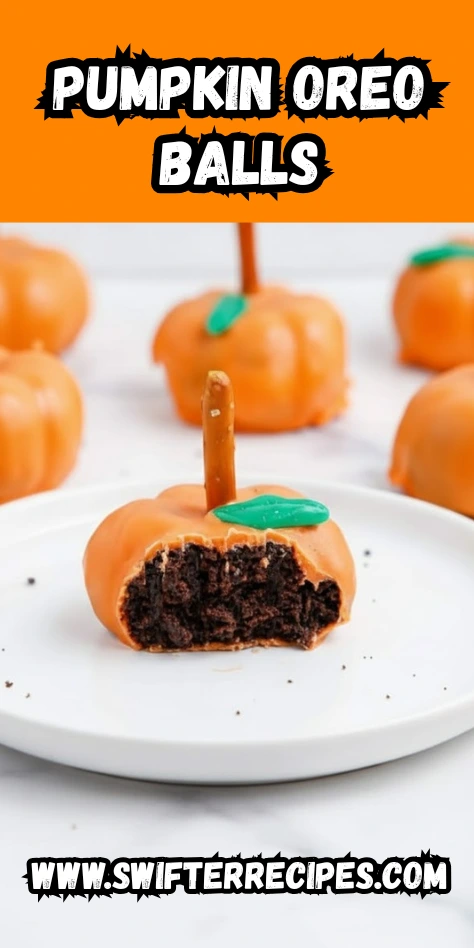
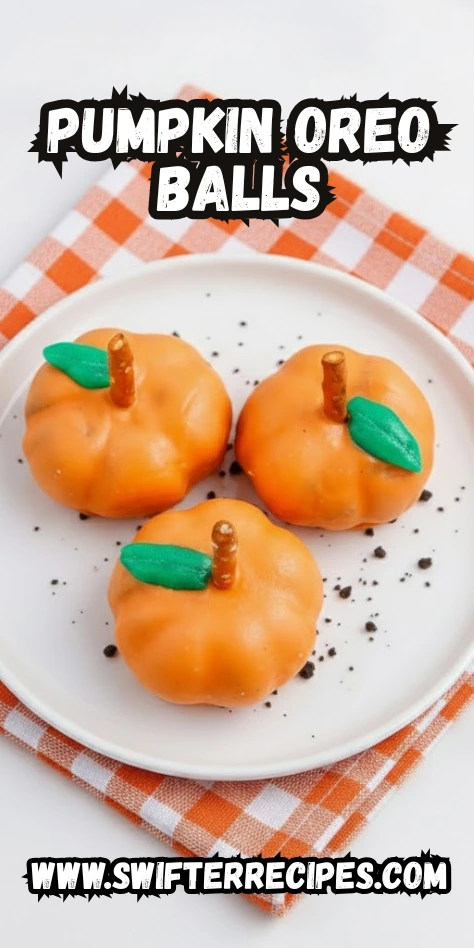
If you make these, don’t forget to save this recipe on Pinterest so you can find it again next year and share your creation with other busy moms who love easy, fun desserts.
Because fall is short, and treats like this make it even sweeter.
Print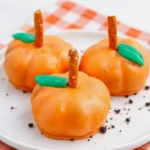
Pumpkin Oreo Balls
- Total Time: 1 hour
- Yield: 34 truffles 1x
Description
No-bake Pumpkin Oreo Balls are the ultimate fall treat — festive, simple, and irresistibly chocolatey. Shaped like tiny pumpkins and dipped in orange candy melts, they’re perfect for Thanksgiving dessert tables or fall parties.
Ingredients
- 8 ounces cream cheese, softened
- 34 Oreo cookies
- 12 ounces orange candy melts
- 17 pretzel sticks
- 8 watermelon Airheads (optional, for the leaves)
Instructions
- Line a rimmed baking sheet with parchment paper.
- Crush the Oreos into fine crumbs using a food processor or by hand in a zip-top bag.
- Mix crushed Oreos with softened cream cheese until fully combined.
- Roll the mixture into balls and place on the baking sheet.
- Freeze for 20 minutes to firm.
- Use a toothpick to press lines around each ball to resemble a pumpkin. Freeze for 10 more minutes.
- Cut small leaf shapes from Airheads candy using clean scissors.
- Melt orange candy melts in the microwave, stirring every 30 seconds until smooth.
- Dip each truffle in the melted coating and let excess drip off.
- Press half a pretzel stick into the top for the stem and add a candy leaf.
- Chill the decorated truffles for at least 15 minutes before serving.
Notes
For best results, use room-temperature cream cheese and chill thoroughly before dipping. These truffles keep well in the fridge for up to 7 days or freeze for up to 2 months.
- Prep Time: 30 minutes
- Cook Time: 0 minutes
- Category: Dessert
- Method: No-Bake
- Cuisine: American
Nutrition
- Serving Size: 1 truffle
- Calories: 130
- Sugar: 9g
- Sodium: 80mg
- Fat: 7g
- Saturated Fat: 4g
- Unsaturated Fat: 2g
- Trans Fat: 0g
- Carbohydrates: 15g
- Fiber: 0g
- Protein: 1g
- Cholesterol: 10mg