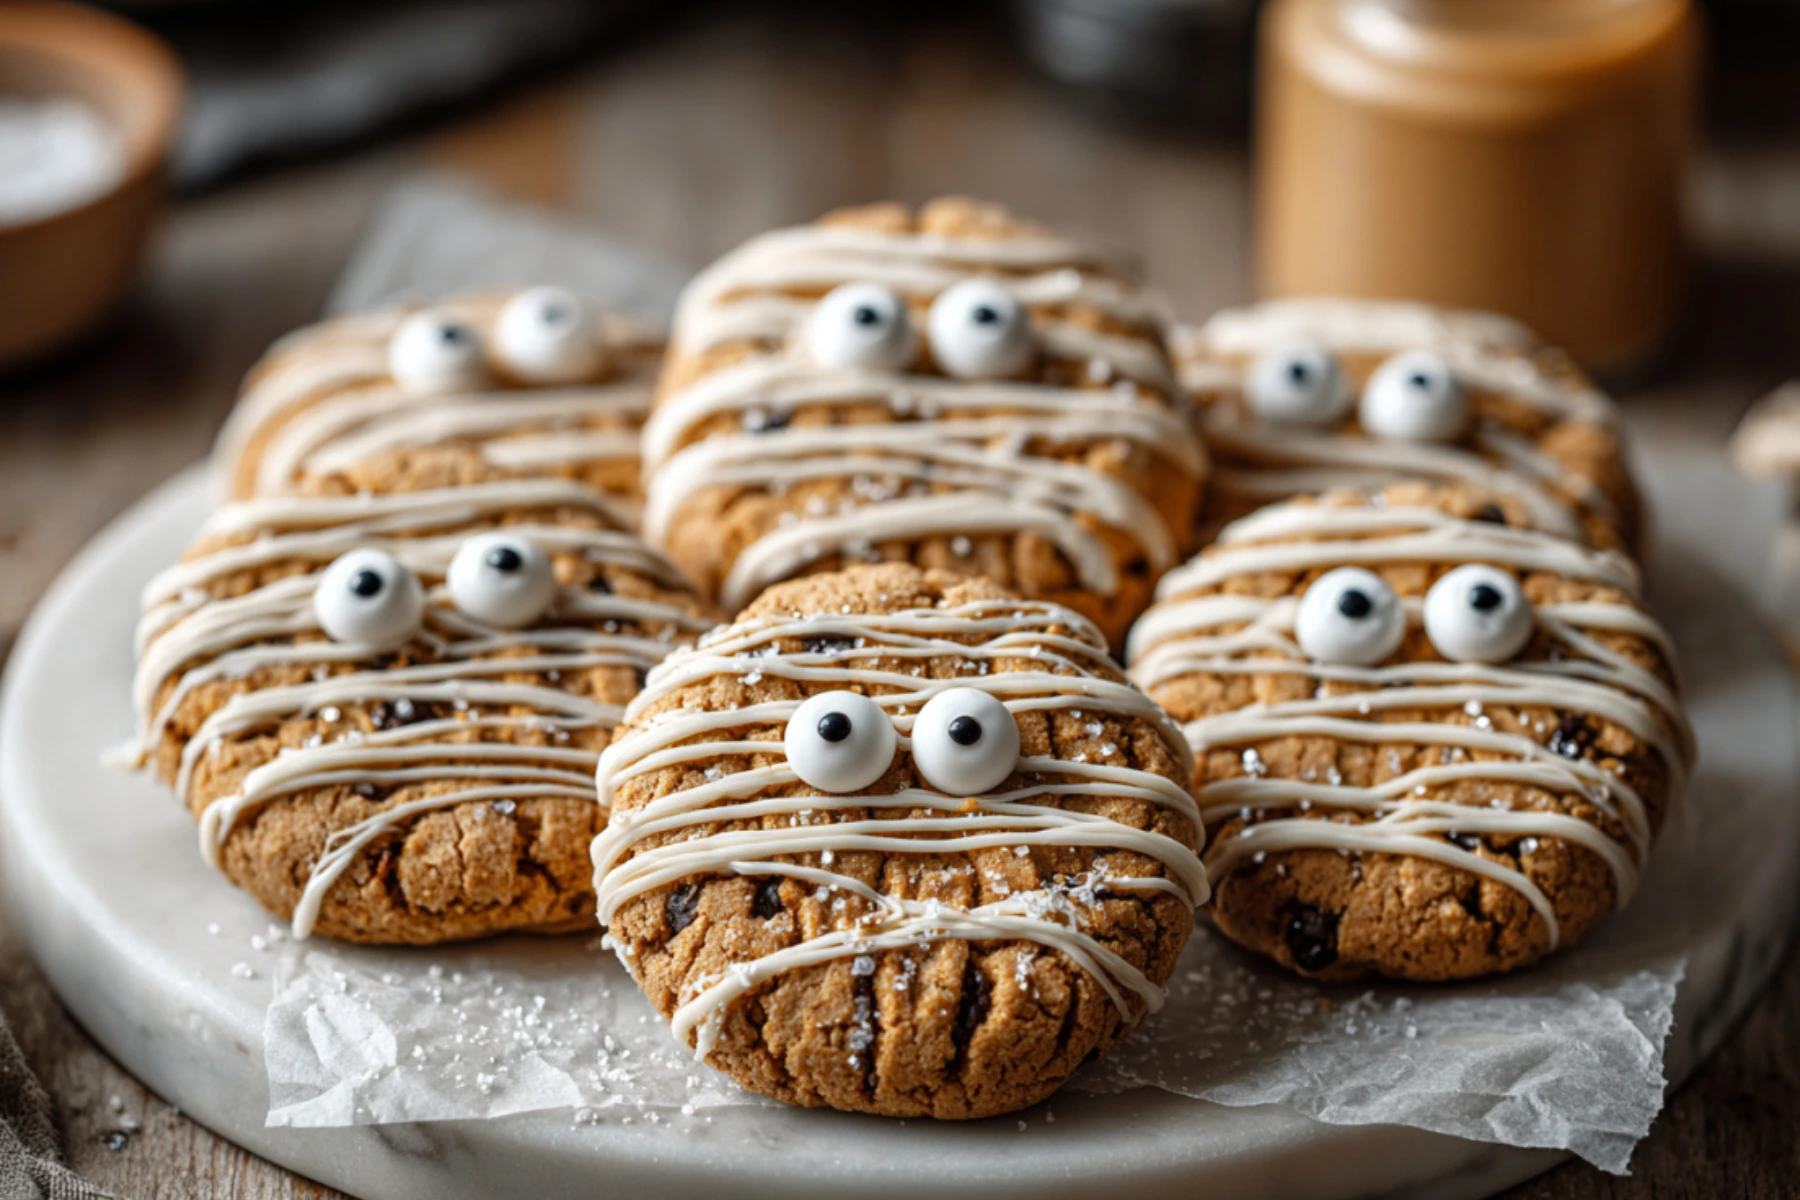
There’s something about the fall season that makes me crave both creativity and comfort in the kitchen. When Halloween rolls around, I’m always looking for festive yet easy ideas that will make my family smile. These Mummy Peanut Butter Cookies check every box. They’re soft, nutty, just the right amount of sweet, and dressed up in spooky “bandages” made of drizzled white chocolate.
I love making these cookies because they’re not just delicious they’re a fun little project that the kids can help with. You don’t need any fancy equipment, and you definitely don’t have to be a professional baker. With a handful of pantry staples and a little imagination, you’ll have a batch of cookies that disappear faster than a ghost in the night.
If you’re looking for another spooky treat, these Spider Chocolate Crinkle Cookies are just as fun to make.
Let me walk you through my process, share some helpful tips, and give you ideas to customize these Mummy Peanut Butter Cookies to fit your family’s tastes.
Why You’ll Love These Mummy Peanut Butter Cookies
These Mummy Peanut Butter Cookies aren’t just adorable; they’re also a hit at parties, school events, or even as a sweet surprise in lunchboxes. Here’s why I keep coming back to this recipe:
- They use simple, everyday ingredients
- The cookies are soft, chewy, and full of peanut butter flavor
- Decorating them is quick and easy, even for beginners
- They store well, so you can make them ahead of time
- Kids and adults both love the fun, festive look
For me, they strike the perfect balance between playful and practical.

Ingredients You’ll Need
You probably have most of these ingredients already in your pantry, which makes this Mummy Peanut Butter Cookies extra convenient.
For the cookies:
- ½ cup unsalted butter, softened
- ½ cup creamy peanut butter
- ½ cup granulated sugar
- ½ cup brown sugar
- 1 egg
- 1 teaspoon vanilla extract
- 1 ¼ cups all-purpose flour
- ½ teaspoon baking soda
- ¼ teaspoon salt
For decoration:
- 1 cup white chocolate chips or melting wafers
- Candy eyes (you can find these at most grocery or craft stores around Halloween)
Step-by-Step Instructions
Making these Mummy Peanut Butter Cookies is as easy as mixing, rolling, baking, and decorating. Here’s how I do it:
- Preheat your oven to 350°F (175°C). Line a baking sheet with parchment paper.
- In a large bowl, cream together the butter, peanut butter, granulated sugar, and brown sugar until light and fluffy.
- Beat in the egg and vanilla extract until well combined.
- Add the flour, baking soda, and salt. Mix until a soft dough forms.
- Roll the dough into 1-inch balls and place them on the prepared baking sheet. Flatten slightly with the bottom of a glass or fork.
- Bake for 8–10 minutes, until golden around the edges. Let the cookies cool completely before decorating.
- Melt the white chocolate chips in the microwave in 30-second intervals, stirring after each one until smooth.
- Use a spoon or a piping bag to drizzle the chocolate over the cooled cookies in crisscross patterns to look like mummy bandages.
- While the chocolate is still soft, press on two candy eyes. Let the chocolate harden before serving.
Tips for Perfect Mummy Peanut Butter Cookies
After making these Mummy Peanut Butter Cookies a few times, I’ve picked up little tricks that make the process even smoother:
- Don’t overbake. The cookies will firm up as they cool, so pull them out of the oven while they’re still slightly soft in the center.
- Use creamy peanut butter. Chunky peanut butter can throw off the texture and make the dough harder to roll.
- Thin the chocolate if needed. If your white chocolate feels too thick, add a teaspoon of coconut oil or vegetable shortening to make it smoother for drizzling.
- Work in small batches. Drizzle a few cookies at a time and add the candy eyes before the chocolate sets.
Fun Variations to Try
One of my favorite things about this recipe is how flexible it is. You can easily change it up depending on your mood or what you have on hand.
- Chocolate Mummies: Swap the peanut butter cookie base for a classic chocolate cookie dough.
- Spooky Sprinkles: Add orange and black sprinkles on top of the chocolate drizzle for extra Halloween spirit.
- Nut-Free Option: Replace the peanut butter with sunflower seed butter for an allergy-friendly version.
- Different Eyes: If you can’t find candy eyes, use mini chocolate chips or even dots of black icing.
- Make them gluten-free: Use a gluten-free all-purpose flour blend to keep them safe for everyone.
Not in the mood for peanut butter? Try these Orange Sugar Cookie Pumpkins for a sweet and festive twist.
Family-Friendly Baking Memories
One of the things I love most about this recipe is how much fun it brings to our kitchen. My kids always want to be in charge of the decorating step. I’ll handle the drizzle, and they carefully place the candy eyes. Sometimes they get creative and give the cookies extra eyes or silly faces. It turns into a little Halloween craft session that just happens to end with a tray of warm, sweet cookies.
These kinds of recipes remind me that baking isn’t just about the food. It’s about slowing down, making memories, and sharing laughs. I’m grateful for every messy counter and sticky little hand that comes with it.
Storing and Sharing
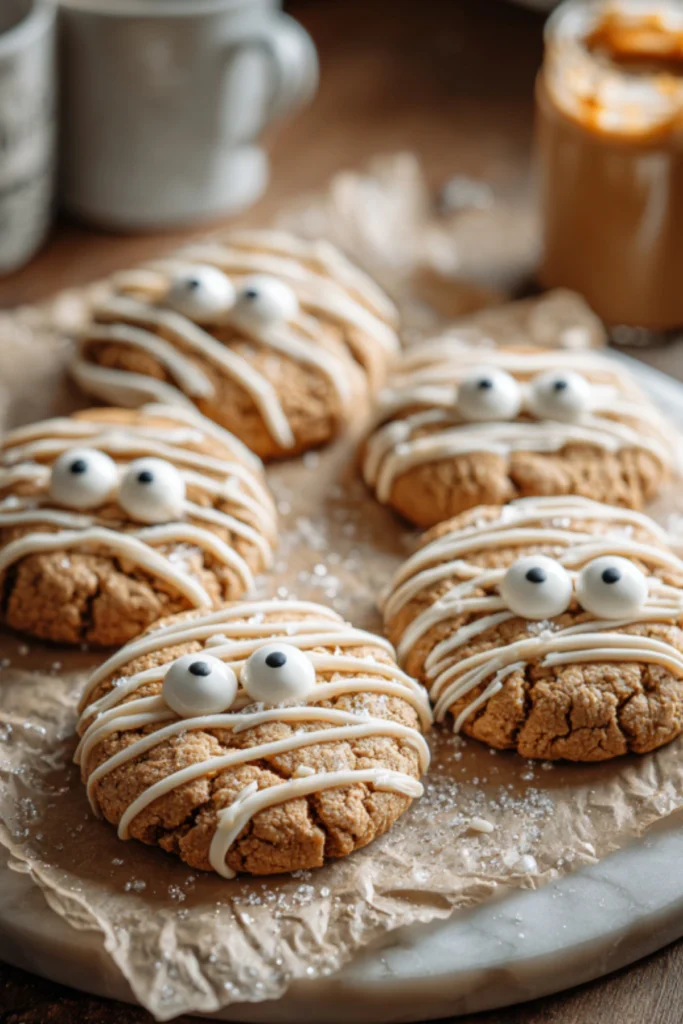
If you have any cookies left (which doesn’t happen often in my house), you can store them in an airtight container at room temperature for up to 5 days. They also freeze well. Just layer them with parchment paper in a freezer-safe container, and they’ll last for up to 2 months.
I like to package extras in little treat bags for neighbors or to send with my kids for their teachers. It’s a thoughtful, homemade gift that always gets a smile.
More Halloween Recipes to Try
- Spider Chocolate Crinkle Cookies
- Spooky Spaghetti and Cheese Stuffed Meatballs
- Orange Sugar Cookie Pumpkins
FAQs about Mummy Peanut Butter Cookies
Can I make these Mummy Peanut Butter Cookies ahead of time?
Yes, you can! I often bake the cookies a day in advance and store them in an airtight container. When you’re ready to serve, simply decorate them with white chocolate and candy eyes. This way, the drizzle looks fresh and the eyes stay in place.
How do I keep the cookies soft?
The key is not to overbake them. Take the cookies out while they’re still a little soft in the center—they’ll continue to set as they cool. Also, store them in a tightly sealed container. If they ever feel dry, place a slice of bread in the container. The cookies will absorb the moisture and stay soft.
Can I use natural peanut butter instead of creamy?
You can, but I don’t recommend it unless it’s a no-stir variety. Natural peanut butter that separates with oil can make the dough greasy and hard to work with. Creamy peanut butter gives the best texture and flavor balance.
What if I can’t find candy eyes?
No worries—you can get creative. Mini chocolate chips, M&M’s, or even dots of black icing work just as well. The fun part is giving each cookie its own personality, so feel free to experiment.
Final Thoughts on Mummy Peanut Butter Cookies
These Mummy Peanut Butter Cookies are everything I want in a Halloween treat: simple, festive, and family-friendly. They look impressive, but they don’t take much effort at all. Whether you’re making them for a classroom party, a Halloween get-together, or just a cozy night at home, they’re sure to bring joy.
Sometimes the best recipes are the ones that make you slow down and enjoy the little things. For me, that means warm cookies, giggling kids, and the smell of peanut butter and sugar baking in the oven.
Love fall baking? Don’t miss my Glazed Pumpkin Donuts and Pumpkin Spice Muffin Tops. They’re perfect with a cup of coffee on a crisp autumn morning.
Try This Recipe and Share It
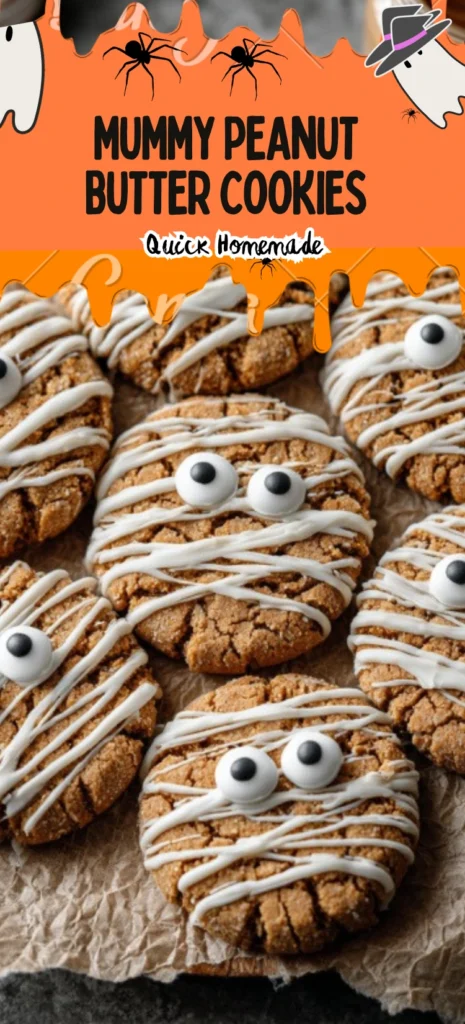

If you make these Mummy Peanut Butter Cookies, I’d love for you to share your creations. Pin this recipe to your Halloween baking board on Pinterest so others can enjoy it too. And if you try it, let me know how it went—your variations, your decorating ideas, or even your funniest “cookie fails.” That’s what makes cooking fun: we’re all learning and enjoying it together.
Print
Mummy Peanut Butter Cookies
- Total Time: 25 minutes
- Yield: 24 cookies 1x
Description
These Mummy Peanut Butter Cookies are a fun, festive Halloween treat with soft, chewy peanut butter centers and spooky white chocolate ‘bandages.’ Perfect for baking with kids!
Ingredients
- ½ cup unsalted butter, softened
- ½ cup creamy peanut butter
- ½ cup granulated sugar
- ½ cup brown sugar
- 1 egg
- 1 teaspoon vanilla extract
- 1 ¼ cups all-purpose flour
- ½ teaspoon baking soda
- ¼ teaspoon salt
- 1 cup white chocolate chips or melting wafers
- Candy eyes
Instructions
- Preheat oven to 350°F (175°C) and line a baking sheet with parchment paper.
- Cream together butter, peanut butter, granulated sugar, and brown sugar until light and fluffy.
- Beat in the egg and vanilla extract until well combined.
- Add flour, baking soda, and salt. Mix until a soft dough forms.
- Roll dough into 1-inch balls, place on the baking sheet, and flatten slightly.
- Bake for 8–10 minutes until edges are golden. Let cool completely.
- Melt white chocolate chips in the microwave in 30-second intervals, stirring until smooth.
- Drizzle white chocolate over cooled cookies in crisscross patterns to resemble mummy bandages.
- While chocolate is still soft, press two candy eyes onto each cookie.
- Let chocolate set before serving or storing.
Notes
Don’t overbake the cookies—they’ll continue to cook on the baking sheet. Use creamy peanut butter for best texture. Add a bit of coconut oil to the chocolate if it’s too thick for drizzling.
- Prep Time: 15 minutes
- Cook Time: 10 minutes
- Category: Dessert
- Method: Baking
- Cuisine: American
Nutrition
- Serving Size: 1 cookie
- Calories: 160
- Sugar: 12g
- Sodium: 85mg
- Fat: 9g
- Saturated Fat: 4g
- Unsaturated Fat: 4g
- Trans Fat: 0g
- Carbohydrates: 17g
- Fiber: 1g
- Protein: 3g
- Cholesterol: 15mg