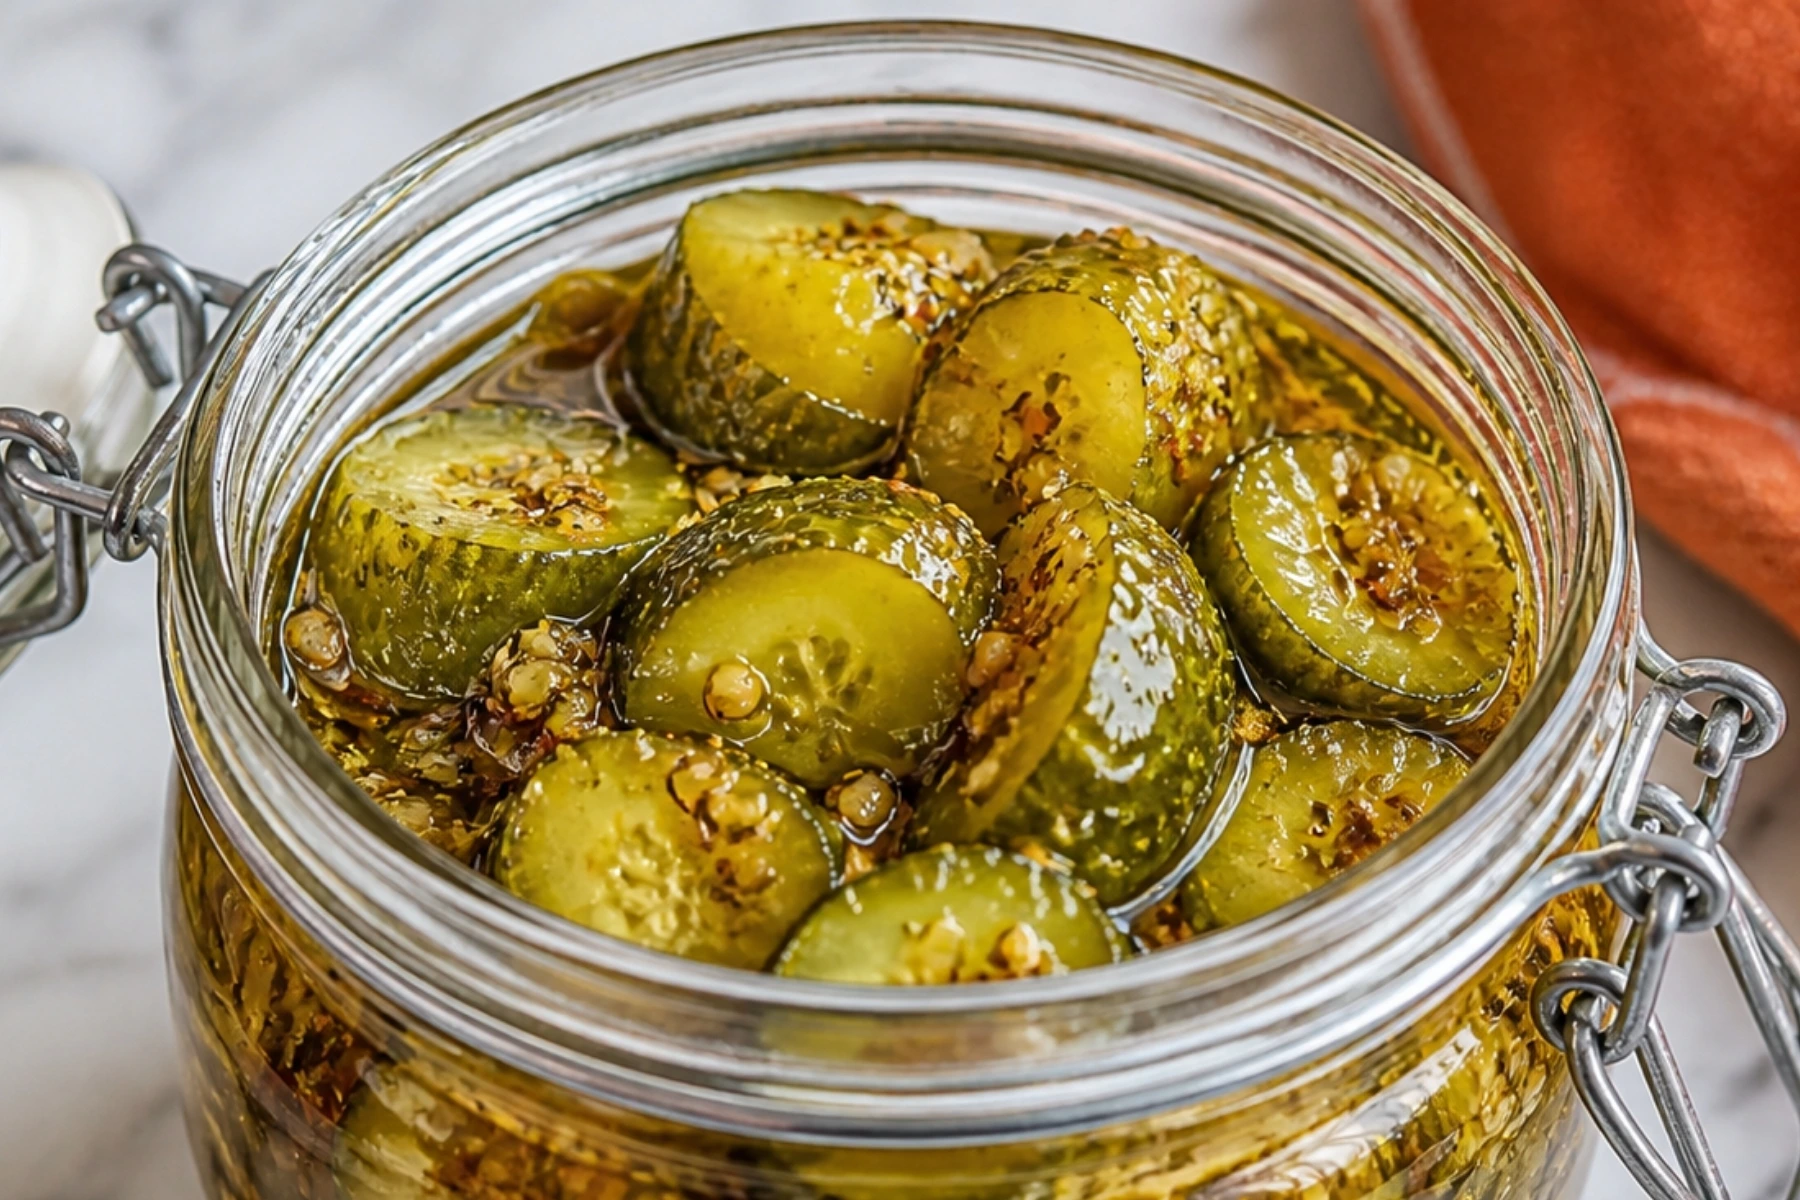
There is something deeply satisfying about opening a jar of homemade garlic dill pickles. That sharp, tangy smell. The satisfying crunch. The way the garlic and dill hit all at once. Once you make them at home, it is hard to go back to store-bought.
This recipe is simple, reliable, and made with real ingredients you probably already have. Whether you want a refrigerator garlic dill pickle recipe that is ready in 24 hours, a garlic dill pickle recipe small batch for just one or two jars, or a best garlic dill pickle recipe for canning that you can stock up on for months, this guide has you covered.
Let’s get into it.
What Makes Garlic Dill Pickles So Good
Pickles have been around for centuries, but the garlic dill version is in a category of its own. The combination of fresh dill (or dill seeds), punchy garlic, and a clean vinegar brine creates a flavor that is bold without being overwhelming.
Unlike sweet pickles, garlic dill pickles are savory and sharp. They work as a side, a snack, a burger topper, or just something to grab straight from the jar. If you have ever loved a good deli-style pickle, the kind that reminds you of Ba Tampte garlic dill pickles, this homemade version gets you very close with pantry staples.
The good news is that the garlic dill pickles recipe easy version is just as flavorful as any complicated method. You do not need a lot of equipment. You do not need experience. You just need good cucumbers and a solid brine.
If you enjoy pickling and fermented things, you might also love this lemon ginger ferment recipe for another easy way to preserve bright flavors at home.
Choosing the Right Cucumbers
This step matters more than most people think. The wrong cucumber will give you soft, mushy pickles, which is the opposite of what you want.
Best Cucumbers for Pickling
Pickling cucumbers (also called Kirby cucumbers) are your best choice. They are smaller, have thinner skin, and hold their texture much better than regular salad cucumbers. You want cucumbers that are firm, with no soft spots or wrinkled skin.
For a crunchy garlic dill pickle recipe, here are a few extra tips:
- Use cucumbers that are freshly picked or bought that same day if possible.
- Trim off the blossom end (the end opposite the stem). It contains an enzyme that softens pickles over time.
- Soak the sliced or whole cucumbers in ice water for 1 to 2 hours before pickling. This helps them stay crisp.
- Do not use waxed cucumbers from the grocery store. The wax prevents the brine from penetrating properly.
The Garlic Dill Pickle Brine: Getting It Right
The brine is the backbone of any pickle recipe. For garlic dill pickles, you want a balance of sour, salty, and herby flavors with enough acidity to preserve the cucumbers safely.
Basic Brine Ratio
A simple starting ratio that works every time:
- 2 cups water
- 1 cup white vinegar (5% acidity)
- 1 tablespoon pickling salt or kosher salt (not table salt, it can make the brine cloudy)
- Optional: 1 teaspoon sugar to round out the sharpness
White vinegar gives a clean, sharp flavor. Apple cider vinegar is an option if you want something slightly mellower and a little earthier. For the most traditional old fashioned garlic dill pickles, white vinegar with a pinch of sugar is the classic move.
The Garlic
Do not skip the garlic or use garlic powder. Fresh garlic cloves, smashed or sliced, release their flavor slowly into the brine and build in intensity the longer the pickles sit. Use at least 2 to 3 cloves per jar.
The Dill
You can use fresh dill, dried dill weed, or dill seeds. Fresh dill gives a bright, grassy flavor. Dill seeds are more concentrated and work especially well if you want your pickles to taste like the old fashioned garlic pickle recipe your grandmother might have made.
How to Make Garlic Dill Pickles Step by Step
This works as a refrigerator garlic dill pickle recipe or as a base for canning. Read through before you start so nothing surprises you.
What You Need
Ingredients (makes about 2 pint jars):
- 1 pound small pickling cucumbers, whole or sliced
- 2 cups water
- 1 cup white vinegar
- 1 tablespoon pickling salt
- 4 to 6 garlic cloves, smashed
- 2 tablespoons fresh dill or 2 teaspoons dill seeds
- Optional add-ins: red pepper flakes, mustard seeds, black peppercorns
Equipment:
- 2 clean pint-sized mason jars with lids
- Small saucepan
- Cutting board and knife
Instructions
- Wash your cucumbers well. Trim off the blossom end.
- If you want sliced pickles, cut them into rounds or spears. Whole cucumbers work great for a crunchier result.
- In a small saucepan, combine the water, vinegar, and salt. Heat over medium until the salt dissolves completely. Remove from heat and let the brine cool for 10 to 15 minutes.
- Pack the cucumbers tightly into clean jars. Add the garlic cloves, dill, and any other spices you like.
- Pour the brine over the cucumbers, making sure they are fully submerged. Leave about a half inch of space at the top.
- Let the jars cool at room temperature, then seal and refrigerate.
- Wait at least 24 hours before tasting. For full flavor, give them 3 to 5 days.

If you enjoy cooking fresh seasonal sides alongside your pickles, this cucumber salad with bacon is a great companion dish that uses cucumbers in a completely different way.
Garlic Dill Pickle Recipe Small Batch vs Large Batch for Canning
Not everyone needs to fill a pantry with pickles, and that is completely fine. A garlic dill pickle recipe small batch is perfect for testing the recipe, using up extra cucumbers, or making a quick gift for someone who loves a good homemade treat.
Small Batch Refrigerator Pickles
This is the easiest approach. Just follow the recipe above, store the jars in the fridge, and use within 2 to 3 months. No special canning equipment needed. No processing time. Just mix, pack, and wait.
These are technically quick pickles, which means they are not shelf-stable and need to stay cold. But the flavor is incredible and they are ready much faster than fully fermented pickles.
Best Garlic Dill Pickle Recipe for Canning
If you want to make a larger batch that you can store at room temperature for up to a year, you will need to use a proper best garlic dill pickle recipe for canning method with water bath canning.
Key points for safe canning:
- Use vinegar with at least 5% acidity to ensure proper preservation.
- Always sterilize your jars before filling them.
- Process the filled jars in a boiling water bath for 10 minutes (adjust for altitude if needed).
- Let jars sit undisturbed for 24 hours after processing. Check that the lids have sealed before storing.
If a lid does not seal properly, just move that jar to the refrigerator and use it within a few weeks. Do not try to reprocess unsealed jars.
Old Fashioned Garlic Dill Pickles: What Makes Them Different
If you have ever had a truly old fashioned garlic dill pickle from a deli or a farmer’s market jar, you know they taste different from the quick refrigerator kind. They have a deeper, more complex flavor and sometimes a slightly fizzy quality.
That is because old fashioned garlic pickle recipe versions are often fermented rather than brined in vinegar. They rely on natural lacto-fermentation, where salt draws moisture from the cucumbers and creates an environment where good bacteria thrive.
To try a simple fermented version:
- Use a 3% salt brine (about 1.5 tablespoons of kosher salt per 2 cups of water). No vinegar.
- Pack cucumbers and garlic into a jar and pour the salt water over them.
- Keep the cucumbers submerged (use a small weight or zip-lock bag filled with water).
- Leave at room temperature for 3 to 7 days, tasting as you go.
- Once they reach a flavor you like, move them to the fridge to slow fermentation.
Fermented pickles have probiotic benefits and a tanginess that builds naturally. They take more time but the result is worth it.
Tips for the Crunchiest Garlic Dill Pickles
Getting that signature crunch in a crunchy garlic dill pickle recipe comes down to a few key habits:
- Always trim the blossom end of the cucumber before packing.
- Use ice-cold cucumbers. If they warmed up in the car on the way home, refrigerate them for a few hours first.
- Do not pour boiling brine directly over the cucumbers. Let it cool slightly first to avoid cooking them.
- Pack the jars tightly. Loosely packed cucumbers tend to soften faster.
- Add a grape leaf, oak leaf, or horseradish leaf to the jar. These contain tannins that naturally help keep pickles firm.
- Smaller cucumbers stay crunchier than larger ones. If yours are big, halve or quarter them.
If you enjoy using fresh produce in simple, flavorful ways, this Italian cucumber salad and this Korean cucumber salad recipe are two more ways to enjoy cucumbers at their freshest.
Flavor Variations Worth Trying
Once you have the base recipe down, it is easy to experiment. Here are a few directions you can take your garlic dill pickles:
Spicy Garlic Dill Pickles
Add red pepper flakes, sliced fresh jalapeños, or a dried chili pepper to each jar. This gives you a good kick without drowning out the dill and garlic.
Garlic Dill Pickle Spears
Cut cucumbers lengthwise into quarters instead of rounds. Spears hold their crunch especially well and look great in a jar for gifting.
Garlic Dill Pickles with Mustard Seed
Add half a teaspoon of mustard seeds per jar for a subtle, earthy warmth. This is common in traditional deli-style recipes and pairs perfectly with the garlic and dill.
No-Vinegar Fermented Version
Skip the vinegar and go for a simple salt brine. You get a more complex, tangy flavor and all the probiotic benefits of fermented food.
How to Use Garlic Dill Pickles
Homemade pickles do a lot of work in the kitchen. Here are some of the best ways to use them:
- Serve alongside sandwiches, wraps, or burgers. They cut through rich, fatty flavors beautifully.
- Chop them up and stir into potato salad, tuna salad, or egg salad for a punchy flavor boost.
- Use the brine. Pickle juice is great in salad dressings, marinades, or as a quick brine for chicken before grilling.
- Add to a charcuterie board or snack platter. They add both color and a sharp, tangy contrast.
- Eat them straight from the jar. There is no shame in that.
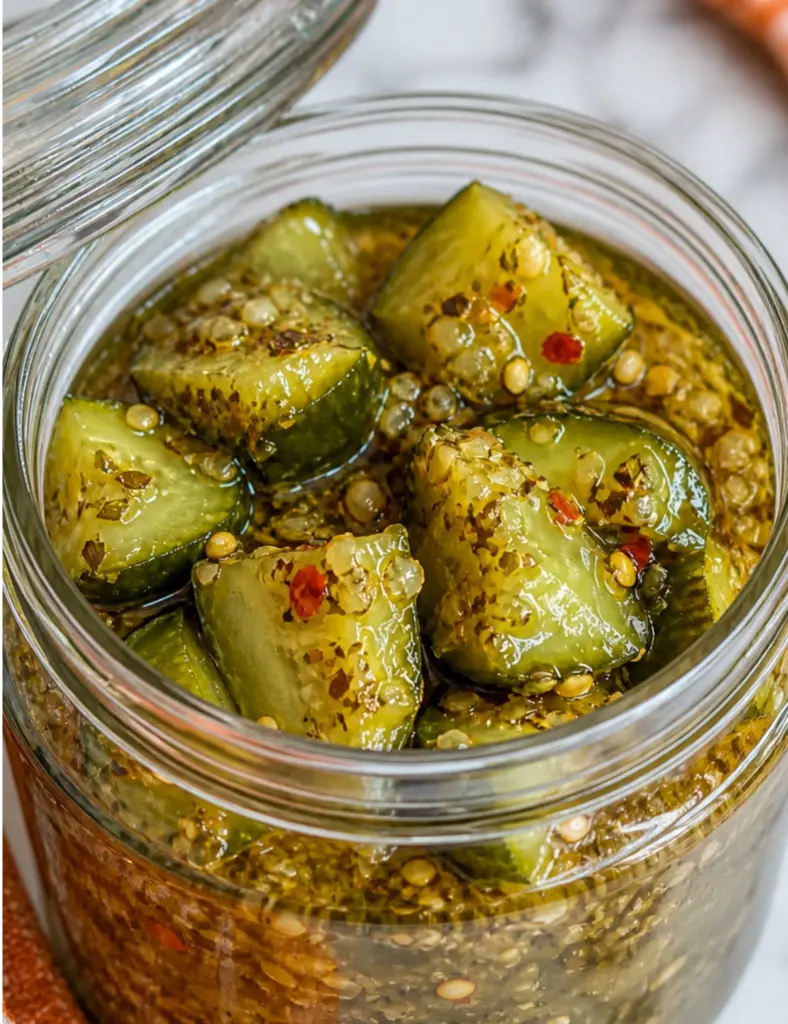
If you like bold, tangy flavors in your meals, you might enjoy this pickled beet salad recipe as well as this easy pickled cauliflower recipe. Both are simple to make and full of bright flavor.
Storing and Shelf Life
How long your garlic dill pickles last depends on how you made them.
- Refrigerator pickles: Store in the fridge for up to 2 to 3 months. The flavor actually improves over the first week.
- Canned pickles (properly processed): Store in a cool, dark place for up to 12 months. Once opened, keep in the fridge and use within a month.
- Fermented pickles: Once they reach your desired flavor, refrigerate and use within 3 to 6 months.
Always use clean utensils when reaching into the jar. Introducing bacteria from dirty utensils is one of the quickest ways to shorten shelf life.
FAQs
How long do homemade garlic dill pickles need before they taste good?
Refrigerator garlic dill pickles are ready to eat after 24 hours, but the flavor is much better after 3 to 5 days. The longer they sit, the more the garlic and dill infuse into the cucumbers.
Can I use regular cucumbers instead of pickling cucumbers?
You can, but the results will be softer. Regular slicing cucumbers have higher water content and thicker skin, which means they do not absorb brine as well and tend to go mushy faster. Kirby or pickling cucumbers give you the best crunch.
What is the difference between refrigerator pickles and canned pickles?
Refrigerator pickles are quick and easy but need to stay cold and last only a couple of months. Canned pickles are processed in a boiling water bath to create a shelf-stable seal. They take more time and equipment but last up to a year at room temperature.
Why are my garlic dill pickles soft instead of crunchy?
A few common reasons: the cucumbers were too old or warm before pickling, the blossom end was not removed, the brine was too hot when poured over the cucumbers, or the cucumbers were not soaked in ice water beforehand. Try these fixes and your next batch will be noticeably crunchier.
Final Thoughts on Garlic Dill Pickles
Making garlic dill pickles at home is one of those kitchen projects that feels like a lot but is actually very simple. You mix a brine, pack some jars, and wait. The result is something that tastes genuinely better than most store-bought options and costs much less.
Whether you go for a quick refrigerator garlic dill pickle recipe or take the time to can a big batch for your pantry, the process is the same at heart. Good cucumbers, a clean brine, fresh garlic, and a little patience.
If you want to keep exploring, try the pineapple cucumber salad for a sweet and tangy take on fresh cucumber, or check out the spring roll salad recipe for another fresh, vibrant dish that pairs well with a good pickle on the side.
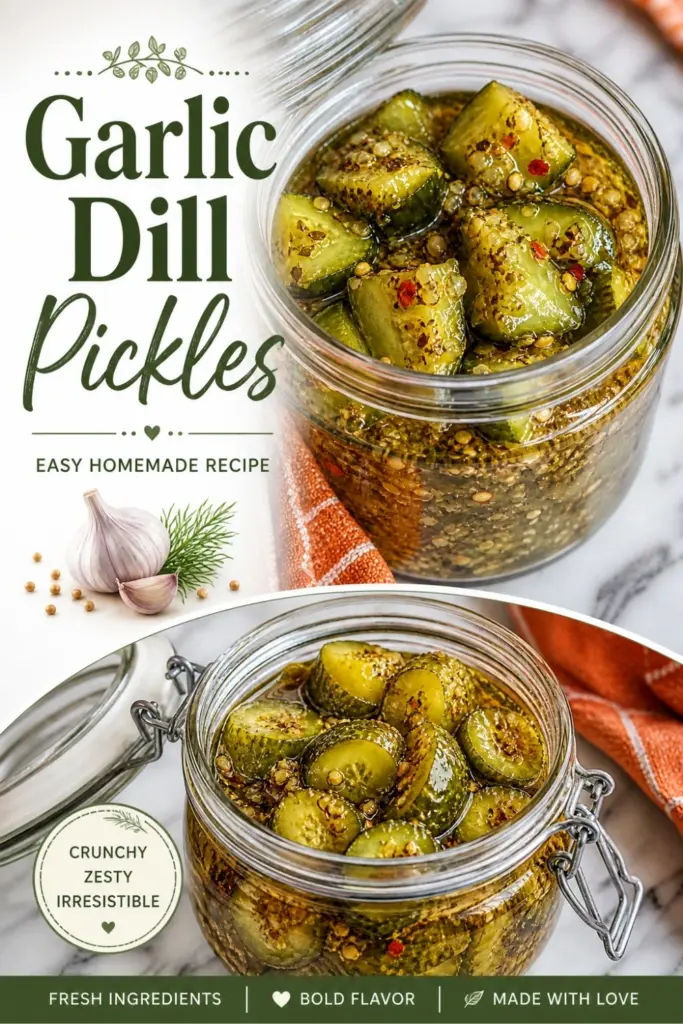
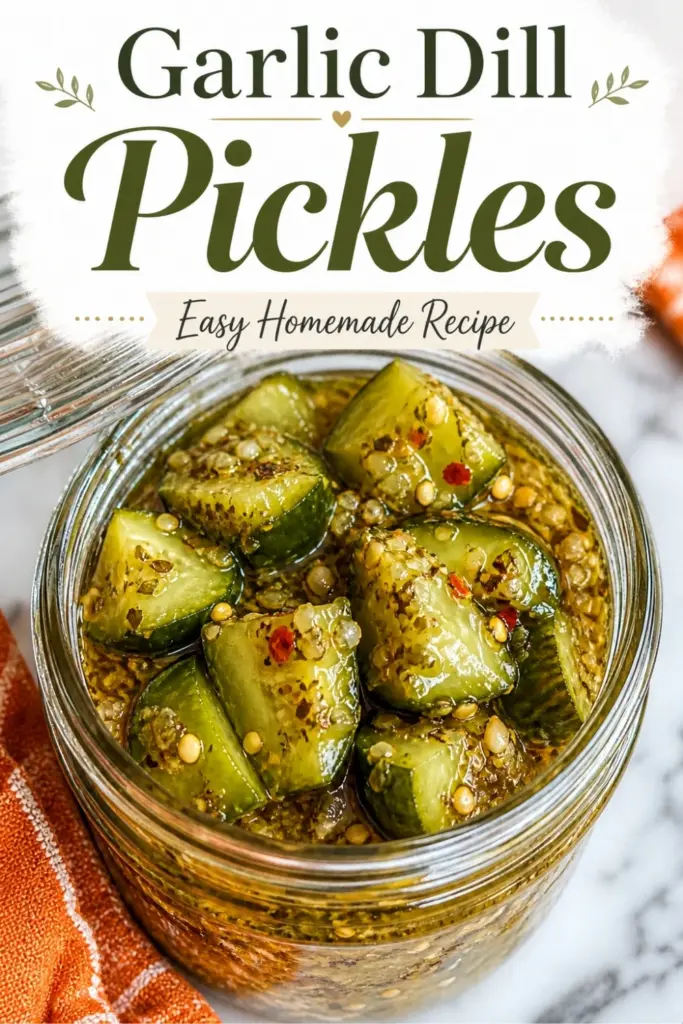
If this recipe made your day a little sweeter, please leave a star rating in the recipe card below and save it to Pinterest for later.
Print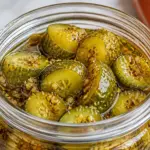
Garlic Dill Pickles
- Total Time: 24 hours 20 minutes
- Yield: 2 pint jars 1x
Description
These homemade garlic dill pickles are crisp, tangy, and packed with fresh garlic and dill flavor. They are simple to make, ready in 24 hours, and perfect as a snack, sandwich side, burger topper, or straight from the jar.
Ingredients
- 1 pound small pickling cucumbers, whole or sliced
- 2 cups water
- 1 cup white vinegar
- 1 tablespoon pickling salt
- 4 to 6 garlic cloves, smashed
- 2 tablespoons fresh dill or 2 teaspoons dill seeds
- Optional: red pepper flakes
- Optional: mustard seeds
- Optional: black peppercorns
Instructions
- Wash the cucumbers well.
- Trim off the blossom end of each cucumber.
- Cut the cucumbers into rounds or spears, or leave them whole for a crunchier result.
- In a small saucepan, combine the water, vinegar, and salt.
- Heat over medium until the salt dissolves completely.
- Remove from heat and let the brine cool for 10 to 15 minutes.
- Pack the cucumbers tightly into clean jars.
- Add the smashed garlic cloves, dill, and any optional spices.
- Pour the brine over the cucumbers, making sure they are fully submerged.
- Leave about a half inch of space at the top of each jar.
- Let the jars cool at room temperature.
- Seal the jars and refrigerate.
- Wait at least 24 hours before tasting.
- For the best flavor, let the pickles sit for 3 to 5 days.
Notes
For the crunchiest garlic dill pickles, use fresh pickling cucumbers, trim the blossom end, and soak the cucumbers in ice water for 1 to 2 hours before pickling. These refrigerator pickles must be stored cold and used within 2 to 3 months.
- Prep Time: 15 minutes
- Cook Time: 5 minutes
- Category: Condiment
- Method: Refrigerator Pickling
- Cuisine: American
Nutrition
- Serving Size: 1 pickle serving
- Calories: 20
- Sugar: 1g
- Sodium: 350mg
- Fat: 0g
- Saturated Fat: 0g
- Unsaturated Fat: 0g
- Trans Fat: 0g
- Carbohydrates: 4g
- Fiber: 1g
- Protein: 1g
- Cholesterol: 0mg