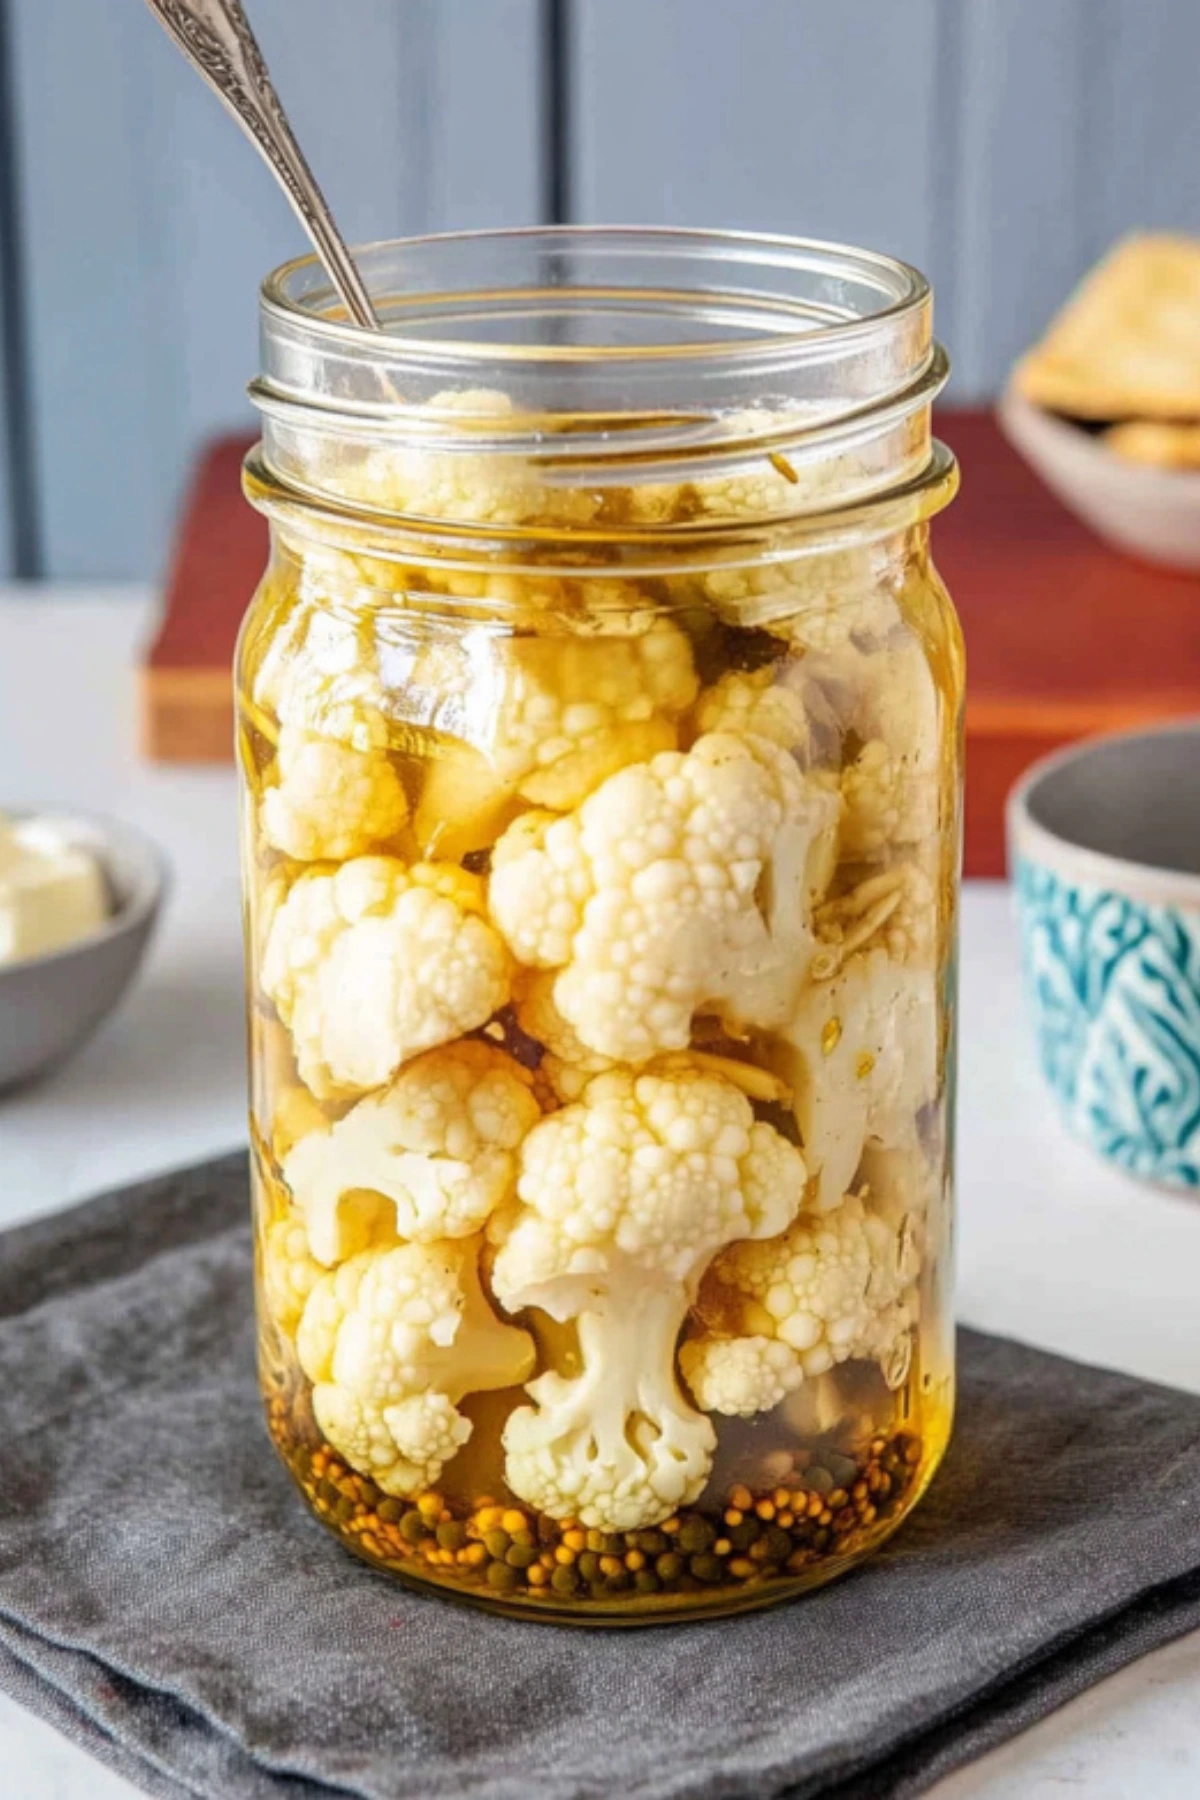
I’ll never forget the first time I made pickled cauliflower. My mom always had a relish tray at family gatherings, but honestly, raw veggies weren’t exactly the star of the show. Then I discovered how simple it is to make pickled cauliflower at home, and everything changed.
This recipe transforms ordinary cauliflower into something absolutely addictive. The tangy crunch makes it perfect for snacking, and I love adding it to cheese boards or sandwiches. Best part? You can make these quick pickled cauliflower in just 15 minutes with ingredients you probably already have.
Why I Love Making Pickled Cauliflower at Home
Making your own pickles feels so satisfying. There’s something magical about watching that simple vinegar brine transform plain cauliflower into something spectacular.
I started making these when I was trying to add more vegetables to our family meals. My kids weren’t exactly thrilled about eating more cauliflower, but when I served these tangy pickles, they actually asked for seconds. That’s when I knew I had a winner.
The texture stays perfectly crisp, unlike some store-bought pickles that can be mushy. Plus, you control the salt and sugar levels, which means you can make them exactly how your family likes them.
What Makes This Pickled Cauliflower Recipe Special
Unlike complicated pickle recipes that require special equipment or days of waiting, this method is incredibly forgiving. I’ve made these countless times, and they turn out perfectly every single time.
The secret is in the simple brine ratio. I use equal parts vinegar and water, which creates the perfect balance of tang without being too harsh. The pickling spice adds depth, but you can totally customize it based on what you have in your spice cabinet.
I also love that there’s no blanching required. Just cut, pack, pour, and you’re done. Even my teenage daughter can make these without supervision.
Ingredients for Perfect Pickled Cauliflower
For the Vegetables
- 1 large head cauliflower (about 2-3 pounds)
- 1 tablespoon pickling spice blend
For the Pickle Brine
- 1 cup apple cider vinegar (I prefer this over white vinegar for flavor)
- 1 cup filtered water
- 1 teaspoon pickling salt (fine sea salt works too)
- 1/2 teaspoon granulated sugar
Choosing the Best Cauliflower for Pickling
When I’m shopping for cauliflower, I look for heads that feel heavy for their size. The florets should be tight and white without any brown spots or yellowing.
I prefer buying whole heads rather than pre-cut florets. They stay fresher longer, and you can cut them exactly the size you want. Plus, it’s usually more economical.
If you see purple or orange cauliflower at the farmer’s market, go for it! Just know that some of the color might leach into the brine during pickling. It doesn’t affect the taste, but it makes for prettier pickles if you blanch them first.
The USDA recommends choosing fresh, colorful vegetables for optimal nutrition. Fresh cauliflower is packed with vitamin C and fiber, making it an excellent choice for healthy pickling.
Equipment You’ll Need
The beauty of this recipe is that you probably have everything already:
- 2 (8-ounce) mason jars or 1 (16-ounce) jar with tight lids
- Small saucepan
- Sharp knife
- Cutting board
- Measuring cups and spoons
- Wooden chopstick (for removing air bubbles)
I always use mason jars because they seal well and look pretty in the fridge. You can find high-quality mason jars at Ball’s official website or pick them up at most grocery stores. But honestly, any glass jar with a tight-fitting lid will work perfectly.
For the best results, America’s Test Kitchen recommends using glass containers for pickling to prevent any metallic taste from affecting your vegetables.
How to Make Pickled Cauliflower Step by Step
Step 1: Prepare Your Jars
Start by adding the pickling spice to the bottom of your clean jars. I like to divide it evenly if I’m using two smaller jars.
Make sure your jars are completely clean. I run mine through the dishwasher or wash them with hot soapy water and let them air dry.
Step 2: Cut the Cauliflower
Remove the leaves and cut the cauliflower into bite-sized florets. I aim for pieces about 1-2 inches big. They should be small enough to eat easily but large enough to stay crisp.
Don’t worry about making them perfectly uniform. I actually like having different sizes because it creates nice texture variation in the final product.
Step 3: Pack the Jars
This is where I get a little aggressive. Pack those cauliflower florets tightly into the jars. The more you fit, the better value you get from your brine.
Leave about half an inch of space at the top. You want room for the brine to cover everything completely.
Step 4: Make the Pickling Brine
In a small saucepan, combine the vinegar, water, pickling salt, and sugar. Bring it to a rolling boil over medium-high heat.
Stir until the salt and sugar dissolve completely. This usually takes just a minute or two once it starts boiling.
The kitchen will smell incredibly tangy and amazing. My family always knows when I’m making pickles because that vinegar aroma fills the whole house.
According to the National Center for Home Food Preservation, maintaining proper acidity levels is crucial for safe pickling. The 50/50 vinegar-to-water ratio ensures your pickles are both delicious and safe to eat.
Step 5: Pour the Hot Brine
Here’s the crucial part: pour the hot brine over the cauliflower immediately. The heat helps the flavors penetrate the vegetables faster.
Fill the jars leaving about 1/4 inch of headspace. All the cauliflower should be completely submerged. If some pieces float to the top, that’s totally normal.
Step 6: Remove Air Bubbles
Use a chopstick or wooden skewer to gently poke around the edges of the jar. This releases any trapped air bubbles.
You might see the brine level drop slightly as the air escapes. Just add more brine if needed to keep everything covered.
Step 7: Cool and Store
Screw on the lids and let the jars cool to room temperature. This usually takes about 30 minutes on the counter.
Once cool, pop them in the refrigerator. Now comes the hardest part: waiting at least 48 hours before eating them.

My Favorite Variations for Pickled Cauliflower
Spicy Pickled Cauliflower
Add 1-2 dried red chilies or a pinch of red pepper flakes to each jar. My husband loves these with extra heat.
Garlic Dill Version
Include 2-3 garlic cloves and 1 teaspoon of dill seed per jar. This reminds me of classic dill pickles but with cauliflower.
Sweet and Tangy
Increase the sugar to 2 tablespoons for a sweeter brine. This version is perfect if you have kids who prefer milder flavors.
Rainbow Pickled Vegetables
Mix in colorful bell pepper strips, carrot sticks, or radish slices. It makes the jar look like a rainbow and adds more variety. For more ideas on incorporating vegetables into your meals, check out our easy gluten-free dinners that feature lots of fresh produce.
Storage Tips That Actually Work
Refrigerator Storage
Your pickled cauliflower will keep for about 2 months in the refrigerator. I store mine on the top shelf where it stays coldest.
Keep them in the original mason jars with tight lids. The flavor actually improves over time, so don’t be afraid to make a big batch.
Water Bath Canning for Pantry Storage
If you want to store these in your pantry, you can process them in a boiling water bath for 10 minutes. This extends their shelf life to 18 months.
Only store at room temperature if you’ve properly canned them. Otherwise, they need to stay refrigerated for food safety.
The USDA Complete Guide to Home Canning provides detailed instructions for safe canning practices. Always follow tested recipes and processing times for food safety.
Serving Ideas That Never Fail
On Cheese and Charcuterie Boards
These pickles add the perfect tangy crunch to any cheese board. I love pairing them with sharp cheddar and crackers.
In Sandwiches and Wraps
Chop them up and add to chicken salad or tuna salad. They add incredible flavor and texture. If you’re looking for more sandwich inspiration, our simple sandwich recipes for lunch collection has plenty of creative ideas.
As a Healthy Snack
Keep a jar in the fridge for when you want something crunchy and satisfying. They’re only 18 calories per serving.
In Grain Bowls and Salads
Add them to quinoa bowls or green salads for extra tang and crunch. They pair especially well with Mediterranean flavors. For more hearty meal ideas, try our beef and pepper rice bowl recipe that would be delicious with these pickles on the side.
Troubleshooting Common Pickled Cauliflower Problems
My Pickles Turned Out Mushy
This usually happens if the cauliflower wasn’t fresh or if you over-boiled the brine. Keep the boiling time minimal and use the freshest cauliflower possible.
The Brine is Cloudy
Cloudy brine often comes from using table salt instead of pickling salt. The anti-caking agents in regular salt can cause cloudiness. Speaking of salt, if you’re interested in healthier salt options, check out our pink salt for weight loss recipe guide for more information.
They’re Too Salty
If your pickles are too salty, try reducing the salt to 3/4 teaspoon next time. You can also rinse them briefly before serving.
The Flavor is Too Mild
Let them pickle longer. The flavor develops over time, especially in the first week. Some people prefer them after a full week of pickling.
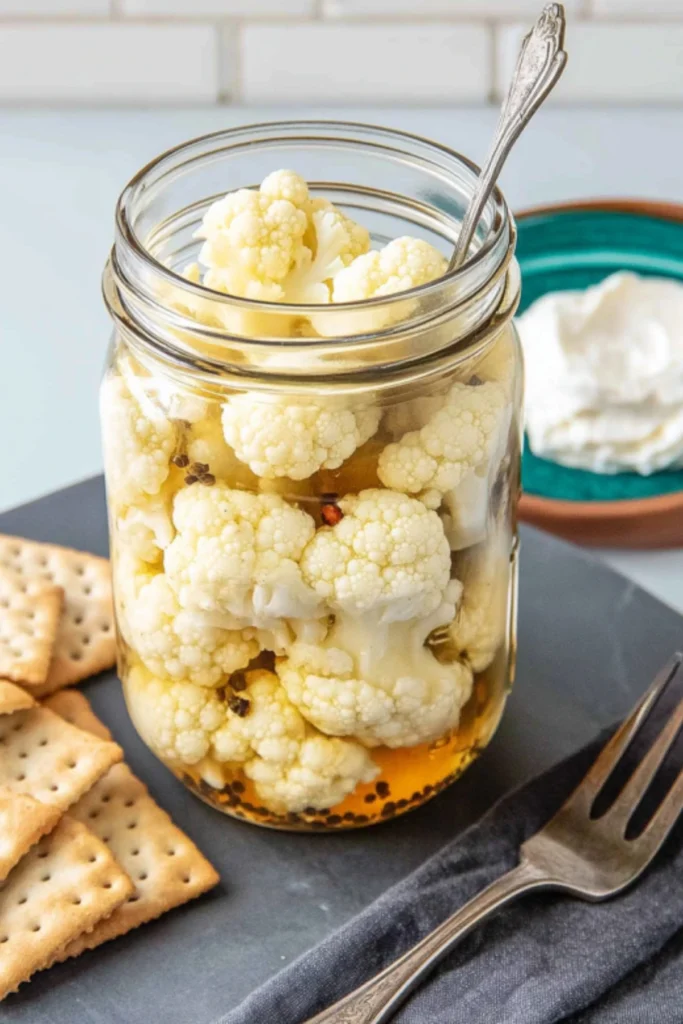
Nutritional Benefits of Pickled Cauliflower
Cauliflower is packed with vitamins C and K, plus fiber and antioxidants. The pickling process preserves most of these nutrients while adding beneficial probiotics.
Each serving has only 18 calories, making it a guilt-free snack option. Plus, the vinegar may help with blood sugar control and digestion.
Harvard Health Publishing notes that fermented and pickled vegetables can contribute to gut health through beneficial bacteria. The Mayo Clinic also highlights the nutritional benefits of cruciferous vegetables like cauliflower for overall health.
Why This Recipe Works for Busy Families
I love this recipe because it’s so forgiving. You can make it when you have 15 minutes free, and it keeps for months.
It’s also a great way to use up a large head of cauliflower before it goes bad. I often make a double batch when cauliflower is on sale.
The kids love helping with this recipe because it’s simple and safe. They can pack the jars and help measure ingredients. For more family-friendly meal ideas, browse our dinner recipes section for inspiration.
More Pickle Recipes to Try
Once you master this pickled cauliflower recipe, you’ll probably want to try pickling other vegetables. Some of my family’s favorites include:
- Quick pickled red onions
- Pickled jalapeños
- Pickled green beans
- Pickled carrots
- Pickled radishes
For more vegetable-focused recipes, don’t miss our peas and carrots recipe that makes a great side dish alongside these pickles.
Recipe Success Tips from My Kitchen
Use Fresh Ingredients
Always start with the freshest cauliflower you can find. Fresh vegetables pickle better and stay crispier longer.
Don’t Skip the Resting Time
I know it’s tempting to try them right away, but waiting 48 hours makes such a difference in flavor development.
Keep Everything Clean
Use clean jars and utensils to prevent any unwanted bacteria from affecting your pickles. The CDC’s food safety guidelines emphasize the importance of cleanliness in food preparation.
Measure Accurately
The brine ratio is important for both flavor and food safety. Don’t guess on the measurements.
For more detailed information about pickling science and techniques, The Fresh Market Institute offers excellent resources on vegetable preservation methods.
What Readers Are Saying
“This is the easiest pickle recipe I’ve ever tried! My whole family loves them, and I make a batch every week now.” – Sarah M.
“I was skeptical about pickled cauliflower, but these are incredible. They’re perfect on sandwiches and salads.” – Jennifer L.
“My kids actually ask for these pickles! They’re so much better than store-bought.” – Michelle K.
Final Thoughts on Making Pickled Cauliflower
Making your own pickled cauliflower is one of those simple pleasures that makes cooking feel rewarding. There’s something so satisfying about opening a jar of pickles you made yourself.
This recipe has become a staple in our house. I always keep a jar in the fridge for snacking, and they never last long. The combination of tangy, crunchy, and slightly sweet is absolutely irresistible.
Don’t be afraid to experiment with different spices and vegetables. Some of my best pickle discoveries happened when I threw in whatever I had on hand. If you enjoy making things from scratch, you might also love our lunch recipes that pair perfectly with homemade pickles.
FAQs
How long does pickled cauliflower last in the fridge?
Your pickled cauliflower will stay fresh in the refrigerator for about 2 months when stored properly in sealed jars. I’ve found they actually taste better after the first week as the flavors develop.
Keep them in the coldest part of your fridge, usually the top shelf. The key is making sure they stay completely submerged in the brine.
Can I use frozen cauliflower for pickling?
I don’t recommend using frozen cauliflower for this pickled cauliflower recipe. Frozen vegetables lose their crisp texture when thawed, and you’ll end up with mushy pickles.
Fresh cauliflower is really the way to go for that perfect crunch we all love. If you only have frozen, save it for soups or casseroles instead.
What’s the best vinegar for pickled cauliflower?
I prefer apple cider vinegar because it adds a slightly fruity tang that complements the cauliflower beautifully. White distilled vinegar works too and gives a cleaner, sharper flavor.
Make sure whatever vinegar you choose has at least 5% acidity for proper pickling and food safety. This should be listed right on the bottle.
Serious Eats has an excellent guide on different types of vinegar and their uses in cooking. For more information about vinegar acidity levels, check out The Spruce Eats comprehensive vinegar guide.
Do I need to blanch cauliflower before pickling?
No blanching required! That’s one of the things I love about this quick pickled cauliflower method. The hot brine does all the work.
Blanching actually makes the cauliflower softer, which isn’t what we want. The raw cauliflower stays perfectly crisp in the acidic brine.
Can I reuse the pickle brine?
For food safety reasons, I don’t recommend reusing the brine once you’ve eaten all the pickles. The used brine has been contaminated with bacteria from eating utensils and won’t be safe for preserving new vegetables.
It’s better to make fresh brine each time. The good news is it’s so quick and inexpensive to make!
How do I know if my pickled cauliflower has gone bad?
Trust your senses! If you notice any off smells, slimy texture, or mold growth, it’s time to toss them. The brine should stay clear or slightly cloudy, not murky.
As long as they smell tangy and vinegary and the cauliflower stays crisp, they’re good to eat. When in doubt, throw them out.
Can I make pickled cauliflower without sugar?
Absolutely! The sugar just balances the acidity a bit, but you can omit it completely if you prefer. I’ve made them without sugar many times, and they’re still delicious.
You could also substitute with a small amount of honey or maple syrup if you want natural sweetness.
Is pickled cauliflower healthy?
Pickled cauliflower is actually quite healthy! It’s low in calories (only 18 per serving) and provides fiber, vitamin C, and beneficial probiotics from the fermentation process.
The vinegar may also help with blood sugar control and digestion. It’s a much healthier snack option than processed foods. If you’re interested in more healthy recipes, check out our quick and easy chicken breast recipes for nutritious meal ideas.
WebMD provides detailed nutritional information about cauliflower and its health benefits. The American Heart Association also recommends vegetables like cauliflower as part of a heart-healthy diet.
Love this recipe? Pin it on Pinterest so you can find it easily next time
Ready to Make Your Pickled Cauliflower?
I hope this recipe brings as much joy to your kitchen as it has to mine. There’s nothing quite like the satisfaction of making something delicious from scratch with just a few simple ingredients.
If you try this pickled cauliflower recipe, I’d love to hear how it turns out! Take a photo of your beautiful jars and share them on Pinterest. Tag me so I can see your creations and maybe even feature them in future posts.
Happy pickling, and remember cooking should always be fun, not stressful. Even if your first batch isn’t perfect, it’s still going to be delicious! For more cooking inspiration and recipes to try, explore our desserts section for sweet treats to enjoy after your savory pickled cauliflower.
Print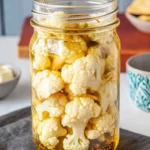
Easy Pickled Cauliflower Recipe: Tangy, Crunchy Homemade Pickles (2025)
- Total Time: 20 minutes
- Yield: 2 (8-ounce) jars 1x
Description
This quick and tangy pickled cauliflower recipe transforms simple florets into crunchy, addictive bites perfect for snacking, cheese boards, and sandwiches. Easy to make in just 15 minutes with pantry staples!
Ingredients
- 1 large head cauliflower (about 2–3 pounds)
- 1 tablespoon pickling spice blend
- 1 cup apple cider vinegar
- 1 cup filtered water
- 1 teaspoon pickling salt (or fine sea salt)
- 1/2 teaspoon granulated sugar
Instructions
- Add pickling spice to clean jars.
- Cut cauliflower into bite-sized florets.
- Pack florets tightly into jars, leaving 1/2 inch of headspace.
- In a saucepan, bring vinegar, water, salt, and sugar to a boil.
- Pour hot brine over cauliflower, leaving 1/4 inch of headspace.
- Remove air bubbles using a chopstick or skewer.
- Seal jars and let cool to room temperature.
- Refrigerate and let pickle for at least 48 hours before serving.
Notes
Customize with red pepper flakes for heat, garlic and dill for a classic twist, or a sweeter version by increasing sugar. Keeps in the fridge for up to 2 months. Always use fresh cauliflower for the best crunch.
- Prep Time: 15 minutes
- Cook Time: 5 minutes
- Category: Side Dish
- Method: No-Cook
- Cuisine: American
Nutrition
- Serving Size: 1/4 cup
- Calories: 18
- Sugar: 1g
- Sodium: 210mg
- Fat: 0g
- Saturated Fat: 0g
- Unsaturated Fat: 0g
- Trans Fat: 0g
- Carbohydrates: 3g
- Fiber: 1g
- Protein: 1g
- Cholesterol: 0mg