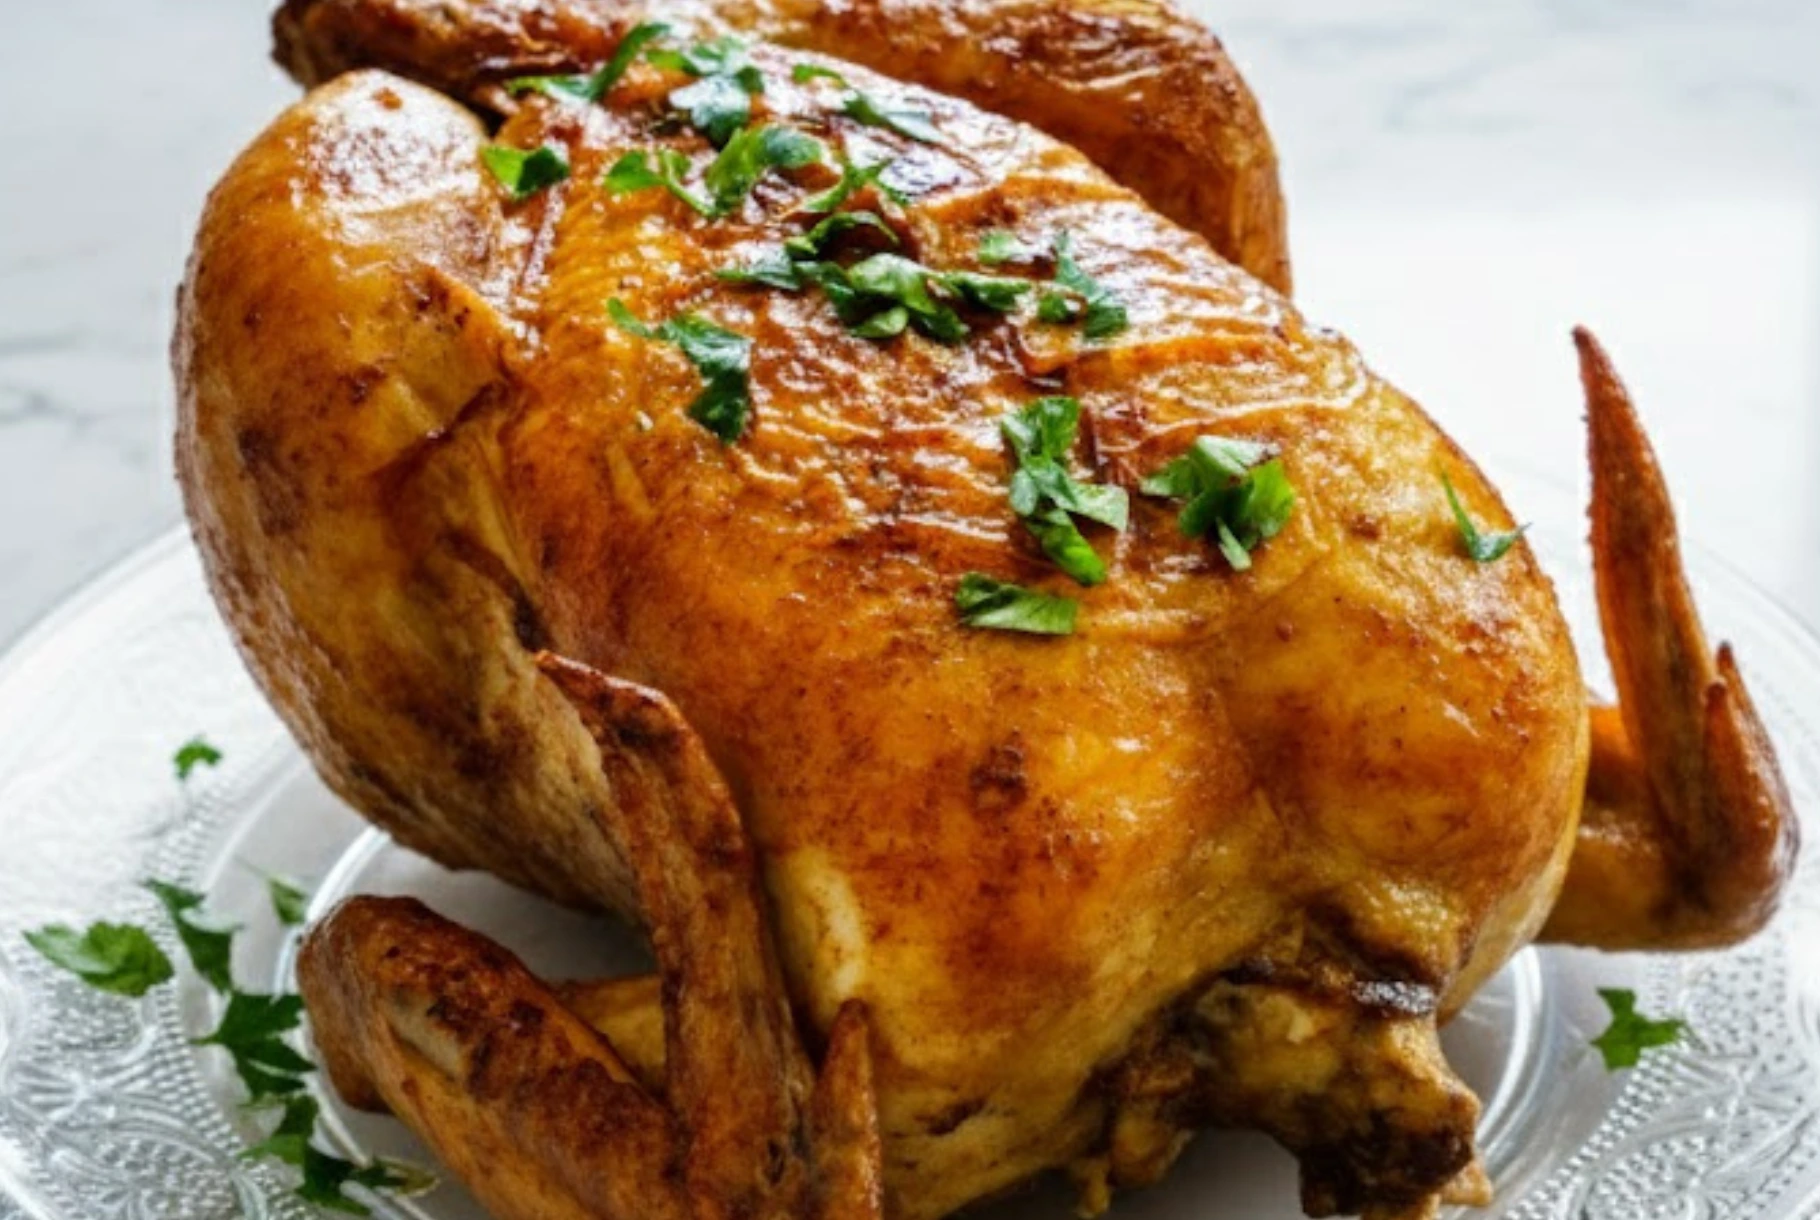
Thanksgiving is a time for family, good food, and lots of love around the table. One of the star players on the dinner table is, of course, the turkey. But if you’ve ever found yourself serving a dry, bland bird, you’re not alone! That’s where brining comes in. This simple technique will transform your turkey into a flavorful, juicy masterpiece, making your Thanksgiving dinner one to remember.
As someone who’s been brining turkeys for years, let me share the secrets and tips I’ve learned along the way. Whether it’s your first time cooking the bird or you’re looking for a refresher, this guide will walk you through the process with confidence and ease.
Why Brine Your Turkey?

Brining is all about ensuring your turkey stays juicy and tender throughout the cooking process. The salt in the brine helps the turkey retain moisture, preventing it from drying out in the oven. You also get to add a ton of flavor by infusing the turkey with herbs, citrus, and other seasonings that make it extra special. If you’re interested in more ways to make your Thanksgiving feast extraordinary, check out this Garlic Thanksgiving Turkey Recipe.
The Basic Brining Recipe
Before we dive into the how-tos, let’s start with the basic brining recipe. This method is simple, reliable, and will give you a flavorful bird every time.
Ingredients:
- 1 cup kosher salt
- 2 gallons cold water
- 1 cup sugar (optional, but adds sweetness)
- 10-pound bag of ice (to chill the brine)
Optional Flavor Additions:
- 2 lemons, quartered
- A handful of fresh herbs (rosemary, thyme, sage)
- 3 bay leaves
- 5 garlic cloves, smashed
- A few whole peppercorns
Equipment:
- Large ice chest or cooler
- Large unscented turkey bag
Step-by-Step Guide to Brining Your Turkey
Step 1: Prepare the Brine
In a large container or pot, combine the kosher salt and cold water. Stir until the salt completely dissolves. If you’re adding sugar, stir it in as well and heat the mixture until it dissolves completely. Allow the brine to cool down, or if you’re short on time, add a little ice to speed things up.
Step 2: Add Flavor Enhancements
Once the brine has cooled, it’s time to infuse the turkey with flavor. Add the optional ingredients like the quartered lemons, herbs, garlic, and bay leaves. These little touches elevate the flavor of your turkey and give it that signature Thanksgiving taste. For another flavorful dish to try, you can explore this Turkey Chili (No Beans) to use your turkey leftovers.
Step 3: Brine the Turkey
Place your turkey inside a large unscented trash bag or brining bag. Pour the cooled brine over the turkey, ensuring it’s fully submerged. If the brine doesn’t cover the bird, you can always add more water or double the brine recipe.
Now, carefully tie up the bag and place it inside an ice chest or cooler. Fill the cooler with ice to keep everything nice and cold. Brine your turkey overnight, or for at least 12-18 hours. The longer it brines, the more flavor it absorbs!
Step 4: Rinse and Dry
Once your turkey has finished brining, it’s time to rinse it off thoroughly under cold water. This removes any excess salt and ensures your bird doesn’t end up too salty. Discard the brine and clean the ice chest thoroughly before storing it.
Pat your turkey dry with paper towels and let it sit on a platter in the fridge, uncovered, for a few hours. This step helps the skin dry out, which is key to achieving that golden, crispy skin when roasting.
Tips for the Perfect Brined Turkey
1. Don’t Skip the Rinsing
Rinsing your turkey after brining is a must! It helps remove excess salt and keeps the bird from tasting too salty.
2. Use Kosher Salt
Kosher salt is the best for brining because it has larger crystals than table salt, which makes it easier to dissolve and ensures an even distribution. Avoid using regular table salt as it can make your turkey too salty.
3. Keep It Cold
One of the most important parts of the brining process is maintaining a cold temperature. If you’re brining your turkey in a cooler, check the ice every few hours to ensure it stays cold. The goal is to keep the turkey at a temperature of 40°F or lower.
4. Don’t Overbrine
While brining is amazing, don’t leave your turkey in the brine for too long. If it brines for over 24 hours, it could end up too salty or have a strange texture. Stick to the recommended 12-18 hours for best results.
5. Experiment with Flavors
The beauty of brining is that it’s incredibly customizable. Feel free to add different herbs, citrus fruits, or even a splash of apple cider vinegar for a unique twist. This is your turkey, so make it your own! For more inspiration, check out these Pumpkin Spice White Russian and Pumpkin Spice Chai Latte recipes for cozy fall drinks!
Cooking Your Brined Turkey
Once your turkey is fully brined, the next step is cooking it to perfection. While brined turkey is already packed with flavor, the right cooking method will ensure your bird turns out golden, crispy, and tender.
Roasting
- Preheat your oven to 325°F.
- Rub the turkey with olive oil or butter, and season the skin with salt and pepper.
- Roast in the oven for about 13 minutes per pound, or until the internal temperature reaches 165°F in the thickest part of the thigh.
- Let the turkey rest for at least 20 minutes before carving.
Grilling
- For a smoky twist, you can grill your brined turkey. Set up a two-zone fire, and cook your turkey over indirect heat. Keep the lid closed as much as possible to maintain the temperature.
- Grill for 12-15 minutes per pound, turning occasionally to ensure even cooking.
Deep Frying
- If you’re feeling adventurous, you can deep-fry your brined turkey. Just make sure to follow safety precautions when frying. The crispy, golden skin you get from deep frying is unbeatable. You might also enjoy this Garlic Herb Roasted Pork Tenderloin for a great alternative.
The Benefits of Brining
Brining isn’t just for Thanksgiving — it’s a technique that can elevate any poultry dish. When you brine your turkey, it stays juicy, tender, and full of flavor. The added bonus? Brining also helps to break down proteins in the turkey, making it more forgiving if you accidentally overcook it. Plus, with a well-brined turkey, you won’t need as much seasoning when cooking, as the flavors have already been infused into the meat.
FAQs: Brining Your Turkey for Thanksgiving
How long should I brine my turkey?
It’s recommended to brine your turkey for 12-18 hours. This ensures the turkey absorbs enough flavor and moisture without becoming too salty. If you’re brining a larger bird, you can extend the time slightly, but don’t go over 24 hours.
Can I brine my turkey for longer than 24 hours?
While brining for more than 24 hours is possible, it can make the turkey too salty and affect its texture. Stick to 12-18 hours for the best results.
What if I don’t have a cooler or ice chest?
If you don’t have a cooler or ice chest, you can use a large pot or container. Just make sure the brine stays cold, ideally at 40°F or below, to prevent any bacterial growth. You can store the turkey in the fridge or use ice packs to keep the brine cool.
Do I need to rinse the turkey after brining?
Yes, it’s important to rinse the turkey thoroughly after brining. This helps remove excess salt from the surface, ensuring your turkey doesn’t end up too salty.
Can I add other flavors to my brine?
Absolutely! Brining is a great opportunity to get creative with flavors. You can add herbs, citrus, garlic, spices, and even apple cider vinegar for extra zest. Try adding rosemary, thyme, lemon, and garlic for a fresh, aromatic flavor profile.
Make Your Thanksgiving Feast Extra Special
This Thanksgiving, I encourage you to try brining your turkey. It’s simple, straightforward, and makes a world of difference in the taste and texture of your bird. Once you try it, you’ll never go back to dry turkey again! If you’re planning a full Thanksgiving meal, don’t forget to try Pumpkin Pie Bars or these Thanksgiving Turkey Cupcakes for a fun, festive dessert.
Do you have your own twist on turkey brining or other Thanksgiving tips? I’d love to hear your variations or cooking experiences. And if you found this guide helpful, don’t forget to save it to your Pinterest board for later! Happy cooking, and I hope your Thanksgiving is filled with love, laughter, and the juiciest turkey ever!

Pin this recipe for the perfect Thanksgiving turkey to your Pinterest! Keep it handy for all your upcoming holiday meals!
Print
How to Brine Your Turkey for the Perfect Thanksgiving Feast
- Total Time: 12-18 hours brining time + cooking time
- Yield: 1 turkey 1x
Description
Brining your turkey ensures it stays juicy, tender, and flavorful throughout the cooking process. This simple technique transforms your turkey into a Thanksgiving masterpiece that will have your family raving!
Ingredients
- 1 cup kosher salt
- 2 gallons cold water
- 1 cup sugar (optional, but adds sweetness)
- 10-pound bag of ice (to chill the brine)
- 2 lemons, quartered
- A handful of fresh herbs (rosemary, thyme, sage)
- 3 bay leaves
- 5 garlic cloves, smashed
- A few whole peppercorns
Instructions
- In a large container or pot, combine the kosher salt and cold water. Stir until the salt completely dissolves. If you’re adding sugar, stir it in and heat until dissolved. Allow the brine to cool.
- Add the optional flavorings such as lemons, herbs, garlic, and bay leaves once the brine has cooled.
- Place your turkey inside an unscented brining bag and pour the cooled brine over it. Ensure the turkey is fully submerged. If needed, double the brine recipe.
- Tie up the bag and place it in a cooler, adding ice to maintain a cold temperature. Brine for 12-18 hours (no more than 24 hours).
- After brining, rinse the turkey thoroughly to remove excess salt, then pat it dry with paper towels. Let it sit uncovered in the fridge for a few hours to dry the skin.
Notes
Rinsing is crucial to remove excess salt. Keep the brine cold and don’t overbrine the turkey to prevent overly salty meat.
- Prep Time: 20 minutes
- Cook Time: Varies based on cooking method
- Category: Main Dish
- Method: Brining
- Cuisine: American
Nutrition
- Serving Size: 1 serving
- Calories: Varies based on preparation
- Sugar: Varies
- Sodium: Varies based on brining and seasoning
- Fat: Varies based on cooking method
- Saturated Fat: Varies
- Unsaturated Fat: Varies
- Trans Fat: 0g
- Carbohydrates: Varies
- Fiber: Varies
- Protein: Varies
- Cholesterol: Varies