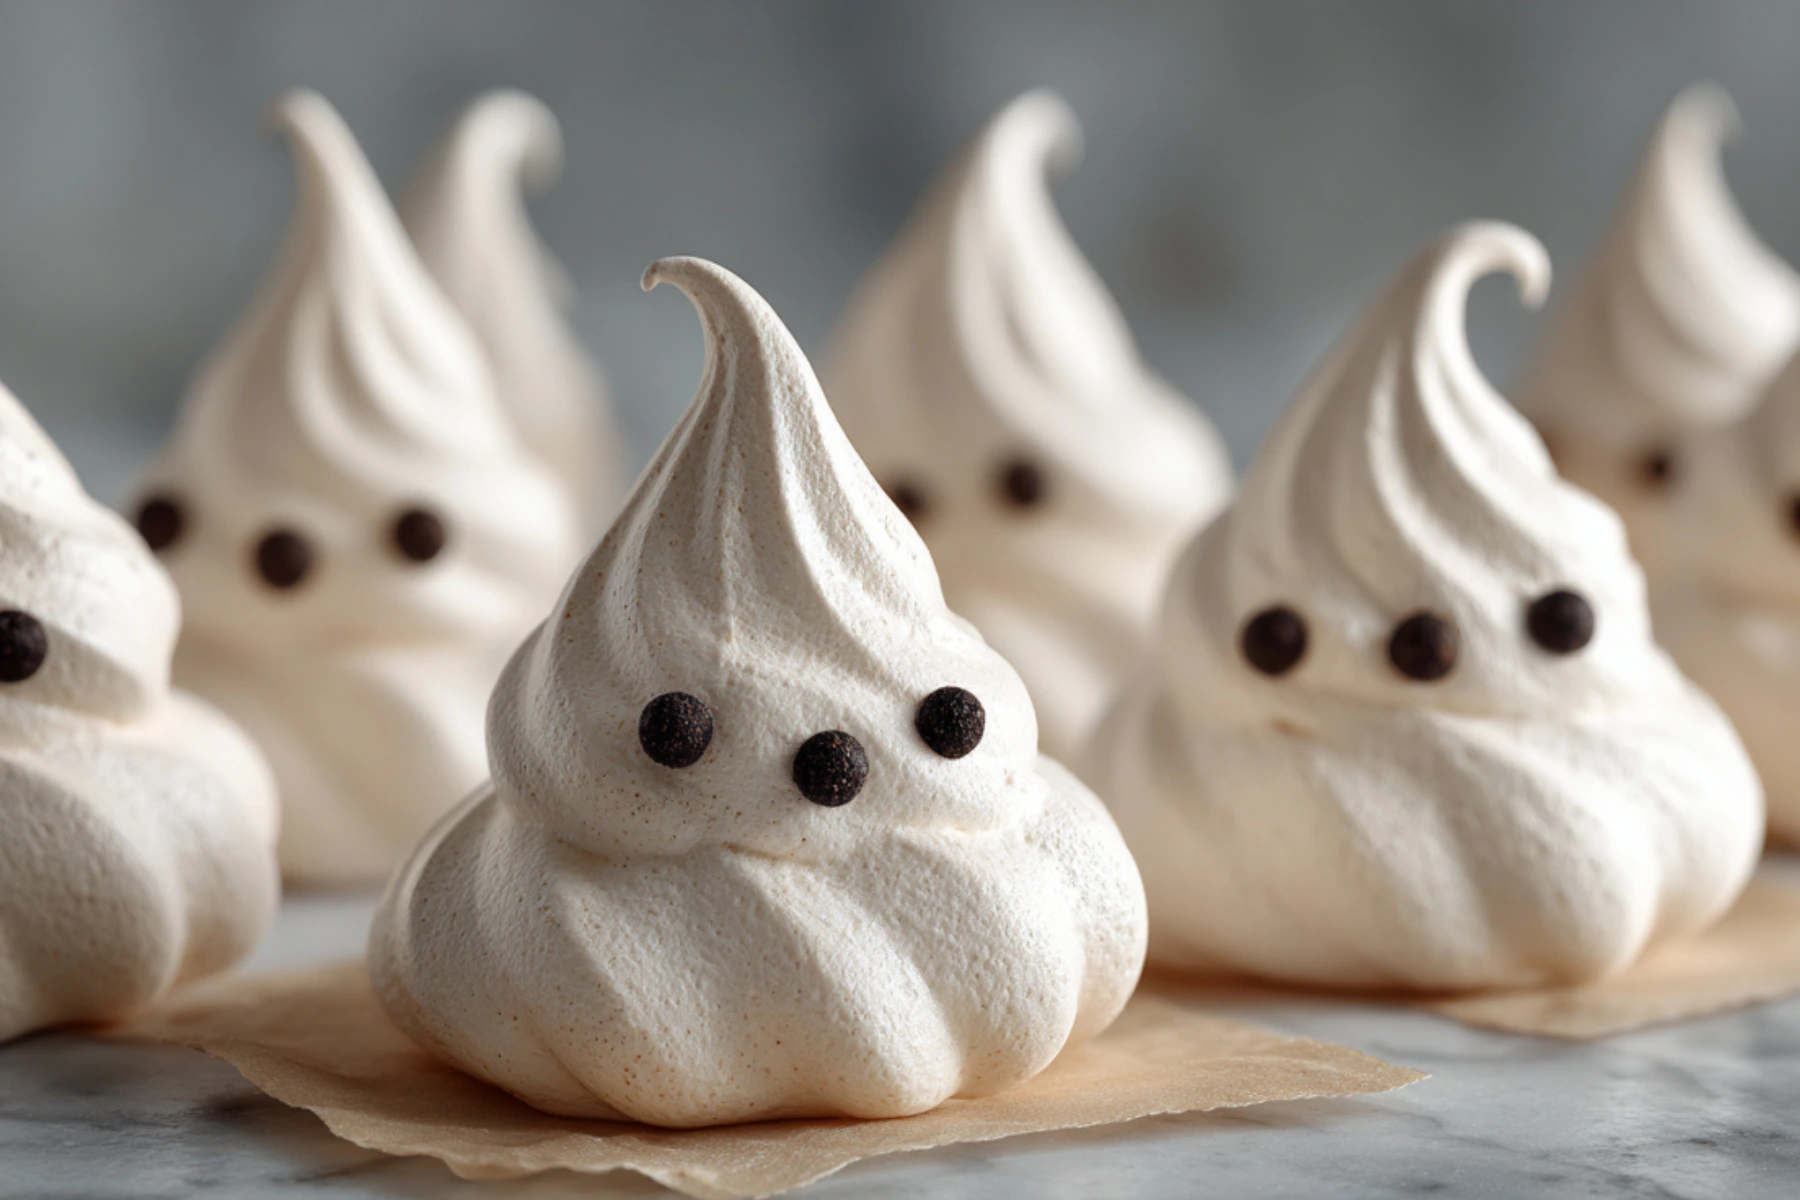
If there’s one recipe that always makes me smile when fall rolls around, it’s ghost meringue cookies. Light, airy, and just a little spooky, these cookies are the perfect Halloween treat that kids and adults love. They’re crisp on the outside, slightly chewy on the inside, and so much fun to decorate. Best of all, you only need a few simple ingredients, and the results look like something straight out of a bakery display.
I started making ghost meringue cookies when my kids were small, and they’ve become a tradition every October. The first time, I worried they might be too tricky, but I quickly realized they’re actually very forgiving. Once you pipe those little ghost shapes, each one takes on a personality of its own. Some are tall and thin, others are short and round, and all of them end up looking adorable.
If you’re stocking up on fall treats, you’ll also love these glazed pumpkin donuts—light, fluffy, and perfect with coffee.
Why You’ll Love Making Ghost Meringue Cookies
Ghost meringue cookies are the kind of recipe that invites you to slow down and enjoy the process. They don’t require fancy equipment beyond a mixing bowl, a piping bag, and some parchment paper. The ingredients are inexpensive, and most of them you probably already have in your pantry.
For another festive option, my pumpkin spice muffin tops are a hit at parties.
Here’s why I keep coming back to them every year:
- They’re naturally gluten-free.
- They look impressive with very little effort.
- Kids can help with the decorating.
- They store well and can be made ahead.
- They’re customizable with fun flavors and decorations.

When you’re juggling costumes, parties, and school events, it feels good to have a reliable recipe that looks festive without adding stress.
Kids also adore pumpkin chocolate chip muffins as an after-school snack
Ingredients for Ghost Meringue Cookies
You’ll be surprised at how few ingredients you need for these cookies.
- 4 large egg whites (room temperature)
- 1 cup granulated sugar
- ½ teaspoon cream of tartar
- 1 teaspoon vanilla extract
- Melted chocolate or mini chocolate chips for eyes
That’s it. Just five ingredients to bring these little ghosts to life. The cream of tartar is key—it helps stabilize the egg whites so they whip into glossy peaks.
Got extra ripe bananas? Try my zucchini banana bread or pumpkin banana bread for a cozy fall bake.
Step-by-Step Instructions for Ghost Meringue Cookies
Let’s walk through the process so you can see how simple it really is.
Step 1: Preheat and Prepare
Preheat your oven to 200°F (95°C). Line two baking sheets with parchment paper. Keeping the temperature low is important because we’re drying out the meringues rather than baking them at high heat.
Step 2: Whip the Meringue
In a clean mixing bowl, beat the egg whites and cream of tartar until soft peaks form. Make sure your bowl is free of grease or the whites won’t whip properly. Slowly add sugar, one tablespoon at a time, until the mixture becomes glossy and stiff. Finally, mix in the vanilla extract.
Step 3: Pipe the Ghosts
Transfer the meringue into a piping bag fitted with a round tip. Pipe tall, ghost-like shapes onto the parchment. Don’t worry if they aren’t perfect—those little swirls and waves make them more charming.
Step 4: Add the Eyes
Use a toothpick dipped in melted chocolate to dot on eyes, or gently press in mini chocolate chips. I’ve found the kids love doing this step because each ghost suddenly has a personality.
Step 5: Bake Low and Slow
Bake the cookies for 1.5 to 2 hours, until they’re completely dry and crisp. Then, turn off the oven and let them cool inside with the door cracked open. This helps prevent cracks and keeps the texture light.
Tips for Perfect Ghost Meringue Cookies
After making these for years, I’ve picked up some tips that make the process easier:
- Room temperature eggs whip better. If you forget, place cold eggs in a bowl of warm water for a few minutes.
- Add sugar slowly. Rushing can deflate the egg whites.
- Humidity matters. On very damp days, meringues may take longer to dry.
- Parchment paper is non-negotiable. Otherwise, the cookies will stick.
- Don’t overbake. Once they’re crisp and dry, they’re ready.
These little adjustments can mean the difference between meringues that collapse and meringues that hold their ghostly shape.
Fun Variations on Ghost Meringue Cookies
One of my favorite parts about ghost meringue cookies is how versatile they are. While the classic version is delicious on its own, you can easily add a twist.
For something richer, pumpkin cream cheese muffins are a fall must-bake.
- Flavored ghosts: Mix in a drop of peppermint, almond, or orange extract with the vanilla.
- Chocolate-dipped ghosts: Dip the bottoms in melted dark or white chocolate once cooled.
- Colorful ghosts: Add a tiny bit of food coloring for pastel ghosts or spooky green ones.
- Spiced ghosts: Fold in a pinch of cinnamon or pumpkin pie spice for a fall flavor.
If you’re into seasonal breads, check out my classic pumpkin bread, mini pumpkin loaves, or pumpkin streusel bread.
Encouraging creativity in the kitchen makes this recipe more than just dessert—it becomes a family activity.
Storing and Serving Ghost Meringue Cookies
These cookies are best stored in an airtight container at room temperature. They’ll stay crisp for about a week, though in my house they rarely last that long. If you’re making them ahead for a party, just keep them away from moisture and humidity.
They look beautiful on a Halloween dessert platter, tucked between brownies and cupcakes. I’ve also wrapped them in little cellophane bags as party favors, and they were a huge hit.
Ghost Meringue Cookies as a Family Tradition
Every Halloween season, ghost meringue cookies are my go-to treat for family gatherings. They’re light enough to nibble after a heavy dinner, and the kids can proudly say they helped make them. I still laugh remembering the year my daughter piped one ghost that turned out extra wide with crooked eyes—we still call him “Chunky Ghost,” and he’s become part of the tradition.
That’s the beauty of this recipe. It’s not about perfection. It’s about making memories, laughing in the kitchen, and enjoying something sweet together.
Why Ghost Meringue Cookies Are Perfect for All Skill Levels
Whether you’re brand-new to baking or have been whipping egg whites for years, ghost meringue cookies are approachable. Beginners will appreciate the simple ingredient list, while experienced bakers can play with piping techniques and decorations. There’s no pressure for them to look identical. In fact, the imperfections add charm.
I’ve shared this recipe with friends who say they’re “not bakers,” and they were amazed at how fun and easy it was. If you can beat egg whites and squeeze a piping bag, you can make these.
And don’t forget a drink—pumpkin cream cold foam makes a dreamy fall pairing.
FAQs About Ghost Meringue Cookies
How do I know when ghost meringue cookies are done?
You’ll know they’re ready when they feel dry to the touch and lift easily off the parchment paper. The outside should be crisp, and the inside should feel light and airy. If they still feel sticky, give them a little more time in the oven.
Can I make ghost meringue cookies ahead of time?
Yes, absolutely. Ghost meringue cookies can be made up to a week in advance as long as they’re stored in an airtight container at room temperature. Just keep them away from humidity, which can soften them.
Why did my meringues collapse?
There are a few reasons this can happen. Sometimes the egg whites weren’t whipped enough, or sugar was added too quickly. Humid weather can also affect the texture. Don’t worry if a few collapse they’ll still taste delicious and can be decorated as “squashed ghosts.”
Do I have to use cream of tartar?
Cream of tartar helps stabilize the egg whites, making it easier to whip them into stiff peaks. If you don’t have any, you can substitute with a few drops of lemon juice or vinegar. The results might not be quite as stable, but the recipe will still work.
Final Thoughts on Ghost Meringue Cookies
If you’re searching for a Halloween treat that’s festive, family-friendly, and delightfully simple, ghost meringue cookies check every box. They’re light, sweet, and so much fun to decorate. Once you try them, I think you’ll want to make them part of your yearly tradition too.
So gather your kids, grab your mixing bowl, and whip up a batch of these boo-tiful cookies. They’ll be the star of your Halloween dessert table, and the memories you create along the way will be just as sweet as the cookies themselves.
Call to Action
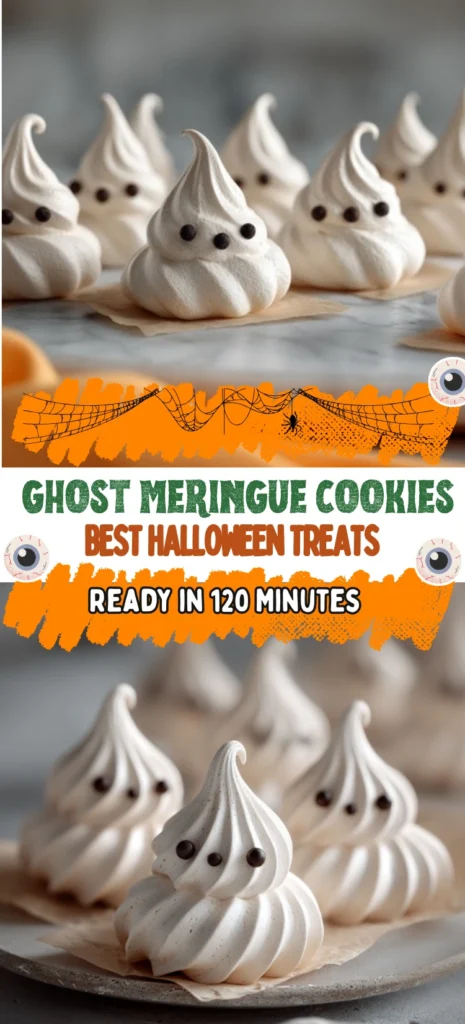
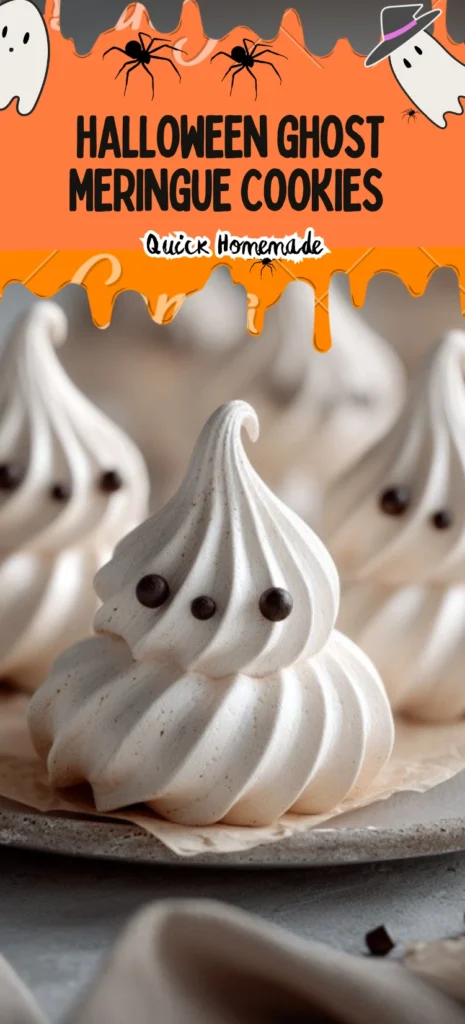
If you enjoyed this recipe, I’d love for you to save it to Pinterest and share it with friends. Let’s spread the fun of ghost meringue cookies so more families can enjoy this spooky, simple tradition together.
Print
Ghost Meringue Cookies
- Total Time: 2 hours
- Yield: 30–40 cookies 1x
- Diet: Gluten Free
Description
Light, airy, and just a little spooky—these ghost meringue cookies are crisp outside, slightly chewy inside, and a fun, family-friendly Halloween treat made with just a handful of ingredients.
Ingredients
- 4 large egg whites (room temperature)
- 1 cup granulated sugar
- ½ teaspoon cream of tartar
- 1 teaspoon vanilla extract
- Melted chocolate or mini chocolate chips (for eyes)
Instructions
- Preheat oven to 200°F (95°C) and line 2 baking sheets with parchment paper.
- In a clean, grease-free bowl, beat egg whites with cream of tartar until soft peaks form.
- Add sugar gradually, 1 tablespoon at a time, beating to glossy, stiff peaks.
- Beat in vanilla.
- Transfer meringue to a piping bag fitted with a round tip; pipe tall ghost shapes onto parchment.
- Dot on eyes with melted chocolate or press in mini chocolate chips.
- Bake 1½–2 hours, until dry and crisp.
- Turn off oven, crack door, and cool cookies inside to prevent cracks.
Notes
Tips: Use room-temperature eggs; add sugar slowly; avoid humid days; always use parchment to prevent sticking. Store in an airtight container at room temperature for up to 1 week. Substitute a few drops of lemon juice or vinegar for cream of tartar if needed. Flavor options: a drop of peppermint, almond, or orange extract; dip bottoms in chocolate; add a touch of food coloring; or a pinch of cinnamon or pumpkin spice.
- Prep Time: 15 minutes
- Cook Time: 1 hour 45 minutes
- Category: Dessert
- Method: Baked
- Cuisine: American
Nutrition
- Serving Size: 1 cookie
- Calories: 25
- Sugar: 6g
- Sodium: 10mg
- Fat: 0g
- Saturated Fat: 0g
- Unsaturated Fat: 0g
- Trans Fat: 0g
- Carbohydrates: 6g
- Fiber: 0g
- Protein: 0g
- Cholesterol: 0mg