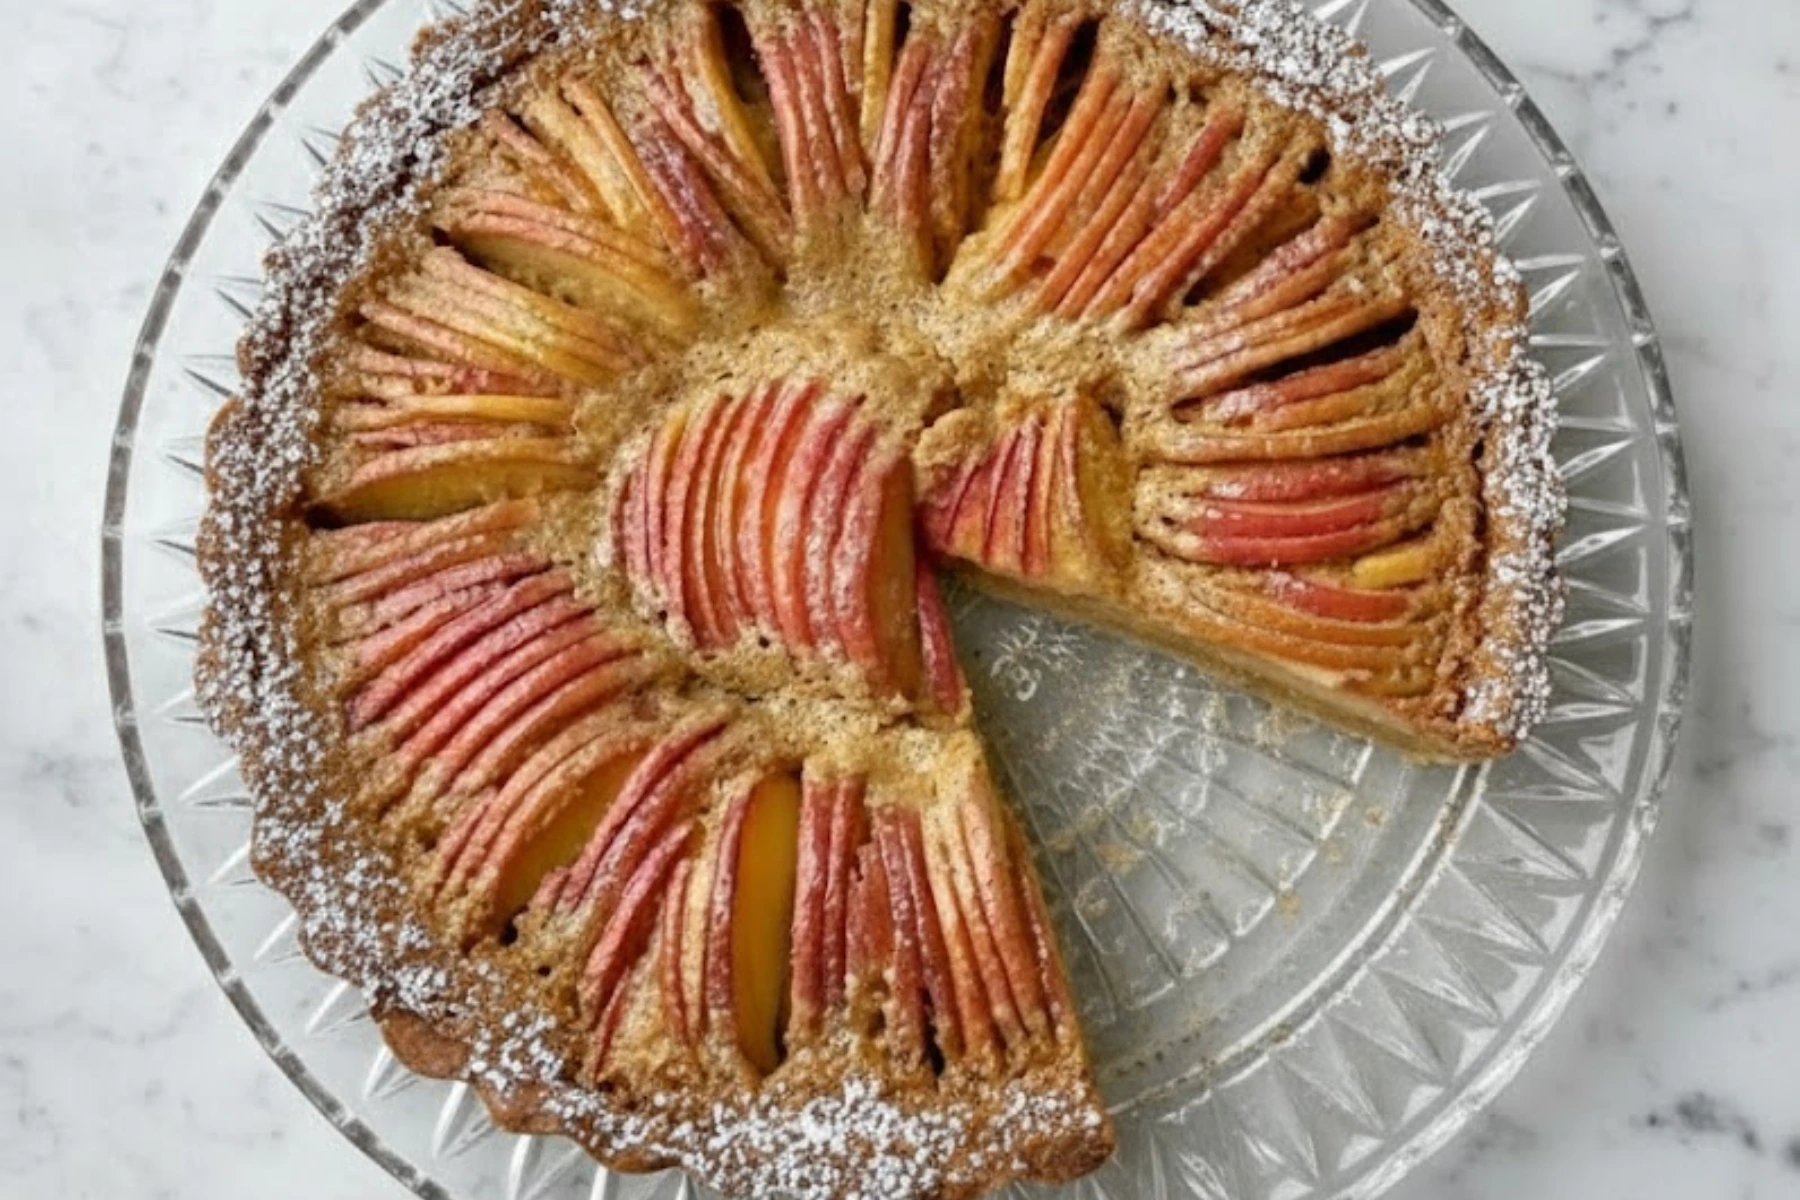
If you’ve ever wanted to impress your family or friends with a homemade dessert that looks like it came straight out of a bakery, this Caramel Apple Tart is it.
I’ve baked this recipe more times than I can count, and every time, it brings that cozy mix of buttery pastry, gooey caramel filling, and tender apples that everyone loves. The best part? It’s simple enough for beginner bakers but elegant enough to serve at a dinner party.
This Caramel Apple Tart is perfect for any season, but it truly shines when apples are in abundance. Whether you’re making it for Sunday lunch, a celebration, or just because you love caramel (who doesn’t?), this recipe is guaranteed to make your kitchen smell incredible and your family very happy.
If you’re as obsessed with apple-based desserts as I am, you’ll also fall in love with my Old-Fashioned Easy Apple Crisp and Apple Cider Donuts. Both pair beautifully with coffee or hot cider for a full fall-inspired spread.
Why You’ll Love This Caramel Apple Tart
This tart is comfort food in pastry form. The base is buttery and crisp, the caramel filling is fudgy and sweet, and the apples add a lovely fresh bite.

Here’s why I think you’ll fall in love with it:
- It’s easy to make, even if you’re not an experienced baker.
- The ingredients are simple and affordable.
- You can make it ahead and reheat it later without losing flavor.
- It’s family-friendly, with flavors both adults and kids adore.
- You can customize it to suit your taste or the season.
When I first tried this recipe, I was nervous about making caramel and pastry in one dessert. But trust me, it’s not complicated when you break it down. With a few easy steps and some patience, you’ll have a dessert that looks as beautiful as it tastes.
If you love that cozy caramel-apple combination, you might also want to try these Caramel Apple Slices — a simpler, bite-sized version that’s perfect for kids or parties.
Ingredients You’ll Need for the Caramel Apple Tart
Here’s what goes into this beautiful tart.
- 400g sweet short pastry
- 3–4 small apples
- 100g butter
- 200g brown sugar
- 1 tsp vanilla essence
- 2 Tbsp golden syrup
- 2 eggs
- ½ cup flour
- 125ml milk (room temperature)
- Ice cream or yoghurt, to serve
If you’re feeling creative, you can also:
- Add a pinch of cinnamon or nutmeg for a warm spice note.
- Use honey instead of golden syrup for a deeper flavor.
- Swap regular milk for cream if you want extra richness.
And if you adore creamy desserts, save my Pumpkin Bread Pudding for later — it has the same custard-like comfort as this tart but with a pumpkin twist.
Step-by-Step Instructions for the Perfect Caramel Apple Tart
1. Prepare the Pastry Base
Preheat your oven to 180°C fan bake. Line a 25cm tart tin with baking paper. Roll out your sweet short pastry, press it into the tin, and prick the base with a fork.
Place the pastry in the freezer for about 15 minutes. This helps it hold its shape during baking.
2. Blind Bake
Blind bake the pastry for 20 minutes, removing the weights halfway through so the base can brown. Once baked, set it aside to cool.
Tip: If you don’t have baking weights, dried rice or beans work just as well.
3. Prepare the Filling
Thinly slice your apples. I like to leave the skin on for color and texture, but you can peel them if you prefer. Arrange the slices evenly in your cooled tart shell.
In a large mixing bowl, cream the butter and brown sugar until pale and fluffy. This creates that soft, fudge-like caramel texture. Add the vanilla and golden syrup, then beat in the eggs one at a time.
Sift in the flour, add the milk, and mix until smooth. Pour this luscious mixture over the apples, filling the tart evenly.
4. Bake to Perfection
Bake at 180°C for 10 minutes. Then, lower the temperature to 150°C and continue baking for about 50 minutes. The center should still have a slight wobble when you gently shake the tin.
Once done, let it cool completely before removing from the tin. This helps the caramel set and makes slicing much easier.
5. Serve and Enjoy
You can serve your Caramel Apple Tart warm or chilled. I personally love it slightly warm with a scoop of vanilla ice cream or a spoon of thick Greek yoghurt. The contrast between the creamy topping and the sweet, buttery filling is just heavenly.
If you love serving warm desserts with ice cream, you’ll also enjoy this Easy Pumpkin Pie Recipe. It’s just as comforting, and the texture pairs beautifully with whipped cream or vanilla bean ice cream.
Tips for Making the Best Caramel Apple Tart
Every baker has little tricks that make a recipe foolproof. Here are mine:
- Chill your pastry before baking. It prevents shrinkage and helps keep that beautiful, crisp crust.
- Use room temperature ingredients, especially the milk and eggs. It ensures a smooth, creamy filling.
- Slice the apples evenly so they bake uniformly.
- Watch the bake time during the last 10 minutes. Every oven is a little different, and you want that center just set.
If you’re making it ahead, store it in the fridge in an airtight container for up to a week. When ready to serve, warm it in the microwave for 15–20 seconds per slice.
For another cozy make-ahead dessert, try my Brown Butter Pecan Pie Bars. They have that same caramelized sweetness but in easy-to-serve bar form.
Make It Your Own
Part of what I love about baking is that no two tarts have to be exactly the same. You can take this base recipe and make it completely your own.
Try these variations:
- Add nuts: Chopped pecans or walnuts add a lovely crunch.
- Switch up the fruit: Replace apples with pears for a delicate twist.
- Go gluten-free: Use a gluten-free pastry and flour blend.
- Make it dairy-free: Substitute butter with plant-based margarine and milk with almond or oat milk.
I once made this tart with pink lady apples and a drizzle of maple syrup instead of golden syrup—it turned out beautifully fragrant and slightly tangy. So don’t be afraid to experiment.
If you want more fruit-forward desserts, try my Strawberry Rhubarb Crumble for another rustic, crowd-pleasing option.
Why This Caramel Apple Tart Works Every Time
What makes this recipe special is its balance. The tartness of the apples cuts through the sweetness of the caramel, while the buttery pastry ties everything together.
It’s also incredibly forgiving. If your pastry cracks, the filling will seal it. If your apples aren’t perfectly arranged, they’ll still bake into a lovely golden mosaic. That’s what I love about rustic desserts—they don’t need perfection to be delicious.
When you pull this tart out of the oven, the smell alone will make everyone wander into the kitchen. That warm caramel scent mixed with apples and butter—it’s pure magic.
If you’re a fan of rustic bakes with a twist, don’t miss the Easy S’mores Brownies Recipe. It’s gooey, nostalgic, and just as shareable.
Storing and Serving Tips
This tart keeps well in the fridge for up to a week. Store it in an airtight container to keep the pastry crisp.
If you’re planning ahead, you can make it a day or two early. It reheats beautifully in the oven or microwave. Serve it warm for a soft, gooey texture or chilled for a denser, fudge-like bite.
Either way, it’s a crowd-pleaser that never fails.
FAQs About Making the Caramel Apple Tart
How do I keep the caramel filling from being too runny?
If your Caramel Apple Tart turns out a little too soft, it’s usually because the filling didn’t bake long enough to set. Make sure the center has only a slight wobble before removing it from the oven. As it cools, it will firm up naturally. You can also let the tart rest for at least 30 minutes before slicing.
Can I use store-bought pastry for this tart?
Yes, absolutely! A pre-made sweet shortcrust pastry or frozen tart shell works beautifully and saves time. Just remember to chill it and blind bake as instructed to keep the base crisp and flaky.
What are the best apples to use for a Caramel Apple Tart?
I like using Granny Smith, Braeburn, or Jazz apples because they hold their shape and balance the caramel’s sweetness. For a softer texture, Fuji or Gala apples work well too. You can even mix two varieties for extra depth of flavor.
Can I make this tart ahead of time?
Definitely. This tart is great for making a day or two ahead. Store it in the fridge in an airtight container, then rewarm slices in the microwave for 15–20 seconds or serve it chilled. It tastes just as good the next day.
How do I know when the tart is fully baked?
The tart is ready when the edges are golden and the center jiggles slightly when you move the tin. If it’s completely firm, it’s likely overbaked. Keep an eye on it during the last 10 minutes — every oven runs a little differently.
Can I freeze a Caramel Apple Tart?
Yes! Once baked and cooled completely, wrap the tart tightly in plastic wrap and freeze for up to two months. Thaw overnight in the fridge, then warm it in a low oven before serving. The flavor and texture hold up surprisingly well.
Final Thoughts and Call to Action
I hope this Caramel Apple Tart recipe inspires you to bake something special for your family this week. It’s not just a dessert—it’s a moment to slow down, fill your home with the smell of baked apples and caramel, and share something sweet with people you love.
If you try this recipe, I’d love to hear how it turns out. Leave a comment below with your favorite twist, or snap a photo and share it on Pinterest.
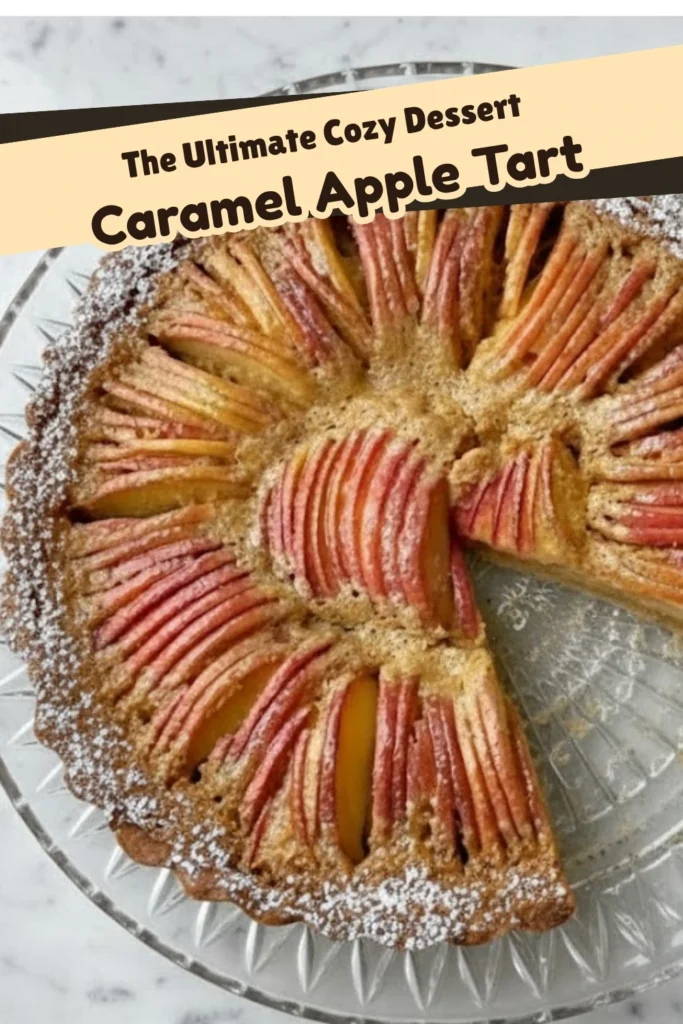
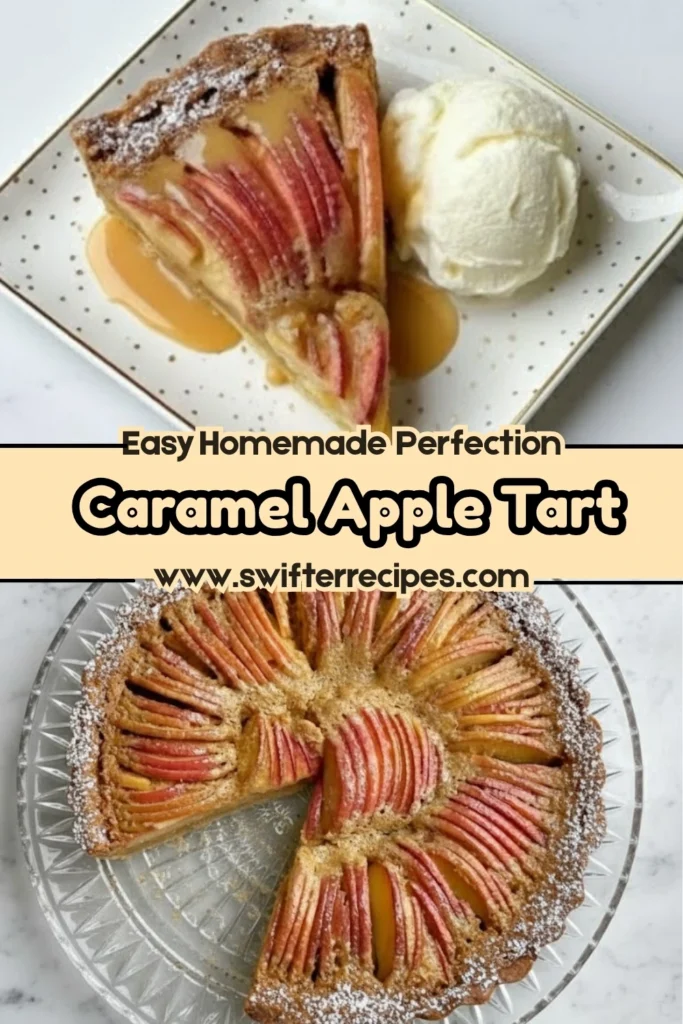
Save this recipe to your Pinterest board so you can come back to it anytime you need a reliable, heartwarming dessert that everyone will love.
Print
Caramel Apple Tart Recipe
- Total Time: 1 hour 20 minutes
- Yield: 8 servings 1x
Description
This Caramel Apple Tart is buttery, gooey, and cozy with every bite. It’s simple enough for beginners and elegant enough for celebrations—bake it once and it’ll be your go-to apple dessert.
Ingredients
- 400g sweet short pastry
- 3–4 small apples
- 100g butter
- 200g brown sugar
- 1 tsp vanilla essence
- 2 Tbsp golden syrup
- 2 eggs
- ½ cup flour
- 125ml milk (room temperature)
- Ice cream or yoghurt, to serve
Instructions
- Preheat oven to 180°C fan bake. Line a 25cm tart tin with baking paper. Roll out sweet short pastry, press into tin, and prick the base with a fork. Freeze for 15 minutes.
- Blind bake the pastry for 20 minutes, removing weights halfway through to brown the base. Set aside to cool.
- Thinly slice apples (peeling optional) and arrange evenly in the cooled tart shell.
- Cream butter and brown sugar until pale and fluffy. Add vanilla and golden syrup, then beat in eggs one at a time. Sift in flour, add milk, and mix until smooth.
- Pour filling over apples, spreading evenly. Bake at 180°C for 10 minutes, then reduce heat to 150°C and bake for about 50 minutes, until center is just set.
- Cool completely before removing from tin. Serve warm or chilled with ice cream or yoghurt.
Notes
Use room temperature milk and eggs for a smooth filling. Chill the pastry before baking for a crisp base. Mix apple varieties or add a pinch of cinnamon for extra depth. Tart keeps well in the fridge and reheats beautifully.
- Prep Time: 20 minutes
- Cook Time: 60 minutes
- Category: Dessert
- Method: Baked
- Cuisine: Rustic
Nutrition
- Serving Size: 1 slice
- Calories: 370
- Sugar: 28g
- Sodium: 190mg
- Fat: 18g
- Saturated Fat: 11g
- Unsaturated Fat: 6g
- Trans Fat: 0g
- Carbohydrates: 48g
- Fiber: 2g
- Protein: 4g
- Cholesterol: 70mg