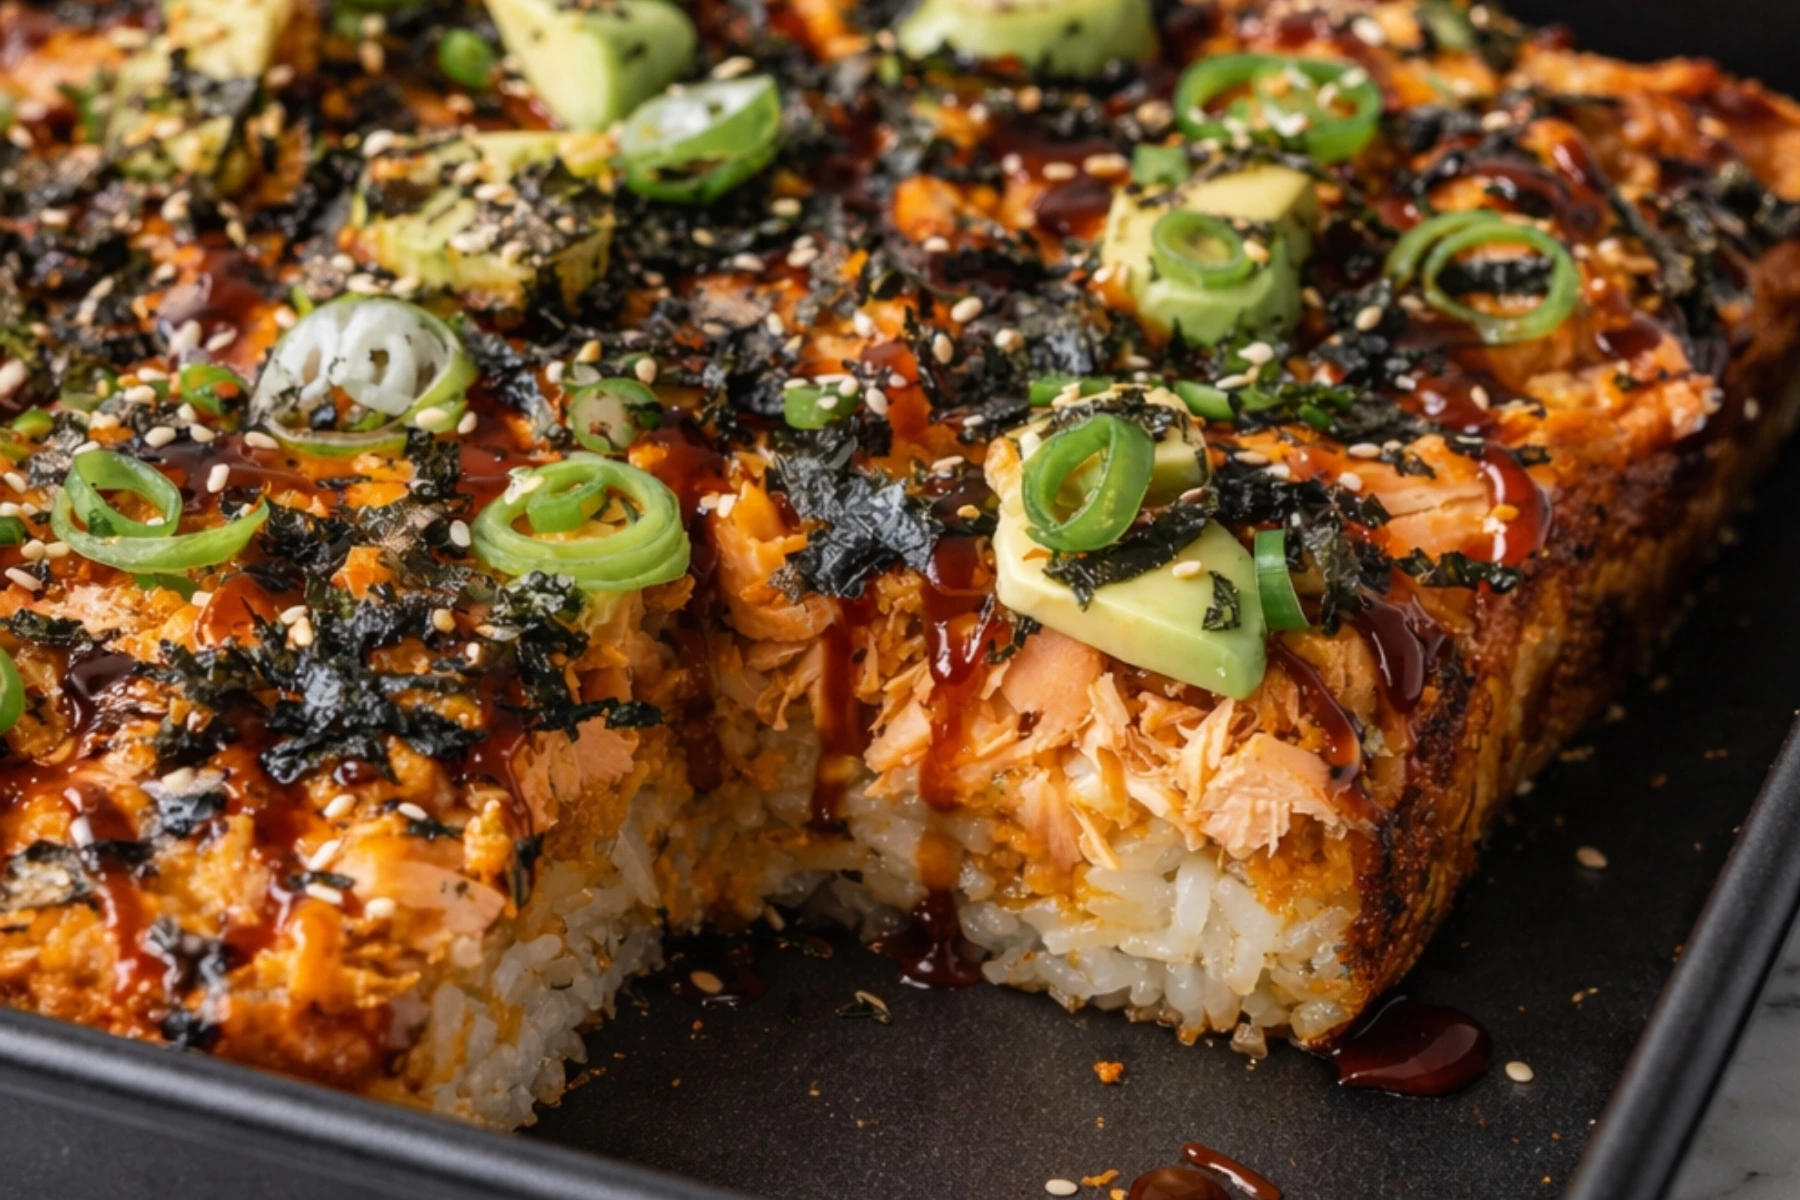
Let me tell you about the night I discovered sushi bakes. I was scrolling through my feed at 9 PM, starving and tired of the same old dinner rotation. Then I saw it: layers of seasoned rice, creamy spicy salmon, and all my favorite sushi toppings baked into one gorgeous casserole dish.
I made it the next evening, and honestly? My family devoured it. My picky eater asked for seconds. My husband wanted to know why we’d been ordering expensive sushi rolls when we could make this instead.
Spicy salmon sushi bake is exactly what it sounds like: all the flavors of your favorite spicy salmon roll, deconstructed and baked into an easy-to-share dish. No rolling skills required. No fancy knife work. Just layer, bake, and dig in.
This recipe changed my weeknight dinner game, and I’m so excited to share it with you today.
What Makes This Spicy Salmon Sushi Bake So Special

I’ve made this dish at least two dozen times now, and it never gets old. Here’s why it’s become a staple in my kitchen.
First, it feeds a crowd without the stress. Traditional sushi takes forever to roll, and let’s be real, most of us don’t have the skills to make those picture-perfect rolls anyway. This bake gives you the same flavors in a fraction of the time.
Second, you can prep everything ahead. I often cook the rice and season it in the morning, then assemble and bake right before dinner. It makes those chaotic weeknights so much easier.
Third, everyone can customize their portion. My daughter skips the spicy mayo and adds extra avocado. My husband drowns his in Sriracha. I love mine with extra nori for that authentic sushi taste.
The texture is incredible too. You get creamy, spicy, crunchy, and savory all in one bite. The top gets slightly crispy from baking while the inside stays perfectly tender.
The Secret to Perfect Sushi Rice Every Time
Here’s the thing about sushi rice for baked dishes: it needs to be sticky enough to hold together but not mushy. I learned this the hard way after my first attempt turned into rice soup.
The key is rinsing. I know it seems tedious, but trust me on this. Rinse your rice under cold water until the water runs completely clear. This removes excess starch and prevents that gummy texture nobody wants.
I prefer using a rice cooker because it takes all the guesswork out. You literally set it and forget it. But a regular pot works perfectly fine if that’s what you have. Just watch your water ratio carefully.
The seasoning mixture is what transforms plain rice into sushi rice. That combination of rice vinegar, sugar, and salt creates that slightly sweet, tangy flavor you recognize from your favorite sushi spot.
Let the rice cool before assembling. Hot rice will make your salmon layer weird and slightly cook the avocado when you add it later. Room temperature is perfect.
Building the Best Salmon Layer for Your Sushi Bake
The salmon layer is where the magic happens. This is your chance to pack in so much flavor that every bite makes you happy.
I use cooked salmon because it’s safer and honestly easier. You can bake a fresh fillet, use leftover grilled salmon, or even grab some from the store if you’re short on time. Just make sure it’s fully cooked and flaked into bite-sized pieces. If you love salmon as much as I do, you might also enjoy my best air fryer salmon recipe, which makes perfectly cooked fillets every time.
The spicy mayo is non-negotiable for me. It brings everything together with creamy heat that coats every grain of rice. I mix mayo with Sriracha, but you can adjust the heat level to whatever your family likes.
Adding soy sauce and sesame oil to the mayo mixture creates depth. The soy sauce adds that umami saltiness while sesame oil brings a nutty, toasted flavor that reminds you this is Asian-inspired cuisine.
Don’t skip the sesame oil. I made that mistake once, and the dish tasted flat. That little bit makes such a difference.
Equipment You’ll Need for This Recipe
You probably have everything already, which is one reason I love this easy sushi bake recipe so much.
A rice cooker makes life easier, but a regular saucepan works great too. I’ve made this both ways countless times.
You’ll need a large mixing bowl for cooling and seasoning your rice. Don’t use a tiny bowl. Give yourself space to fold the vinegar mixture in gently without smashing the grains.
An 8×8 inch baking dish is perfect for this amount of rice and salmon. You could use a 9×9 if that’s what you have, but the layers might be slightly thinner.
Keep a spatula or wooden spoon handy for spreading rice and mayo evenly. I like using a rice paddle because it doesn’t stick as much, but honestly, any flat utensil works.
You’ll need a small bowl for mixing your spicy mayo. I usually use the same one I mixed the rice vinegar in after giving it a quick rinse.
A sharp knife and cutting board are essential for prepping your toppings. Fresh avocado and green onions taste so much better when they’re sliced right before serving.
Optional but helpful: aluminum foil or a baking sheet under your dish. This catches any drips and makes cleanup way easier.
Ingredients for the Perfect Spicy Salmon Sushi Bake
Let me break down everything you need. I’m giving you exact measurements, but honestly, sushi bakes are pretty forgiving if you need to adjust.
For the Sushi Rice:
- 2 cups sushi rice
- 2 ½ cups water
- ¼ cup rice vinegar
- 2 tbsp sugar
- 1 tsp salt
For the Salmon Layer:
- 10 oz cooked salmon, flaked
- ½ cup mayonnaise
- 2 tbsp Sriracha sauce
- 1 tsp soy sauce
- 1 tsp sesame oil
For the Toppings:
- 1 avocado, sliced
- 2 green onions, thinly sliced
- 2 sheets nori, crumbled
- 1 tbsp sesame seeds
- Additional Sriracha or unagi sauce for drizzling
I buy sushi rice at my regular grocery store now, but you can also find it at Asian markets. Short-grain white rice works if you absolutely can’t find sushi rice, though the texture won’t be quite as authentic.
The quality of your salmon matters. I’ve used fresh, frozen, and even canned in a pinch. Fresh tastes best, but honestly, good quality canned salmon makes a surprisingly delicious bake when you’re on a budget.
Step by Step: Making Your Sushi Bake from Start to Finish
This whole process takes about 45 minutes, which is faster than waiting for delivery. Let me walk you through it exactly how I do it.
Step 1: Cook the Sushi Rice
Rinse your 2 cups of sushi rice under cold water. I usually do this in a fine-mesh strainer, swishing it around until the water runs clear. This takes maybe 2-3 minutes but makes such a difference.
Combine the rinsed rice and 2 ½ cups water in your rice cooker or pot. If you’re using a pot, bring it to a boil, then reduce heat to low, cover, and simmer for 15-20 minutes. Don’t lift the lid while it’s cooking. Seriously, don’t do it.
Step 2: Season the Rice
While the rice cooks, mix your rice vinegar, sugar, and salt in a small bowl. Stir until the sugar dissolves completely. I sometimes microwave it for 15 seconds to help everything dissolve faster.
When your rice is done, transfer it to a large mixing bowl. Pour the vinegar mixture over the hot rice and gently fold it in with a spatula. Use a cutting and folding motion instead of stirring, which can make the rice mushy.
Spread the rice out in the bowl to help it cool faster. I sometimes fan it while folding, which feels very authentic even though I’m just standing in my kitchen in yoga pants.
Step 3: Prepare the Spicy Salmon Layer
Preheat your oven to 375°F while the rice cools. This is a good time to flake your salmon if you haven’t already.
In a small bowl, mix the mayonnaise, Sriracha, soy sauce, and sesame oil. Taste it and adjust the spice level. I usually add an extra squirt of Sriracha because I like it hot, but start conservative if you’re unsure.
Step 4: Assemble the Bake
Spoon your cooled sushi rice into the 8×8 inch baking dish. Use your spatula to press it down firmly and evenly. You want a solid base with no gaps.
Spread the flaked salmon over the rice in an even layer. Don’t just dump it in the middle. Take a few seconds to distribute it edge to edge.
Dollop the spicy mayo sauce all over the salmon layer, then use your spatula to spread it evenly. Some people like to put it in a plastic bag and cut the corner to pipe it on, but I find that’s just more dishes to wash.
Step 5: Bake and Add Toppings
Slide your dish into the preheated oven and bake for 15 minutes. You’re looking for the top to get bubbly and just slightly golden. Don’t overbake it or the mayo will separate and get oily.
While it bakes, prep your toppings. Slice the avocado, chop the green onions, and crumble your nori sheets.
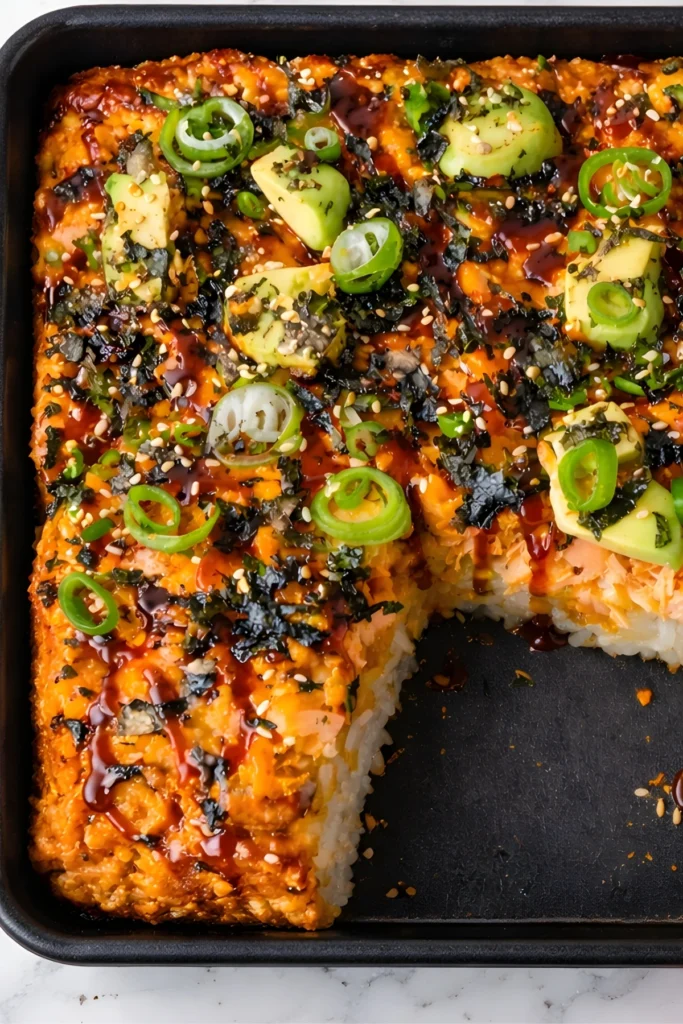
When the timer goes off, pull the dish out and immediately add your toppings. The heat will slightly wilt the green onions and warm the avocado, which I actually love.
Sprinkle on the sesame seeds and drizzle with extra Sriracha or unagi sauce if you want. I always add unagi sauce because it adds this sweet, savory element that’s just perfect.
Step 6: Serve and Enjoy
Scoop portions onto plates or bowls while it’s still warm. This is the best part: watching everyone dig in and get quiet because they’re too busy eating to talk.
I serve this with chopsticks, but spoons work great too. My kids honestly just use forks, and that’s totally fine.
Tips for the Best Spicy Salmon Sushi Bake
I’ve made plenty of mistakes with this recipe, so let me save you some trouble.
Don’t skip cooling the rice. I know you’re hungry and want to move fast, but hot rice makes the whole assembly process messy and can overcook your salmon.
Press the rice layer firmly. If it’s too loose, your bake will fall apart when you scoop it. You want it compact enough to hold together but not so smashed that it becomes dense.
Adjust the spice level to your family. I make a half-batch with less Sriracha for my kids and a full-spice version for the adults. It takes an extra five minutes but keeps everyone happy.
Add the avocado after baking, never before. I learned this the hard way when my avocado turned brown and mushy from the oven heat.
Use fresh nori for the best flavor. Stale nori tastes like cardboard. Keep your sheets in an airtight container and they’ll stay crispy for months.
Let it rest for 2-3 minutes after baking. This helps everything set up slightly so your portions hold together better.
Flavor Variations to Try
This is where you can really make this salmon sushi bake recipe your own. I rotate through different versions to keep things interesting.
Different Proteins:
Try cooked shrimp instead of salmon for a lighter, sweeter flavor. I use the pre-cooked frozen shrimp from the grocery store and just thaw and chop them. Speaking of shrimp, if you love seafood as much as I do, my maple glazed salmon and green beans is another quick weeknight winner.
Imitation crab meat works beautifully and is budget-friendly. Shred it up and mix with the spicy mayo just like you would salmon.
For a vegetarian version, use marinated and baked tofu. Press it well, bake until crispy, then crumble it over the rice. You might also love my honey garlic tofu recipe for another plant-based option.
Add Some Cheese:
I know this sounds weird, but trust me. A thin layer of cream cheese under the salmon adds this rich, tangy element that’s amazing.
Shredded mozzarella on top before baking creates this gorgeous melty, golden crust. It’s not traditional at all, but it’s delicious.
Extra Veggies:
Mix diced cucumber into your salmon layer for extra crunch. Just make sure to pat it dry first so you don’t add too much moisture. I love adding fresh vegetables to my dishes, and if you’re looking for more veggie-forward meals, my Mediterranean chickpea salad is fantastic.
Thinly sliced radishes on top add a peppery bite that cuts through the richness.
Edamame scattered over the top adds protein and that beautiful green color.
Adjust the Heat:
Add wasabi paste to your spicy mayo for a different kind of heat. It’s sharper and more sinus-clearing than Sriracha.
Keep it mild by using just a tiny bit of Sriracha and adding sweet chili sauce instead. Kids love this version.
Go wild with extra hot sauce, jalapeños, or even pepper flakes if you’re a heat lover like me. For more spicy inspiration, check out my spicy black bean soup which has become another family favorite.
Making This Recipe Work for Your Schedule
One thing I love about this dish is how flexible it is for meal prep and busy schedules.
You can cook and season the rice up to 24 hours ahead. Just store it covered in the fridge and bring it to room temperature before assembling.
The salmon mixture keeps well in the fridge for 2-3 days. I sometimes make a double batch and use half for sushi bake and half for salmon poke bowls later in the week.
You can assemble the whole thing (minus the toppings) and refrigerate it covered for up to 8 hours before baking. Just add 5 minutes to the baking time if you’re starting from cold.
Leftovers are surprisingly good. I store them in an airtight container in the fridge and eat them cold the next day. The texture changes slightly, but the flavor is still there.
This recipe doubles easily if you’re feeding a crowd. Just use a 9×13 inch dish and increase the baking time by about 5 minutes. If you’re planning a gathering, you might also want to check out my collection of chicken breast recipes for more crowd-pleasing options.
Serving Suggestions and Pairings
I usually serve this easy spicy salmon bake as a complete meal, but sometimes I add a few sides to round things out.
A simple cucumber salad dressed with rice vinegar and sesame oil is perfect. It’s light, refreshing, and takes five minutes to throw together.
Miso soup on the side makes it feel like a real Japanese-inspired meal. I use instant miso paste and it’s ready in the time it takes water to boil. Speaking of comforting soups, my creamy chicken wild rice soup is another weeknight favorite when you want something warm and satisfying.
Seaweed salad from the grocery store adds more of that ocean flavor. I buy the pre-made kind because making it from scratch is more effort than I want to invest on a weeknight.
Pickled ginger works as both a palate cleanser and a side. You can buy it in jars at most supermarkets now.
For drinks, I love serving this with cold green tea or sake if I’m feeling fancy. The kids get juice boxes and everyone’s happy.
Common Mistakes to Avoid
Let me tell you about the fails I’ve had so you don’t repeat them.
Don’t use brown rice. I tried it once thinking I’d make it healthier, but it doesn’t have the right sticky texture for sushi. Stick with short-grain white sushi rice.
Don’t overbake the dish. Once that mayo starts to separate and get oily, there’s no going back. Set a timer and check it at 12 minutes if your oven runs hot.
Don’t forget to rinse your rice. I skipped this step when I was in a rush once, and the rice turned out gummy and stuck together in clumps.
Don’t add too much vinegar mixture. More isn’t better here. Follow the measurements or your rice will be too wet and tangy.
Don’t use a dish that’s too big. If you spread everything out in a 9×13 pan, the layers are too thin and it dries out.
Make sure your salmon is completely cooked before adding it. Raw or undercooked salmon in a bake isn’t safe and won’t cook through properly in just 15 minutes.
Why This Recipe Beats Takeout Every Time
I used to order sushi rolls at least twice a month. At $15-20 per order plus delivery fees, it added up fast.
This homemade sushi bake costs maybe $12-15 to make and feeds my whole family with leftovers. The savings alone make it worth learning.
But it’s not just about money. I know exactly what goes into this dish. No mystery ingredients, no worrying about food safety, just good quality ingredients I chose myself.
It’s ready faster than delivery too. By the time I’d place an order, wait for it to be made, and have it delivered, I could have this baked and on the table.
My kids are more adventurous with food they help make. When they assist with crumbling the nori or mixing the spicy mayo, they’re way more excited to eat it.
The flavor is customizable in ways restaurant food never is. Too spicy? Add more mayo. Want extra avocado? Pile it on. It’s your dinner, make it how you want it.
Storing and Reheating Leftovers
Leftovers happen, though not often because everyone loves this dish. Here’s how to store and reheat them properly.
Transfer any leftover portions to an airtight container. Don’t leave it in the baking dish because it takes up too much fridge space and dries out faster.
Store in the refrigerator for up to 3 days. I wouldn’t push it past that because the avocado starts to brown and the texture gets weird.
For reheating, the oven is best. Cover with foil and warm at 300°F for about 10 minutes. The microwave works in a pinch, but the rice can get a bit tough.
Honestly, I often eat leftovers cold straight from the fridge. It’s different but still delicious, kind of like cold pizza.
Don’t freeze this. The rice texture gets grainy and the avocado turns brown and mushy when thawed. This is a make-and-eat-fresh recipe.
If you know you’ll have leftovers, hold back on adding all the toppings. Store the base separately and add fresh avocado and nori when you reheat.
Getting the Kids Involved
This recipe is perfect for cooking with kids because most of the steps are safe and simple.
Let them rinse the rice. My daughter loves this job. Just supervise to make sure they rinse it thoroughly.
Measuring ingredients is great practice for math skills. Even my kindergartener can help measure the water and rice.
Mixing the spicy mayo is satisfying for little hands. Just make sure they wash their hands first.
Crumbling the nori sheets is a fun sensory activity. My kids fight over who gets to do this step.
Let them assemble their own portions at the table. Set out bowls of different toppings and let everyone build their perfect bite.
If you have older kids, they can help with chopping green onions and slicing avocado under supervision. It’s good knife skills practice. For more kid-friendly meal ideas, my one pot queso chicken and rice is always a hit with the little ones.
Make It Your Own
The best part about this recipe is how adaptable it is. Don’t have salmon? Use something else. Hate spicy food? Make it mild. Want extra toppings? Go for it.
I’ve made versions with teriyaki chicken, Korean bulgogi beef, and even just vegetables for my vegetarian friends. The formula works with basically any protein. If you’re looking for more versatile protein options, my caprese stuffed chicken uses a similar build-your-own-adventure approach.
Try different sauces on top. I’ve used ponzu, eel sauce, yum yum sauce, and even just plain soy sauce. All were delicious.
Experiment with the rice. I’ve added furikake seasoning to the rice for extra umami flavor. I’ve mixed in black sesame seeds. I’ve even added a bit of butter for richness.
Change up the toppings based on what you have. Cucumber, carrot ribbons, microgreens, crispy onions, tempura bits. If it sounds good to you, try it.
This isn’t a recipe that requires perfection. It’s about enjoying the process and ending up with something delicious that makes your family happy.
FAQs About Spicy Salmon Sushi Bake
Can I use raw salmon for this recipe?
No, you should always use fully cooked salmon for this sushi bake. The 15-minute baking time isn’t enough to safely cook raw salmon from scratch. I recommend baking a fresh fillet at 400°F for 12-15 minutes before flaking it, or you can use leftover grilled or baked salmon. Even canned salmon works in a pinch and makes this recipe super budget-friendly.
What can I substitute for sushi rice?
While sushi rice gives the best texture, you can use any short-grain white rice in a pinch. Regular medium-grain rice will work too, though it won’t be quite as sticky. I don’t recommend long-grain rice like basmati or jasmine because they don’t have the right starch content to hold the layers together. Brown rice doesn’t work well either since it lacks that signature sticky texture.
How do I make this less spicy for kids?
I do this all the time for my picky eaters! Simply reduce the Sriracha to just 1/2 tablespoon or skip it entirely. You can replace it with sweet chili sauce for a mild, slightly sweet flavor that kids love. Another option is to make the full spicy version but create a small separate portion with plain mayo mixed with just a touch of soy sauce and sesame oil.
Can I make this ahead of time?
Absolutely! You can prep the components separately up to 24 hours ahead. Cook and season the rice, then store it covered in the fridge. Make the salmon mixture and keep it refrigerated separately. About 30 minutes before you want to eat, bring the rice to room temperature, assemble everything in your baking dish, and pop it in the oven. I wouldn’t recommend assembling it more than a few hours ahead because the rice can absorb moisture from the salmon layer.
Your Turn to Make This Amazing Dish
Now you have everything you need to make the best spicy salmon sushi bake at home. It’s easier than you think, more affordable than takeout, and honestly more fun to make than ordering delivery.
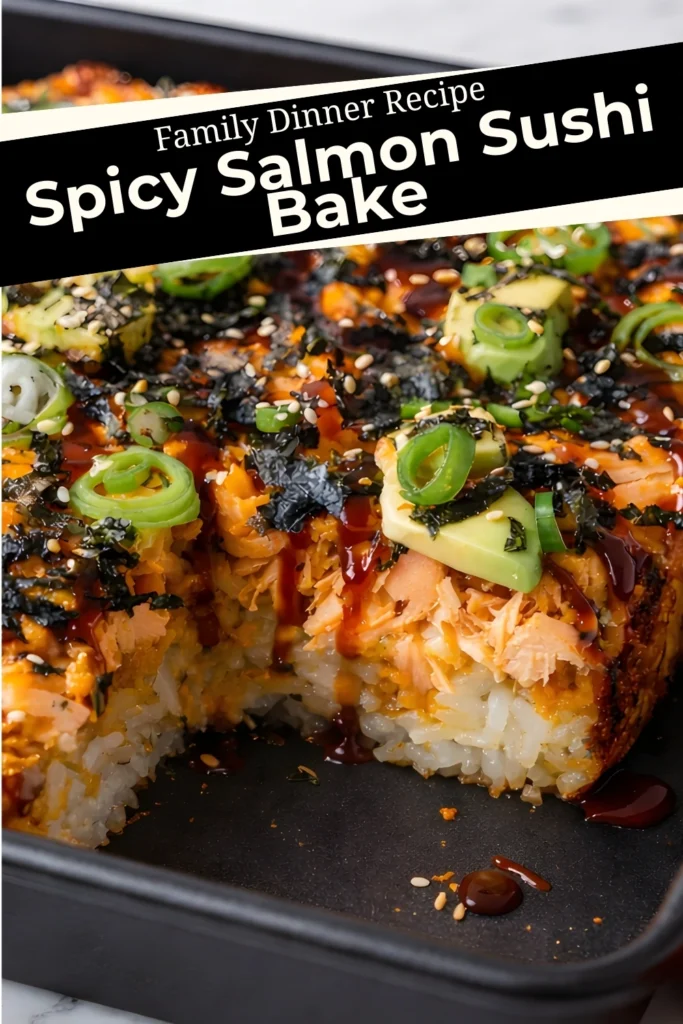
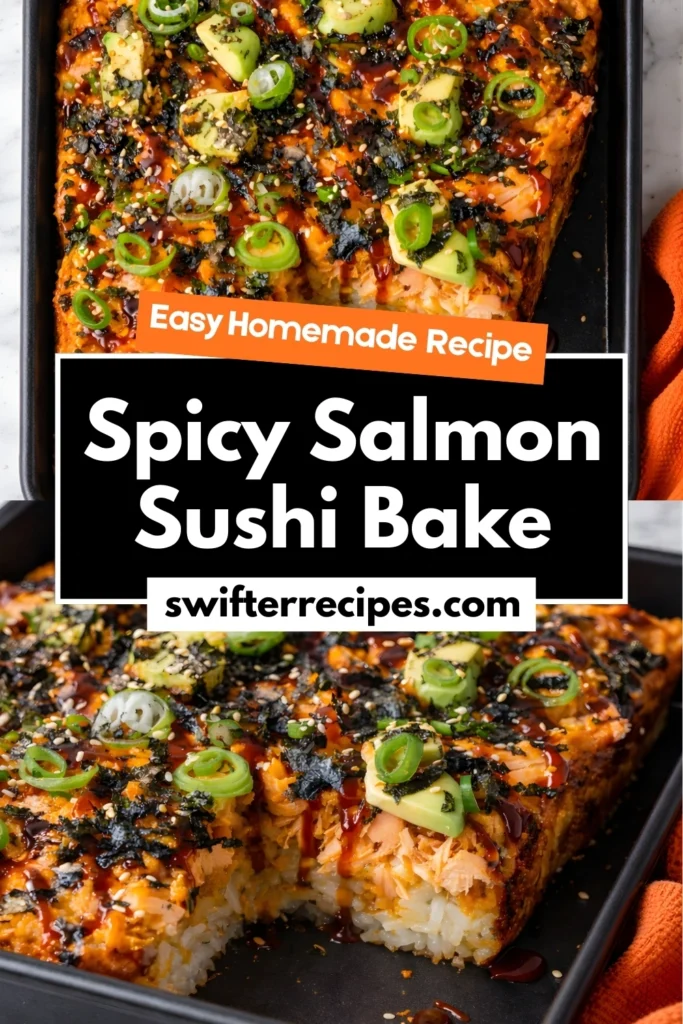
I want to see your creations! Take a picture of your sushi bake and share it on Pinterest. Tag me so I can see how yours turned out and what variations you tried.
Did you add extra spice? Use a different protein? Come up with a creative topping combination? Leave a comment and let me know. I’m always looking for new ideas to try.
Save this recipe to your Pinterest board so you can find it again when you’re planning next week’s dinners. Trust me, you’ll want to make this again and again.
If you loved this recipe, share it with a friend who needs an easy dinner win. We all need more simple, delicious recipes in our lives.
Happy cooking, and enjoy every creamy, spicy, delicious bite of your homemade sushi bake!
Print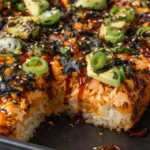
Spicy Salmon Sushi Bake
- Total Time: 35 minutes
- Yield: 4 servings 1x
Description
This spicy salmon sushi bake brings all the flavors of your favorite sushi roll into one easy, creamy, oven-baked dish — no rolling required. Layered with seasoned rice, flaked salmon, spicy mayo, and delicious toppings, it’s a family-friendly dinner that’s bold, customizable, and absolutely addicting.
Ingredients
- 2 cups sushi rice
- 2 ½ cups water
- ¼ cup rice vinegar
- 2 tbsp sugar
- 1 tsp salt
- 10 oz cooked salmon, flaked
- ½ cup mayonnaise
- 2 tbsp Sriracha sauce
- 1 tsp soy sauce
- 1 tsp sesame oil
- 1 avocado, sliced
- 2 green onions, thinly sliced
- 2 sheets nori, crumbled
- 1 tbsp sesame seeds
- Optional: extra Sriracha or unagi sauce for drizzling
Instructions
- Rinse sushi rice under cold water until water runs clear. Combine with water in a rice cooker or pot and cook until tender. Let cool.
- In a small bowl, mix rice vinegar, sugar, and salt until dissolved. Fold into warm rice gently and allow to cool completely.
- Preheat oven to 375°F. In another bowl, mix mayo, Sriracha, soy sauce, and sesame oil. Add flaked cooked salmon and stir to combine.
- Press cooled rice evenly into an 8×8 inch baking dish to form a base layer. Top with the salmon mixture and spread evenly.
- Bake for 15 minutes until top is slightly golden and bubbly. Remove from oven and top with avocado, green onions, crumbled nori, sesame seeds, and optional sauces.
- Let rest for 2-3 minutes, then scoop and serve warm. Enjoy with chopsticks, forks, or spoons — whatever your family loves.
Notes
Make sure to rinse your rice thoroughly to prevent gumminess. Adjust Sriracha for spice level. You can prep components ahead and assemble right before baking. Don’t freeze leftovers — store in the fridge and eat within 3 days. Add toppings after baking to keep everything fresh and vibrant.
- Prep Time: 20 minutes
- Cook Time: 15 minutes
- Category: Dinner
- Method: Baking
- Cuisine: Asian-Inspired
Nutrition
- Serving Size: 1 square
- Calories: 480
- Sugar: 5g
- Sodium: 650mg
- Fat: 28g
- Saturated Fat: 6g
- Unsaturated Fat: 20g
- Trans Fat: 0g
- Carbohydrates: 40g
- Fiber: 3g
- Protein: 18g
- Cholesterol: 45mg